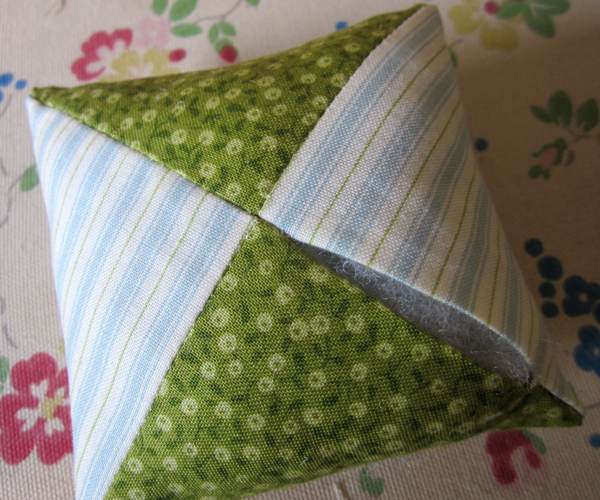
Everyone that loves to sew needs a pin cushion! This little one is quick to make and uses very little fabric but is still the perfect addition to your work box.
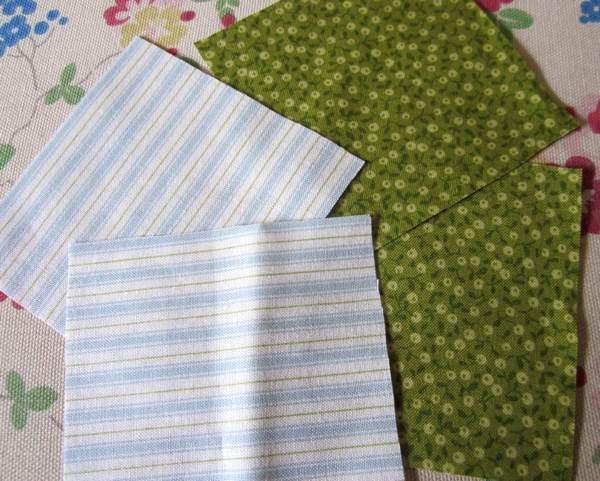
First of all you need to cut out 4 small squares of fabric, mine were 8.5 centimeter square.
I used two different fabrics which adds a bit of extra interest to the final pin cushion.
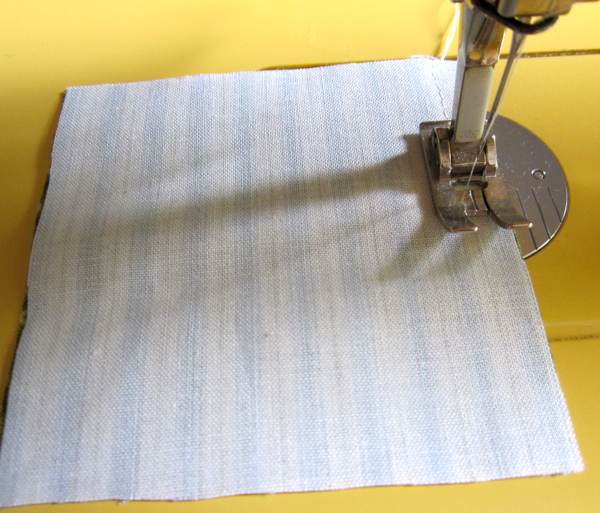
The next step is to sew two squares together along one of their sides. If you are using two different fabrics then sew a piece from each design here. Once sewn iron the seams open.
You should now have two strips of fabric made up of one square from each design.
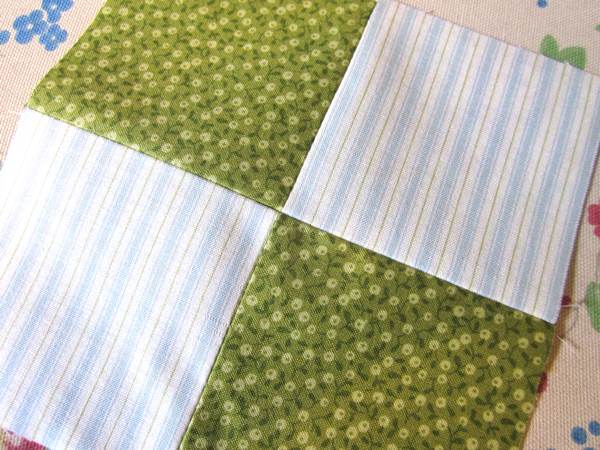
They are now sewn together matching the central seem carefully. They need to be sewn so that each piece is attached to the other fabric design so that once finished and pressed they look like this.
Next fold your work in half and sew down the two side seams. Then carefully press the seams open.
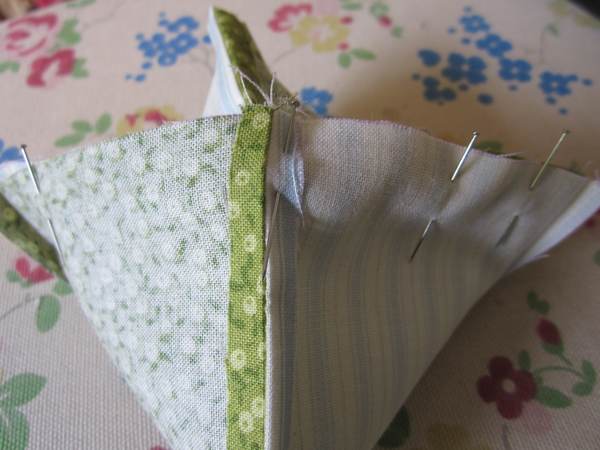
The next step is more difficult to describe so I hope the picture helps to show what I mean.
The two side seams are folded into the middle and the seams are matched together, you end up with something looking a little like a pyramid! You will need to sew from the middle to one edge and leave the other side of the work open to be able to turn the right side out. Before doing this I pressed the seam I had sewn and also pressed the seam allowance on the open seam which makes it easier to sew shut once the pin cushion is stuffed.
Stuff the pin cushion firmly and then sew the opening shut. I then turned the cushion over and sewed a vintage button into the middle going completely through the cushion and pulled it firmly to give a good shape.
Here is the finished cushion which makes both a practical and attractive gift.
