Crafting with Wayfair

CentrepieceAs a creative person it means the world to me when someone emails and says that they appreciate the things I create. Knowing all the time and effort (not just in the creation of the piece but in the thought process just coming up with the idea!) was well spent is like a metaphorical pat on the back and it really makes me smile. So when the chaps over at Wayfair approached me and asked if I’d create a craft just for them, I jumped at the opportunity.

The brief… a festive craft suitable for parents and kids.

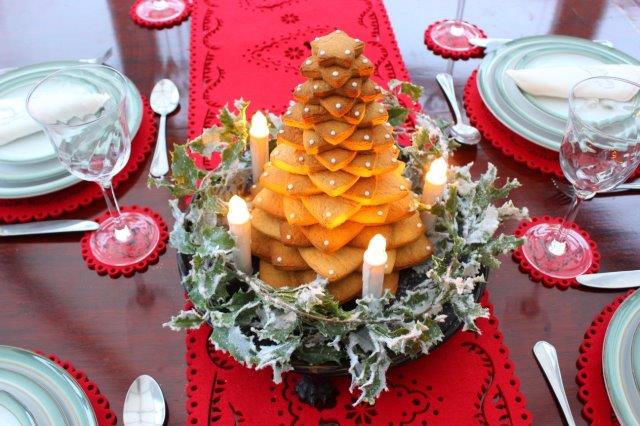
So I came up with this lovely (if I do say so myself) centrepiece. At first glance it appears to be a tower of biscuits, but the centrepiece is actually made from a scented dough (fake biscuits) which lasts much longer and gives off a fabulous fragrance.

The recipe is easy enough and a few alterations (different types of spices and dough thickness) can produce more or less realistic results depending on your preference. The dough can also be used to make individual decorations.

For the full tutorial pop over to Wayfair’s inspiration section.


Easy Paper Decorations for Christmas

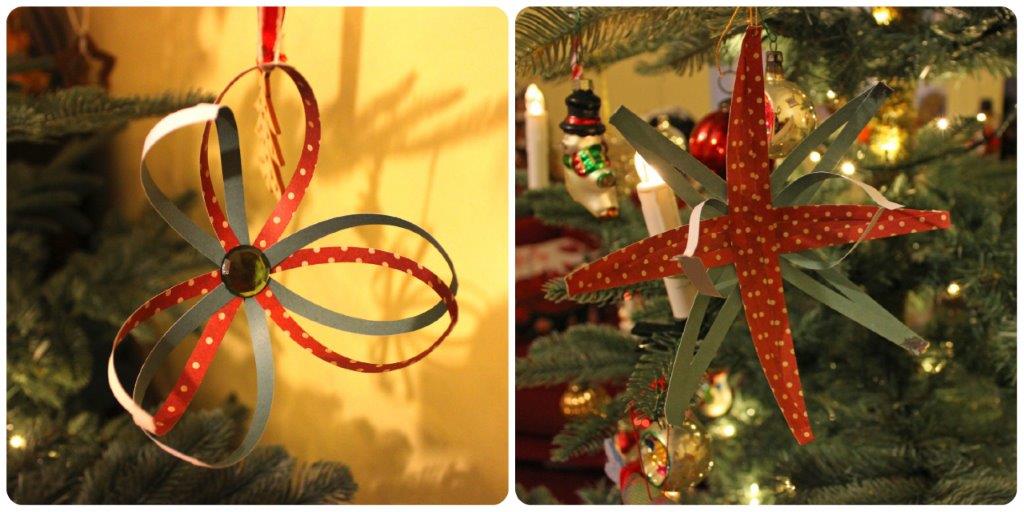
paperdecorationsWith Christmas so nearby you’d be forgiven for thinking that time had run out for crafting but today I’ll show you how to make some quick and Easy Paper Decorations for Christmas. They’re also the perfect craft to keep the kids busy now that the Winter holiday looms! All the supplies were given to me by Bostik as part of their craft ambassador program.

supplies

What You’ll Need:

Paper (cut into long thin strips roughly the same size)

Blu Tack Fine & Wide Glu Pen

Plastic Gems

Thread

paperflowerdecoration

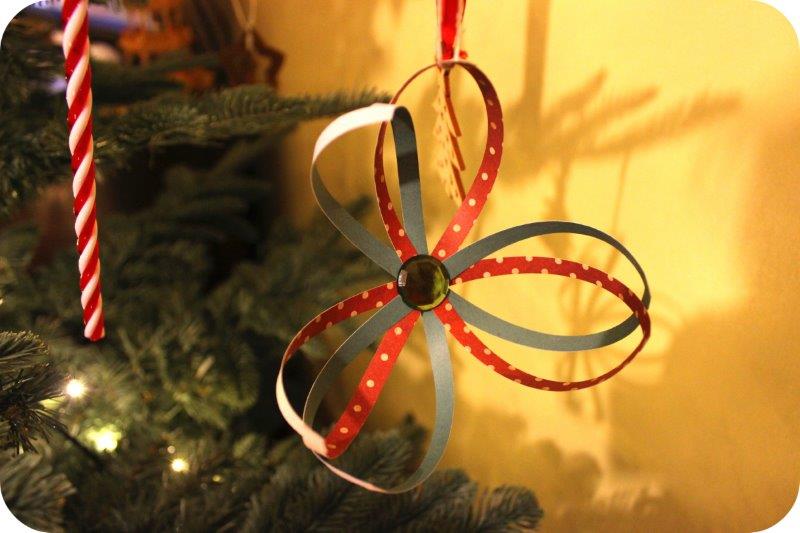
Paper Flower

This is the simplest of my two decorations and super quick!

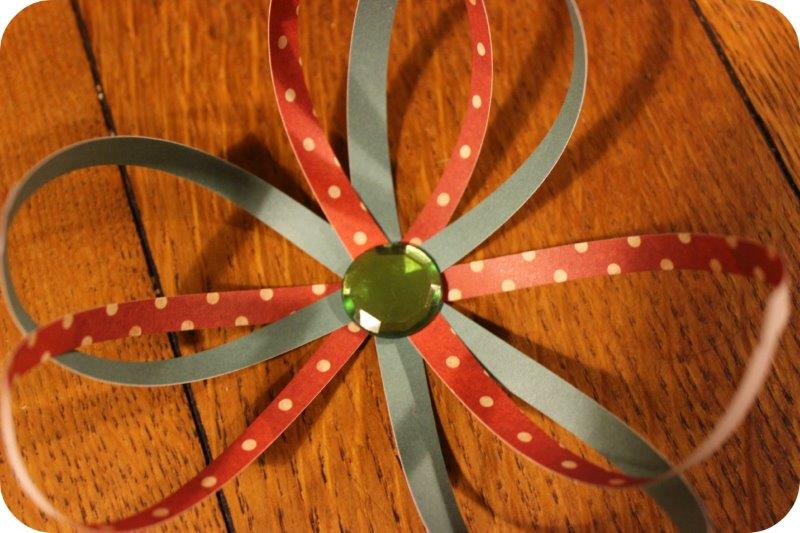
paperflowerStart by laying strips of paper over each other to form a cross, keep laying until you have a star shape made of 6 strips of paper (3 of each colour).

paperflower2

Using the fine and wide glu pen stick together two opposite strips of paper (see pic). Continue until all the red strips have been stuck together to make three petals. Repeat with the green strips of paper.

paperflower3

Glue a gem into the centre of the flower, tie on some thread and you’re done!

easypaperdecoration

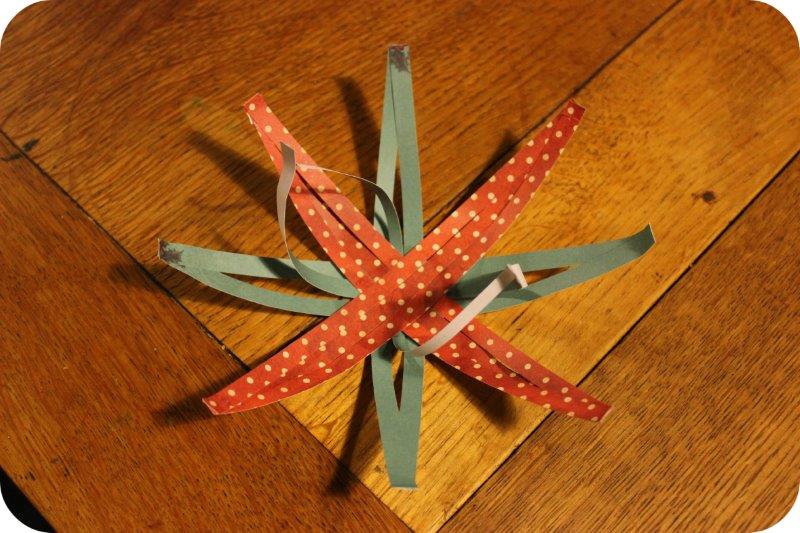
Paper Star Decoration

A variation on the same theme but a little more involved.

paperdecorationStart by laying 3 strips of paper side by side. Pop a little glue in the centre of the strips and then lay 3 more strips at right angles to make a cross shape. Continue laying 3 strips until you have a star shape.

paperdecoration1

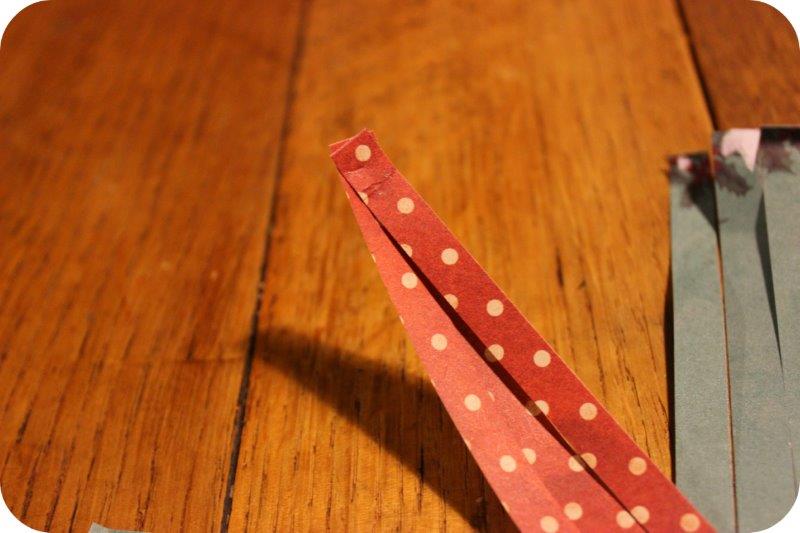
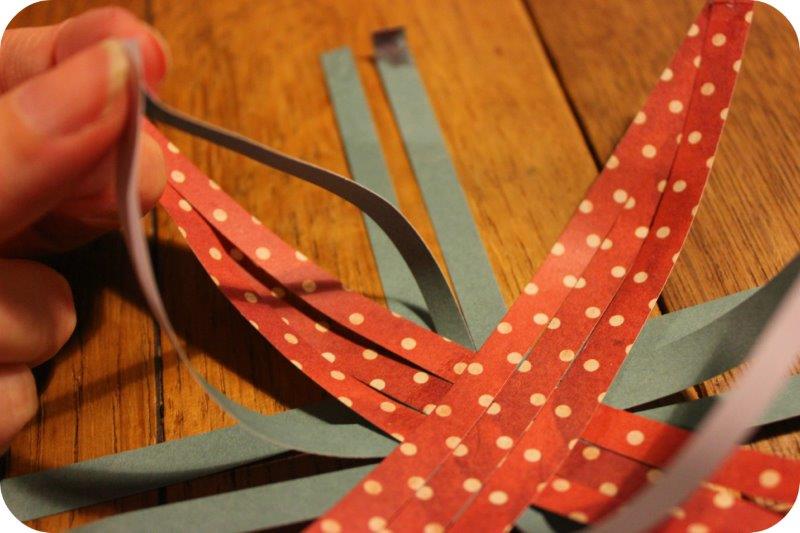
Stick together the 3 strips of red paper, they should curl slightly towards the centre. Repeat on each branch of red paper.

paperdecoration2

Take the centre piece from the green strips of paper and stick to the opposite strip as shown in this picture.

paperdecoration3

Stick together the remaining 2 strips of green paper.paperdecoration4

Attach some thread and enjoy your new decorations!


Rachel’s Orange and Cranberry Cupcakes Recipe

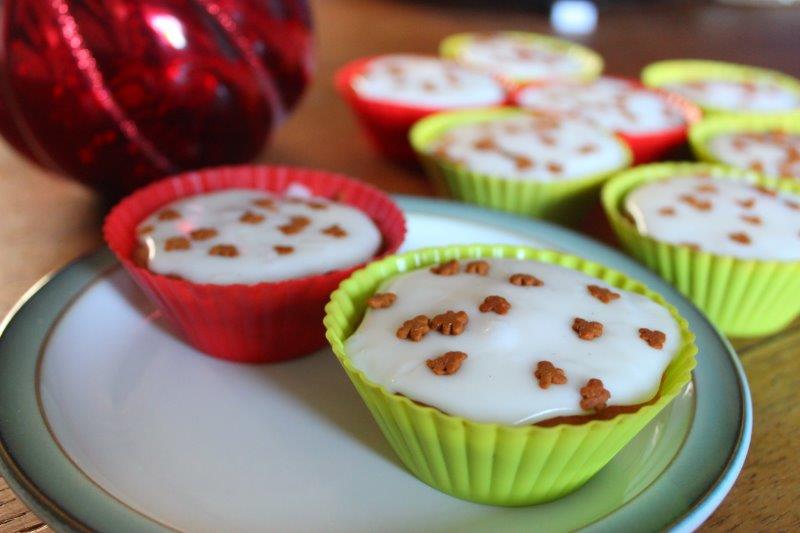
IMG_5473Nothing says Christmas like some yummy home baking and todays Orange and Cranberry Cupcakes recipe is sure to please. They’re super moist, wonderfully fragrant and everything right down to the icing is just a notch above your average cupcake. The recipe was provided by Rachel’s Organic and as I sit here munching on yet another helping I can definitely recommend them. It’s also a great recipe to bake with the kids (as we did!)

Ingredients

225g margarine or butter, softened

225g caster sugar

225g self raising flour

3 large eggs

100g Rachel’s low fat vanilla yogurt

70g dried cranberries, chopped

Orange zest, juice of ½ orange

To Decorate

250g icing sugar

30g Rachel’s low fat vanilla yogurt

Preparation time: 15 mins  Cooking time: 15 mins   Makes: 12 cakes

Method

1. Heat the oven to 190C/Fan 170C/Gas Mark 5. Arrange paper cases in muffin or bun tins. Place the margarine, sugar, flour and eggs into a large mixing bowl and beat for about two minutes until smooth, light and fluffy. Fold in the yogurt, dried cranberries, orange zest and juice. Divide the mixture between the cases so that they are half filled and bake for 12 – 15 minutes, until golden. Cool on a wire rack.

2. To make the icing, mix the icing sugar with the yogurt and mix until smooth. Tip: the icing should be runny and flow.

3. Decorate each cake with a blob of icing and spread with a palette knife. Alternatively, leave to run to the edges of the paper case. Leave the icing to set.

4. Cakes will keep in an airtight container for up to four days.IMG_5483

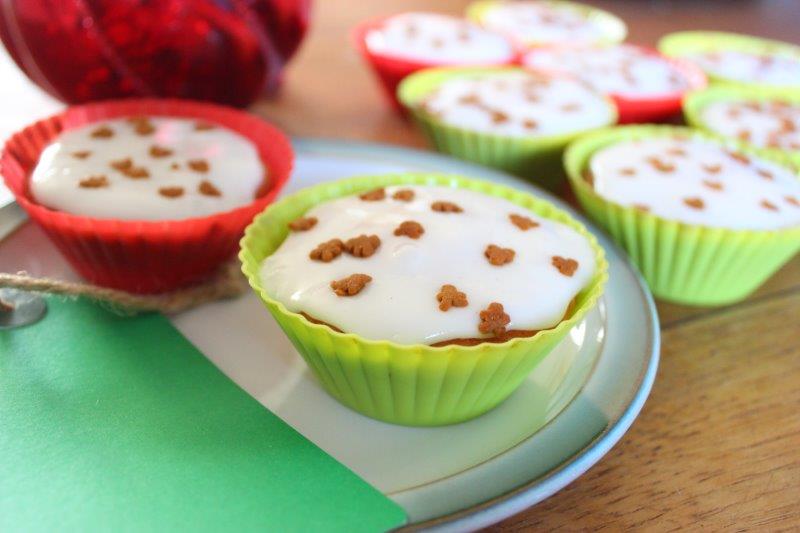
Tip. These would also make a great midnight treat for Father Christmas. Just add a label to your plate and I’m sure he’d welcome the change from Mince pies!