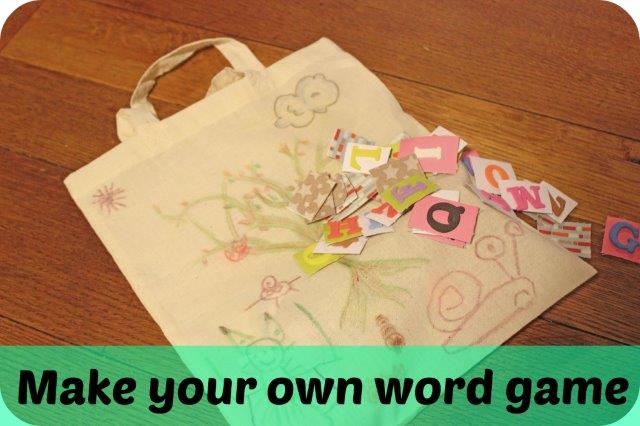
Make your own word game with Bostik!

wordgame1

The summer holidays are a distant memory and school is back in full swing but there’s no need to feel gloomy because today’s post combines education with creativity. Whether your little student is learning to read or improving their spelling now you can make your own word game with my brand new tutorial. This was made using materials provided by the good folks at Bostik as part of their Craft Ambassador Program.

bostikschool1

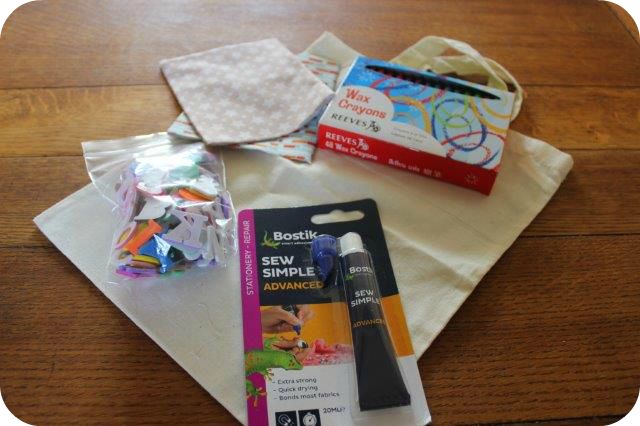
What You’ll Need

Plain Fabric Bag

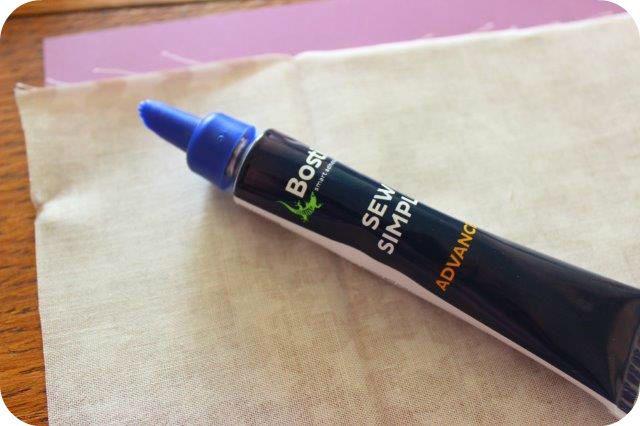
Bostik Sew Simple Advanced Glue

Wax Crayons

Foam Letter Stickers

Cardboard

Fabric


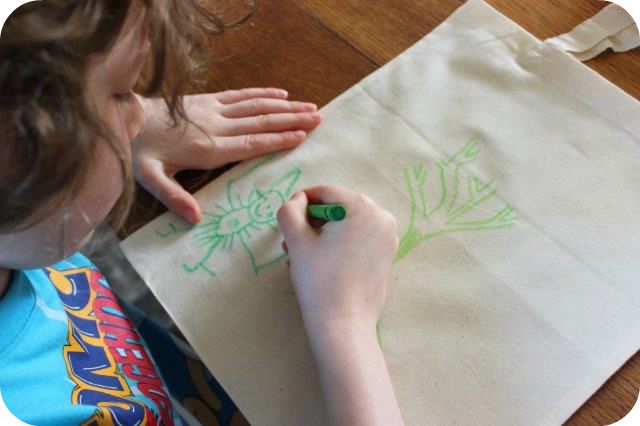
bostikschool2Step 1

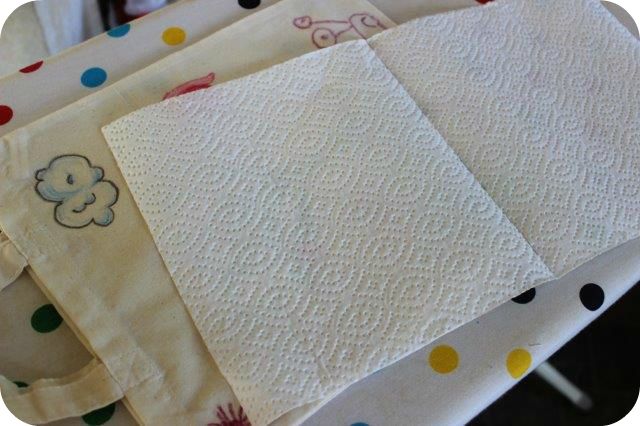
Start by decorating the fabric bag with wax crayons. Once your happy with the design it’s time to fix it. I do this by turning my iron onto a high setting with no steam. Cover the design with kitchen roll and gentle iron over. The kitchen roll will absorb some of the wax from the surface.

bostikschool3

Step 2

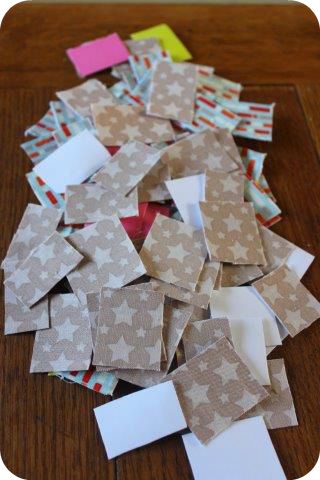
Time to make the letter counters! Cut some small lengths of patterned fabric and use the Bostik Sew Simple Advanced glue to stick the fabric to coloured card. bostikschool5
 

Step 3

Once the fabric is completely dry cut into small squares.

bostikschool6

 Step 4

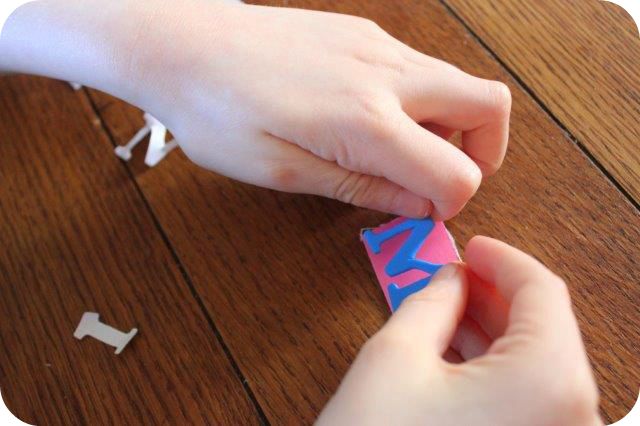
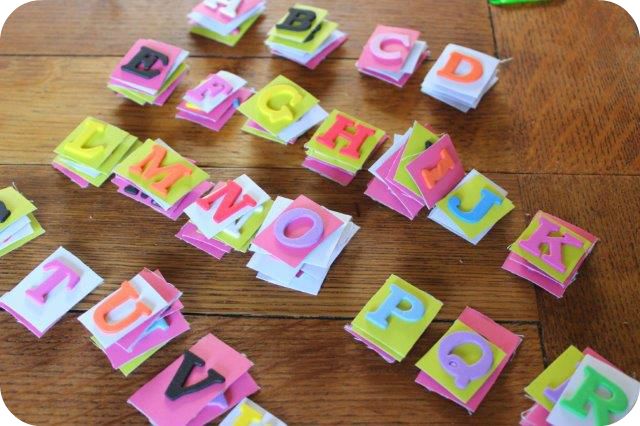
Stick a variety of foam letter stickers to the cardboard side of the counters. Make sure you have plenty of vowels.

bostikschool7

Now you should have a good selection of letters and be ready to play!

bostikschool8

How to Play

Put all the letter counters into the fabric bag and shake to mix them up.

Each player selects 15 counters on their first turn and tries to use as many of them as they can to make words.

On each subsequent turn each player grabs 5 more counters and tries to make more words (using any leftover letters from the previous draw). Carry on until all the letters have been drawn.

The winner is the player with the least amount of unused letters leftover.


Visiting Drayton Manor With A Toddler

PanoramaDraytonA couple of weekends ago the family and I visited Drayton Manor Theme Park with some friends. We all thoroughly enjoyed ourselves but it occurred to me that not everyone with little ones will realise that visiting Drayton Manor with a toddler is actually surprisingly affordable!

Drayton Manor offer a Parent and Toddler Pass which admits one adult accompanied by a toddler aged 3 or under entry into the park for just £20. Understandably some parents I have spoken to have had concerns about how much a theme park can offer to a very young child but there’s plenty to see and do. Thomas Land in particular is filled with entertaining rides for mini peeps, there’s even a fantastic soft play area. Venturing out of Thomas Land and you can visit the Carousel, ride on the Polperro Express train or take in a movie in the 4d cinema. That’s before you’ve even begun to visit the Zoo, Dinosaur Trail or Farm Park. There really is plenty to see for all the family.emilytrain

In fact I am working on a post that details the best features of the park for those visitors who don’t really enjoy rides in general. I’ve put a video together with some help from the kids and while it’s not specifically aimed at the smallest of visitors, it does give a good overview of some of the best sights if white knuckle rides aren’t quite your thing, so I’ll pop it below.

The Parent and Toddler pass is available during the Staffordshire term-time and full details can be seen on the Drayton Manor website here.

Holiday Memories Craft with Bostik

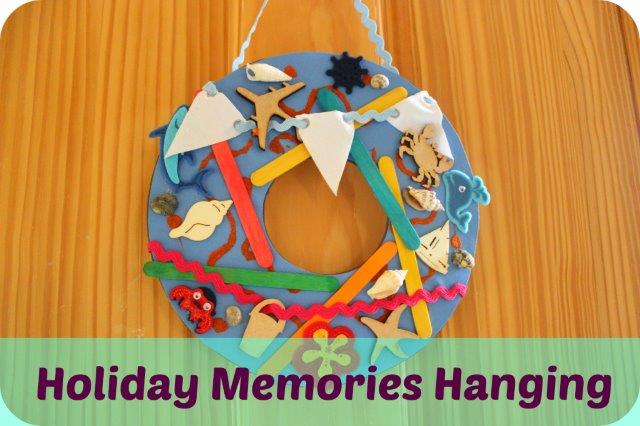
holiday memories craftTodays holiday memories craft tutorial is the perfect way for kids (or adults) to turn all those little mementoes into a hanging wreath to decorate your home.

If your family is anything like mine then you often come home with all kinds of bits and pieces like teeny tiny shells, postcards or even bits of sand. But what do you do with them when you get home? Getting crafty is one way to use those special collections and a door hanging means everyone can appreciate the fun you had. I received the materials used in this craft as part of the Bostik Craft Ambassador program.

What You’ll Need

Cardboard

Foam

Bostik Fine & Wide Glu Pen

Sand

Lolly Sticks

Wooden holiday shapes

Fabric Stickers

Small Shells

Ric rac or ribbon

Small bunting flags

Bostik Glu Dots

Sticky Tape

All the instructions you need are contained in this video or you can follow the text version below.

Step 1

Begin by drawing around a dinner plate onto a piece of cardboard. Draw a smaller circle in the centre (I drew around a roll of tape). Then cut out.

Step 2

Using the Bostik Fine & Wide Glu Pen cover the back of the wreath shape in glue (use the wide end of the pen). Then stick onto a piece of foam or you could use some strong cardboard. Once dry cut out.

Step 3

Using the fine end of the glu pen make swirls, dots or any pattern you fancy all over the front of the shape. Then pop some sand into a cup and sprinkle all over the glue pattern. Once the glue has dried shake off the excess sand.

Step 4

Time for decoration! You can use anything that you collected or that reminds you of your trip, I like to lay everything out before sticking into place. I used Bostik Glu dots to attach plain wooden holiday themed cut outs. Of course you could decorate these, I just think the bare wood looks really good. Next I laid lolly sticks to remind us of all those lovely iced treats and fabric stickers look great, especially if they have googly eyes!

Step 5

Bunting screams summer to me so I made some bunting using ric rac and ready made flags. If you can’t find any pre-made flags an alternative is to cut triangles from fabric and either stick into place or use a hole punch to loop the ric rac or ribbon through. The bunting was stuck to the reverse using sticky tape.

Step 6

Finally I stuck some miniature shells into place using glu dots. Then I used more ric rac to make a hanging loop, this was also stuck to the reverse of the hanging using tape.

Step back and admire your handy work!