Make Your Own Wax Tart Melts

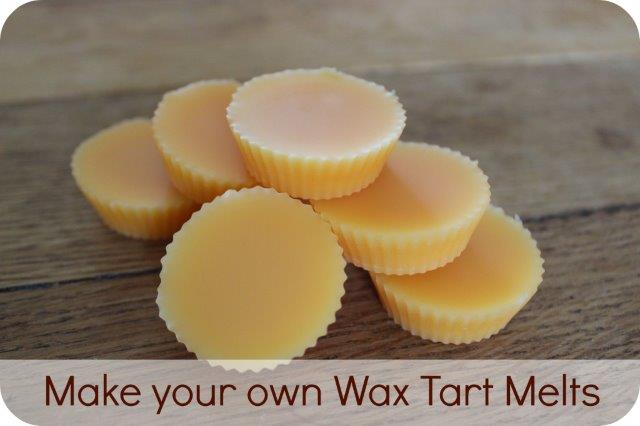
Make Your Own Wax Tart MeltsAre you a fan of scented candles or wax melts that fill your home with wondrous and delicious fragrances?  Then like me I’m sure you have your favourite brands and aromas. Unfortunately our patronage can often be tinged with sadness when a favourite scent is retired. I was personally heartbroken when Yankee Candle retired Gingerbread and I recently learned that Salted Caramel is on the way out too!! Aside from stocking up, there is a way you can console yourself and still enjoy your favourite fragrance or one very similar for as long as you want too. Rather than bankrupting yourself in candles stocks, why not make your own wax tart melts?

The best part about this tutorial is that it’s unbelievably simple!!


What You’ll Need

100g Wax (this will make approximately 12 mini tarts)

Fragrance Oil

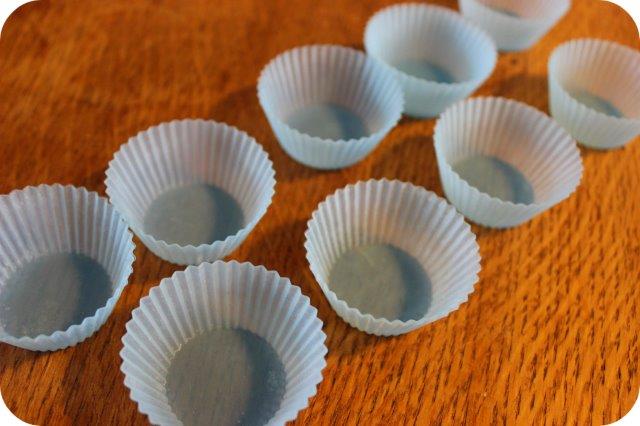
Silicone cupcake cases


First a quick note on wax choices. These melts can be made with several types of wax, however different varieties can take more or less fragrance. I am by no means an expert but here’s a mini rundown of three popular wax choices.

Paraffin Wax – this wax creates the most highly scented melts and gives a good even throw. However when used in a candle (so not relevant to this tutorial) it produces more soot and some people believe that paraffin wax is not eco-friendly.

Beeswax – the classic wax option (and what I used myself when making these tarts). Beeswax is the all-natural choice.

Soy Wax – Made from the oil of soy beans many people believe this to be a more eco-friendly choice. However it cannot be used to make such a highly scented tart. A great choice if you prefer a more gentle fragrance.

waxpanStep 1

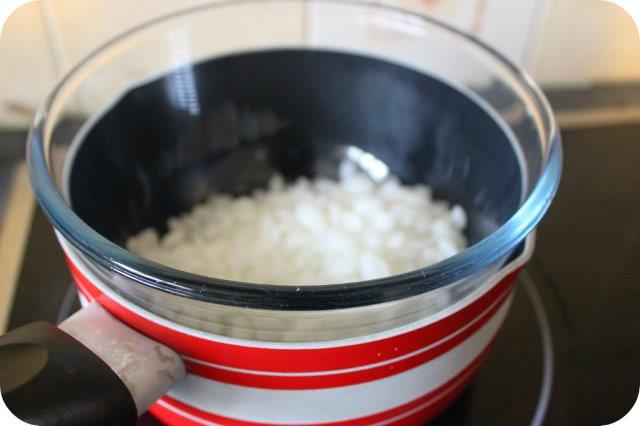
Weigh your wax. I used 100g but of course you could scale this up if you wanted to make loads of tarts. Next melt the wax using a double boiler or a pan or bowl above a second pan half filled with boiling water (the same method as melting chocolate). Keep the water simmering and wait for your wax to melt, I do not suggest leaving the room as wax can be flammable.

fragranceshotStep 2

Now to add your fragrance. How much oil depends on how strong you would like the end result to be. To give you an idea, many standard shop bought candles contain 2-3% fragrance. Good scented candles contain 5-6% and strong candles (like Yankee Candle) contain approximately 8-10%.

I don’t have a fantastic sense of smell so I like my fragrances strong and unmissable. Therefore I used about 10g of fragrance oil. To weigh this I used an old shot glass.

Add to the melted wax and stir.

casesStep 3

Pour the wax into silicone cupcake cases. I don’t like my tarts to be too big so I used mini cupcake cases. Larger ones would obviously make thinner tarts or less overall. Leave to cool and then store in a lidded jar or tub.waxcooling

 

Tips.

An old metal ice cream scoop works brilliantly for decanting your wax into your cases. Don’t plan on using it for ice cream again though.

These tarts also make wonderful presents, just wrap them tightly in cling film.

Wax is flammable, never leave a melting tart or wax unattended.


#Littlemoments at Drayton Manor Theme Park

PanoramaDraytonFor dedicated readers it should come as no surprise when I say that I love Drayton Manor theme park. It’s a wonderful family day out and as a proud blog ambassador I get to experience the park on a regular basis. I visited just a couple of weeks ago for a Blogger Ambassador Day where we learnt all about future events and special days out. We also watched Drayton’s new TV advert where they talk about the wondrous #littlemoments that can be had at the park. Of course little moments matter in everyday life as well and you can use the hashtag on Twitter and Instagram to let everyone know what touching little moment you’ve experienced recently.

FSMDR

Incidentally I had to show the little moment we had at Drayton Manor, we had arrived early and on a tip from one of the Drayton team headed straight for the zoo. Apparently this is the best time to see the Tigers and various other big cats. We’ve failed on every other occasion and the Tigers and Lynx have eluded us. Not this time…

DraytonManorTiger

As if that wasn’t enough I also have the crème dela creme of #littlemoments we managed to see the new Lynx cubs playing with their parents!

Cue huge smiles all round.

The zoo is a really fantastic part of the park and definitely worth an early visit if you want to catch some of the more shy animals. All this week 3-7th August is the Big Bug Bonanza where you can find fascinating facts, photos and videos of your favourite bugs.

Also coming up this month on Sunday 16th August is Roller Coaster Day. Experience the best thrill rides with fellow enthusiasts. Chest mount Go Pro cameras are allowed on all the rides which means you can take the moment home with you.

There’s plenty more on the horizon which I’ll share with you soon. But I thought I’d finish by showing you a peek of the VIP rooms which are located above Sodor Airport in Thomas Land. The themed rooms are fantastic spaces and each opens out to a balcony which overlooks the park.

ThomasVIP


Make a Garden Trail with Fairies and Bostik

fairytrail1Where’s summer gone?? If someone hasn’t asked you that question in the past week then you must’ve been been hiding somewhere far from human contact. Everyone wants to know when the sun will return and we can get back out of the house to enjoy reasonably pleasant weather. Apparently things are set to improve soon and when it does what better way to celebrate than getting creative with the kids before embarking on a hunt around the garden. With my tutorial you can make a garden trail with fairies and once again enjoy getting out of the house. This was made using craft supplies provided by Bostik as part of their Craft Ambassador scheme.

What You’ll Need

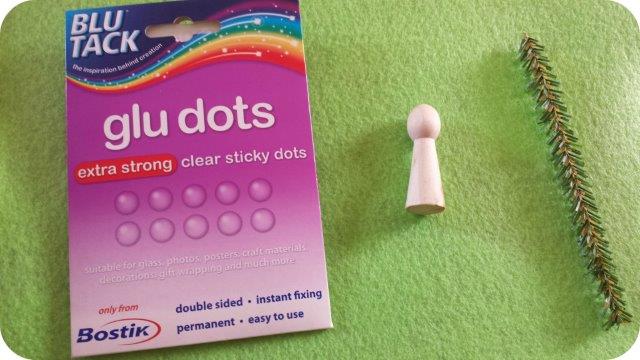
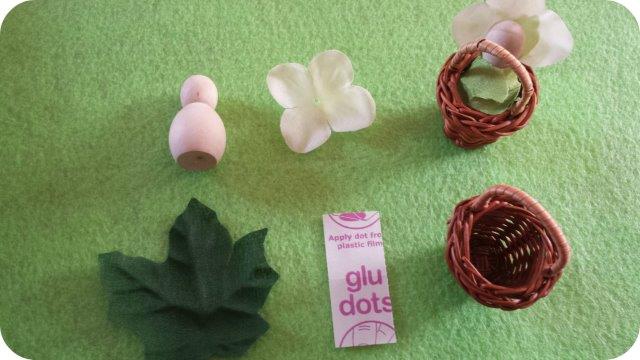
Wooden pegs or doll shapes

Fake petals, leaves and foliage garlands

Bostik Glu Dots

Green pipe cleaners

Miniature basket

Patterned tape

Small cardboard boxes (optional)

largefairy1

Larger Fairy

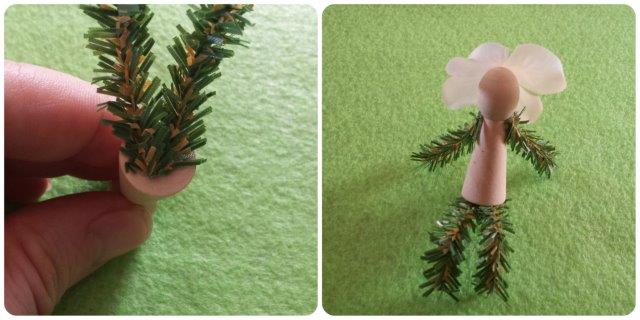
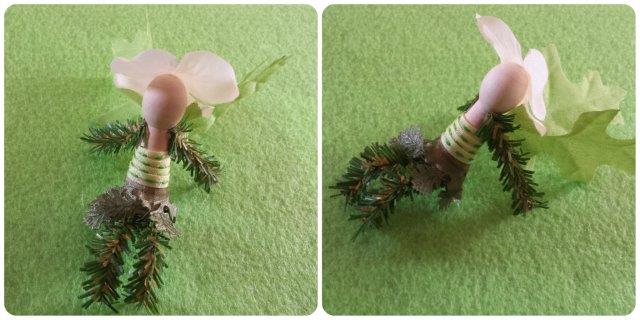
Begin by cutting a pipe cleaner to create legs. These can be stuck to the bottom of the fairy using a Glu Dot. Cut another two short pieces to make arms and fix into place.largefairy

Wrap some fake foliage around the middle of the fairy and secure using patterned tape to make a dress.largefairy3

Stick flower petals to the back of the head to create a bonnet. Then finish by sticking two larger leaves onto the back of the fairy to make wings.

Larger fairies work brilliantly if stuck onto a small cardboard box within which you can hide small sweets.

smallfairySmaller Fairy

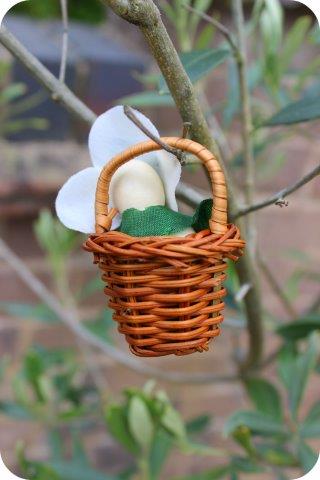
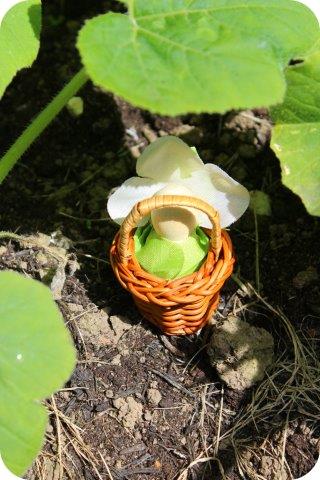
To make the smaller fairy begin by using a glu dot to stick a leaf onto the back of your peg or shape. Wrap the leaf around the fairy as shown in this picture then stick with another glu dot.smallfairy2

Cut off one petal from a fake flower and stick onto the back of the head to make a bonnet.smallfairy3

Place the fairy into a basket.

fairytrail2The Trail

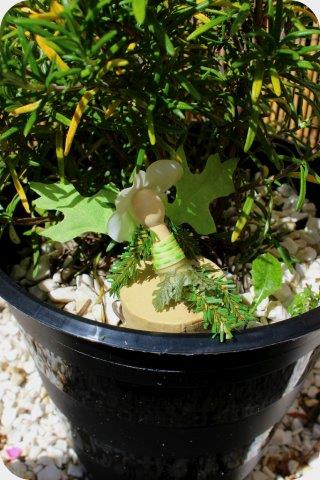
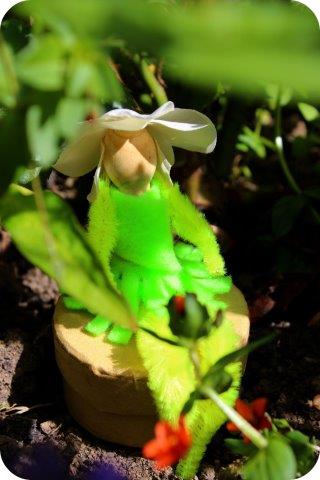
Hide all the fairies at various points around the garden. As I mentioned above I think it’s a nice touch if at least a couple of the fairies are hiding treats for the kids to find.fairytrail3

Variations

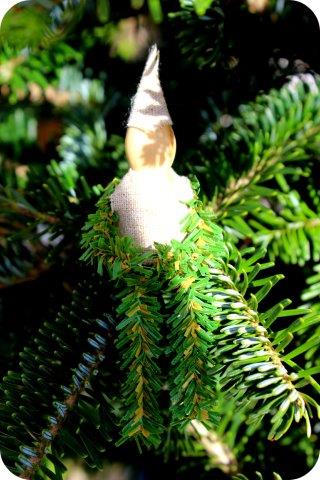
fairytrail4Our fairies are very simplistic in their design but you could of course add faces, googly eyes or anything else that comes to mind! We also made variations with fabric cone hats and tops.

fairytrail5