The Amazing Human Body Detectives by Maggie Li Review

bodydetectivesMy children are growing up and with age comes curiosity. Why do they dream, what is a brain and why are their eyes blue? These are all questions that my youngest has bombarded me with in recent times. Of course I answer him but sometimes relating biological facts in a way that a young child can grasp and understand is remarkably difficult. Thankfully I was recently sent a copy of The Amazing Human Body Detectives by Maggie Li to review and we’ve been perusing the pages to see if they can offer a better insight for a small inquiring mind.Photo 26-07-2015 14 27 50
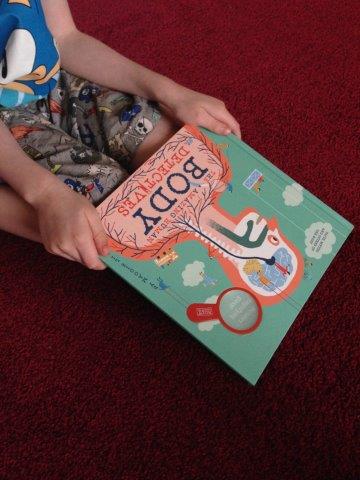
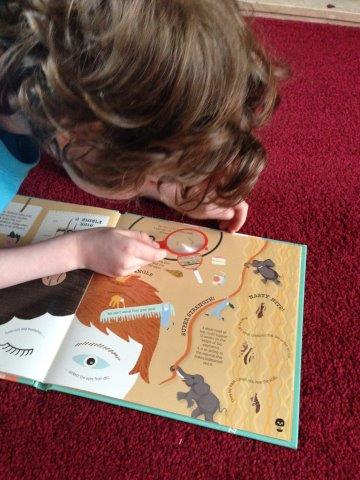
Maggie Li’s brand new book is aimed at kids aged five and above and it’s packed with fun pictures that illustrate various parts of the human body, what they do and why they do it. On the front cover there is an embedded magnifying glass that can be used at various points throughout the book.Photo 26-07-2015 14 28 09
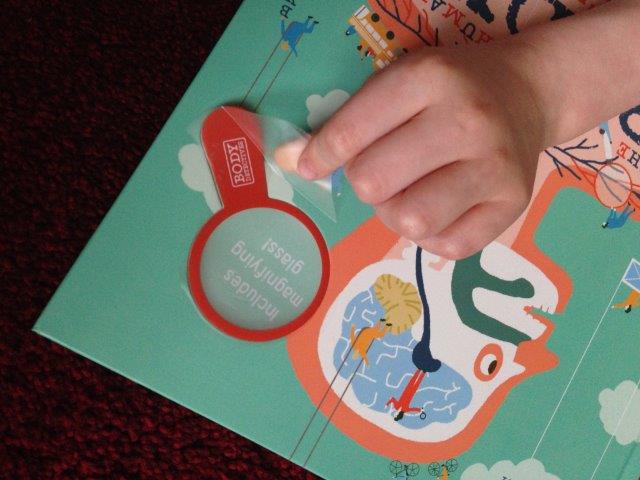
My son was initially quite reluctant to look through the book with me, he just didn’t seem overly interested for some reason. However once we’d removed the magnifying glass and opened the pages he was immediately hooked! He loved the images and none were scary or intimidating. He was so impressed with any new found facts we discovered that he took the book away to show to his siblings.Photo 26-07-2015 14 29 15
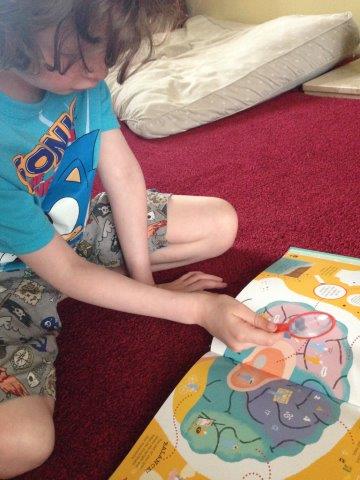
We didn’t read the book from beginning to end, I chose instead to let my son pick out the pages that appealed to him. This means we’ve still got plenty to explore as and when he wants too. I asked him why he likes the book:

‘Because it shows things that are inside you and because the pictures have lots of parts and I like the magnifying glass.’

Photo 26-07-2015 14 31 48Would I recommend this book?

If you are looking for a child friendly book, beautifully illustrated but still able to answer some complicated questions then this is a great book to purchase. Perfect for young ones to read with an adult or older kids to read on their own.

Could it be improved in anyway?

Quite a minor complaint but once the magnifying glass is removed from the front cover where it is secured with clear tape there is nowhere within the book to keep it. I can see this getting lost quite quickly. Although the book isn’t unusable without it.

Details

Publisher: Pavilion Children’s Books (11 Jun. 2015)

ISBN-13: 978-1843652977

RRP: £9.99
 

An English Country Garden

Rose2Time to do something ridiculously British and talk about the weather! It’s actually been very kind to us so far this year with lots of sunshine interspersed with rain showers. As a consequence the garden has sprung to life. This being our first Summer here I was feeling quite wistful about my previous garden, though small it was an Edwardian walled garden where everything seemed to grow (including grapes). When we came here I loved the fact that we had a larger space, but it was sparse and unloved. Certainly not the English country garden that I longed for and it still wont be for quite a few years. Although over the last few weeks we’ve seen flowers opening and some colour appearing at last so I know we’re on the right path.

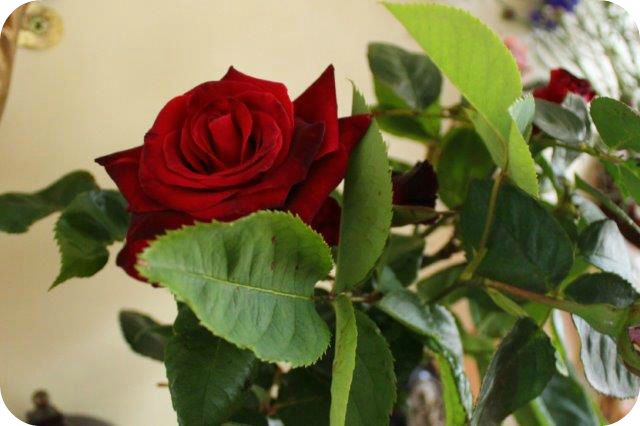
RosesFor my wedding I chose a deep red tea rose called Romance. I dearly wanted to grow it myself, but it isn’t available as a home plant so I looked for the closest Rose I could find and grew a couple of varieties in pots. They have a velvety soft look to the petals which I adore.

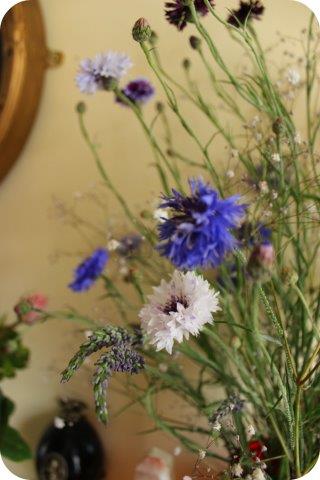
cornflowers1I’ve also developed a fondness for proper English flowers and planted hundreds of seeds. Unfortunately not everything has grown but the Cornflowers are a triumph. They look wonderful in vases along with Lavender sprigs and poppies.

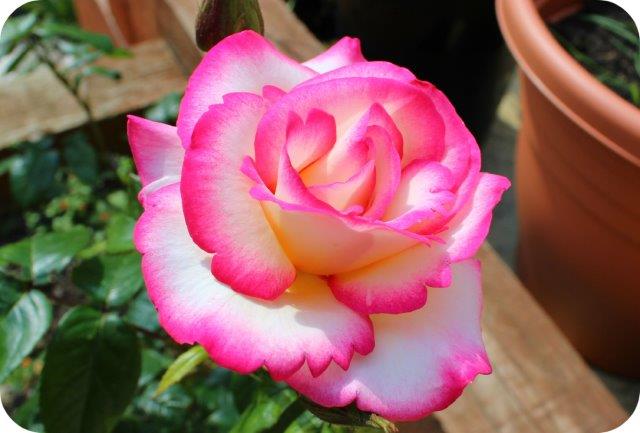
CandyroseThis rather amazing candy coloured Rose came from a pound shop, I’m not sure it looks like the packet but it’s got a wonderful pattern to the petals.

LilliesWe’ve also had a go at growing Lilies in pots, these are by far my favourite, they’re so dramatic with their deep purple centres.

Unfortunately the end of the garden is resolutely refusing to grow anything much, which I think is caused by too much shade from a nearby tree. We’ll find the right plant to go there though I’m sure 🙂


Monster Head Wall Art with Bostik

bostikmon9Rarrrrrr! Did I scare you all? Probably not but pretending to be a scary monster is one of those essential parts of childhood. Why not combine all the thrill and amusement of shocking the family with a craft activity. Try out my Monster Head Wall Art tutorial and your little ones are bound to have a roaring good time! This blog was made from supplies given to me by Bostik as part of their Craft Ambassador program, search Bostik on the side bar to see some of my previous Bostik crafts.

bostikmon1What You’ll Need

Bostik Glu Dots

Blu Tack White Glu

Cardboard cone (buy a blank one from a craft store or make one)

Piece of felt

2 Polystyrene balls

Pompoms, feathers, foam shapes or anything you fancy to decorate your monster pal

bostikmon2Step 1bostikmon3

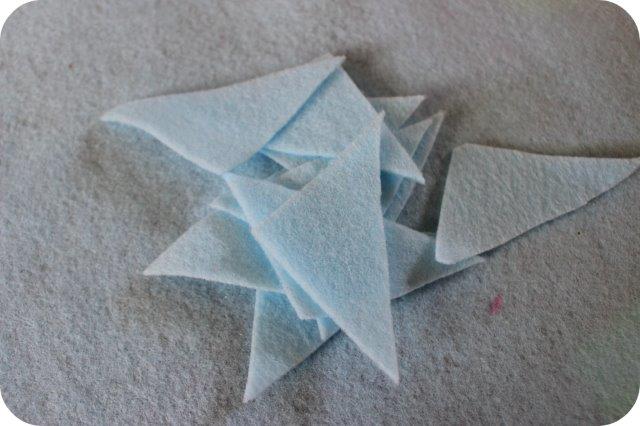
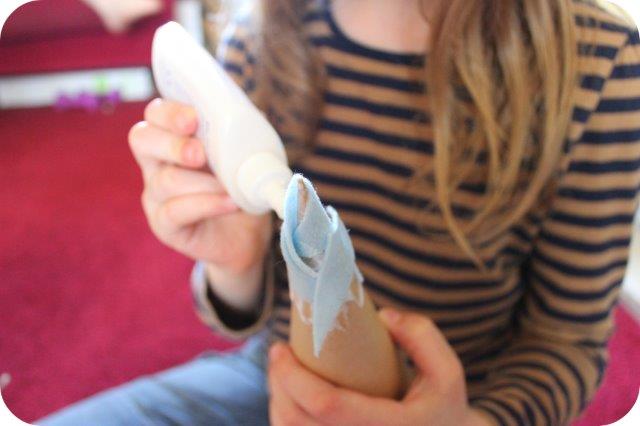
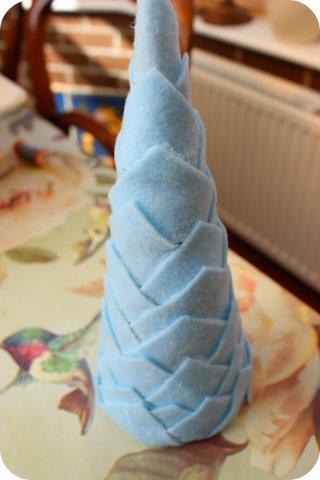
Every self respecting monster needs terrifying skin, cut some shapes from the felt and glue onto the cone using the Blu Tack White Glu, then leave to dry completely. My daughter cut out triangle shapes and glued them from the tip of the cardboard cone to the back to create scales.

bostikmon4

Step 2bostikmon5

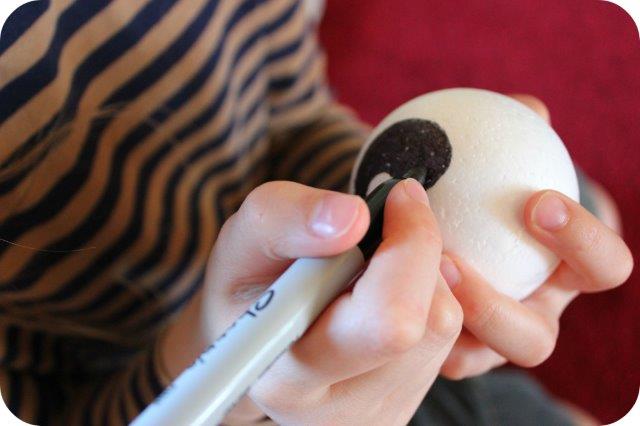
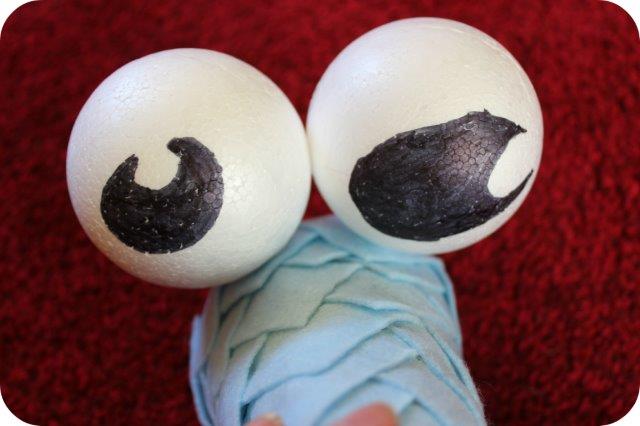
Draw some pupils onto the two polystyrene balls, these will become your eyes. Stick the eyes together using a Bostik Glu Dot. Then attach two glu dots to the bottom of each eye and stick onto the end of the cone.

bostikmon6

Step 3

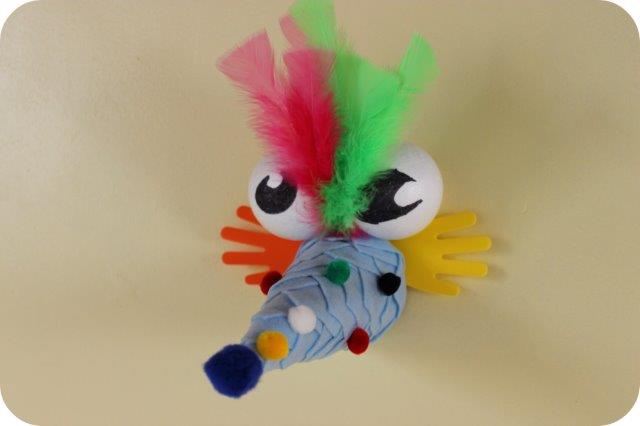
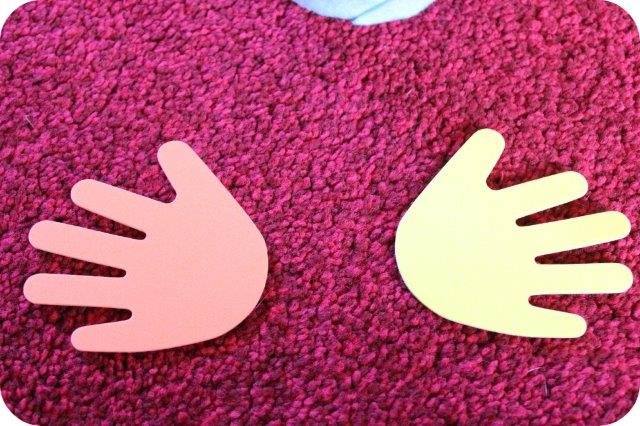
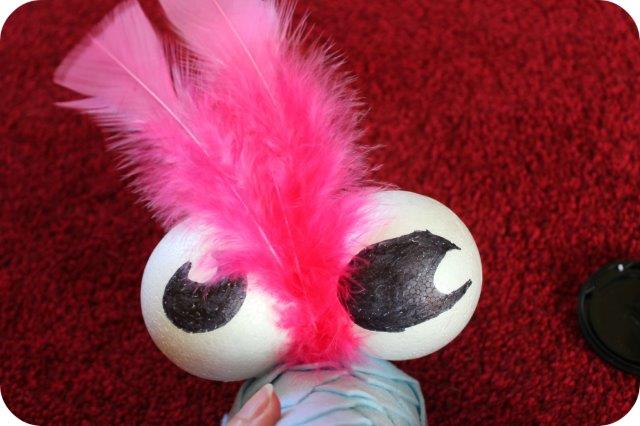
Time to decorate and let your imagination run wild!! We stuck foam hand shapes to the back of our monster’s head. Then we used wired feathers which were bent at a right angle and threaded between the eyes, these were stuck inside the cone using tape to give a really secure anchor. Small pom poms were stuck at random around the head using glu dots, and then we stuck a larger fluffy pom pom onto the tip of the cone/head to give the monster a bright blue nose.bostikmon8

Of course you could decorate your monster in whatever way you fancy.

bostikmon7

Step 4

To hang the head on the wall simply position over a nail or picture hook (that may be a job best left to the parents if hammers are involved!!) then stand back and admire your monstrously good craft skills.bostikmon9