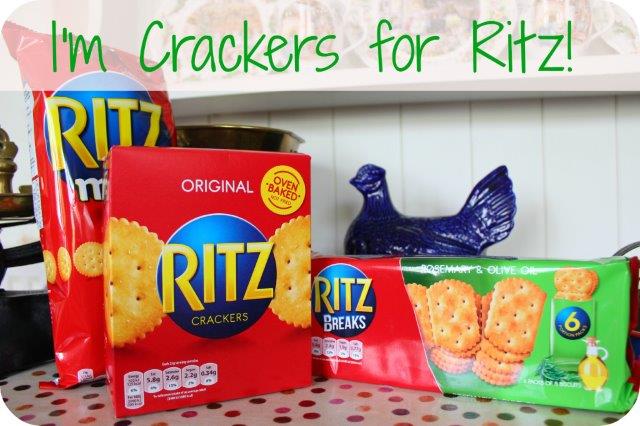
I’m Crackers for Ritz!

Crackers for RitzThis shop has been compensated by Collective Bias, Inc. and its advertiser. All opinions are mine alone. #CollectiveBias We’ve been going Crackers for Ritz!

Crackers are a staple you’ll find in most food cupboards but they’re often maligned as plain or boring. The secret to their success lies in their versatility; top them with cheese for an after dinner digestif or load with various antipasti to create a simple starter. However the humble cracker is more than a base for toppings, some variants (cheese, herb, sea salt etc) can be downright tasty with just a slither of butter or eaten straight from the pack.Ritz Aisle

My family are massive fans of this crispy treat and my children request them almost daily. One of our favourite brands is Ritz because they offer mini snack size packs which are perfect for days out and picnics. We bought some from our local Morrisons supermarket and we’ve been coming up with fun and unique reasons why we’re crackers for Ritz! We’ve even made a hashtag #crackersforritz if you’d like to join in the fun. Here’s the top reasons why we love them.

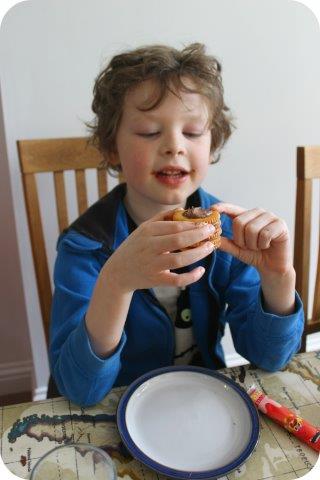
I go crackers for Ritz in a chocolate spread tower!

Ritz Chocolate

My youngest son can be rather awkward when it comes to his food (think plain rolls and an absence of key ingredients normally seen on the dinner plate) but we can always rely on Chocolate Spread to make him happy. When asked what made him love Ritz crackers so much he said, ‘because I can have a giant chocolate cracker tower!’

I go crackers for Ritz while holding up trees!

Ritz Tree

My eldest is surprisingly strong for a child (I’m counting on his future abilities to open jars and hold onto our dog who pulls like a steam train on a walk). He told me, ‘food gives you energy, so I love crackers because they make me strong’. Admittedly this tree (while leaning dramatically) was completely wedged into the earth below but it still made for a great leaning post.

We all go crackers for Ritz on family days out!

Ritz Picnic

Crackers are an essential part of our picnic bag on most family outings, not just because of their flavour but for their ease of transportation. In my head I was going to take a beautiful picture to illustrate this, with my (well-arranged) family smiling sweetly on a recent springtime stroll. Unfortunately the kids were too busy trying to feed Grandpa their crackers while Granny was being stared at by a cracker loving pooch!

I go crackers for Ritz when I get the box to play with!

Ritz Dog

All these crackers were driving our dog a bit mad. He desperately wanted to eat them and so far had only managed a few that the kids had accidentally dropped. The truth though is that he loves playing with the cardboard box as much if not more than eating the contents!

Ritz Dog 2

We’ve had loads of fun coming up with new ways to enjoy crackers to their full potential and I think I’ve started a family trend, going ‘crackers for Ritz’. For myself I’m planning on a secret midnight feast when there’s no little hands to steal the cheesy crackers away from me. How would you go Crackers for Ritz? Let me know in the comments below or on Twitter using the hashtag #crackersforritz .
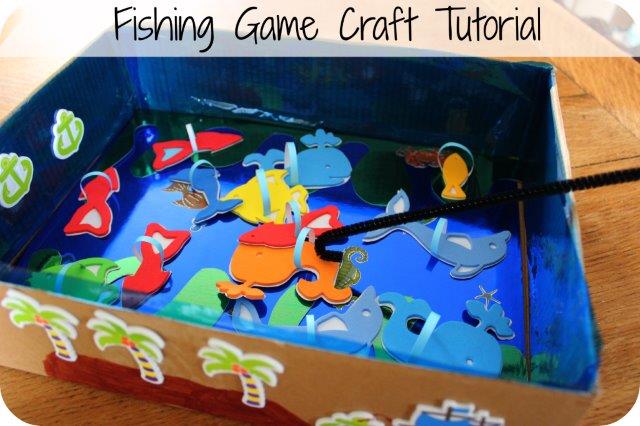
Fishing Game Craft Tutorial with Bostik!

fishinggametutorialYar, good morning to ye me fine readers, we be feeling all nautical here at the Angel Eden Blog today so I’m sharing our quick and simple Fishing Game craft tutorial. We created this fine fellow of a game using craft supplies from those land lubbers at Bostik as I’m a Bostik Craft Ambassador  ‘Pirate’! It be perfect for small hands and trainee sailors to make and play, sure to be enjoyed by any true lover of the sea.

What ye be needing

Empty cardboard box

Shiny card and cellophane

Bostik Blu Tac Blu Stick

Foam fish (stickers are perfect)

Stickers for decoration

Cardboard

Pipe cleaner


bostikocean1Step 1

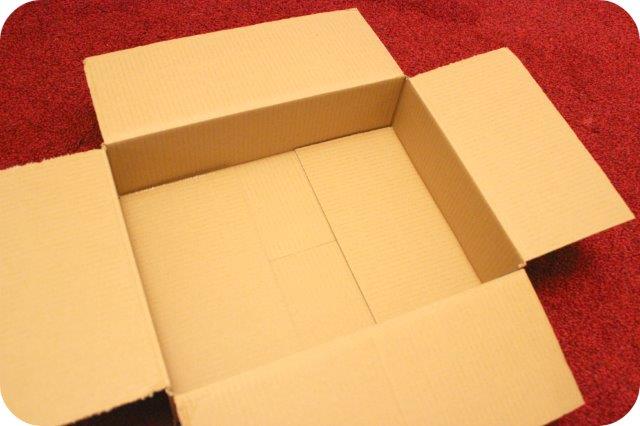
Start by cutting off the top flaps from the cardboard box.

BostikOcean2-3Step 2

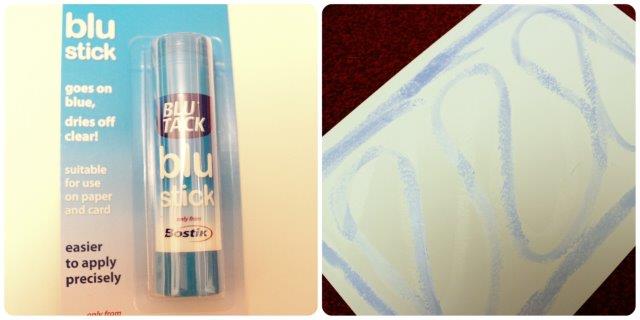
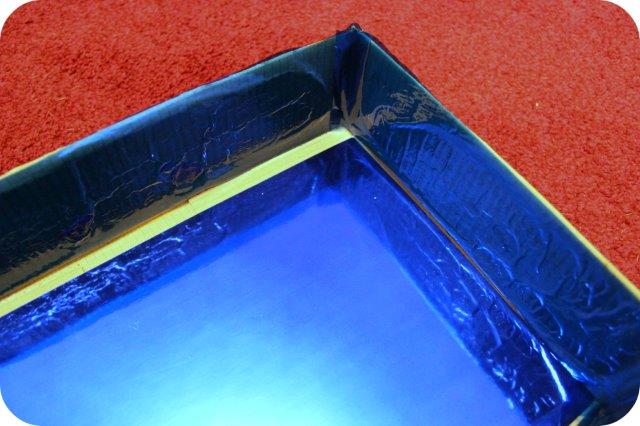
Cover the bottom of the box with a piece of shiny cardboard (the sea bottom). Secure this into place with the Bostik Blu Stick. This glue goes on blue and dries clear making it really easy to see when applying. We used blue cellophane to stick to the sides of the box, you could also use cardboard or colour it in with a pen.BostikOcean4Step 3

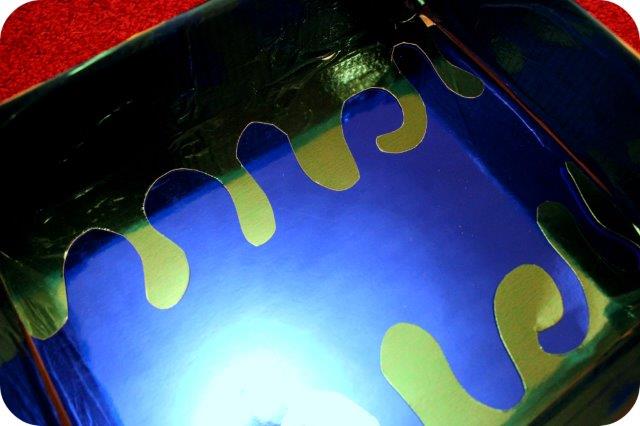
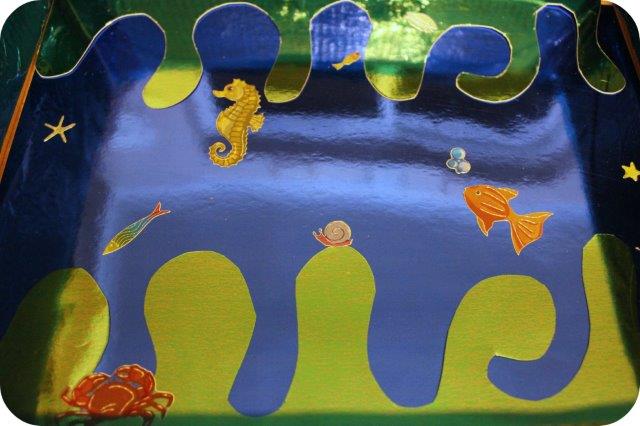
Finish off the sea bottom by cutting wavy seaweed from green cardboard, glue into place.BostikOcean5Step 4

We used sea themed stickers to add creatures to the bottom of the sea.BostikOcean6Step 5

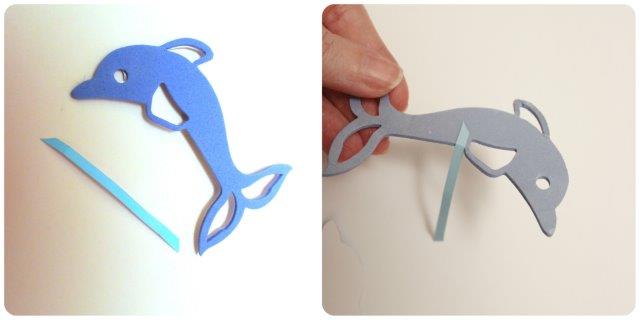
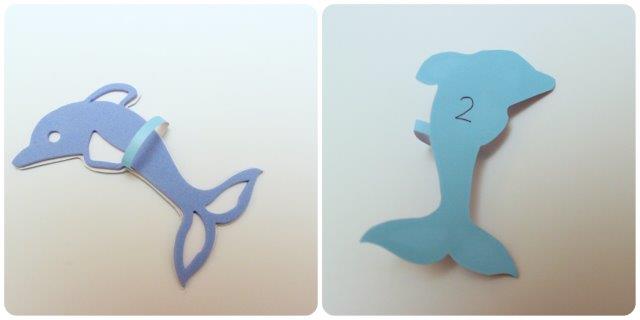
Now to make the fish! We used foam fish stickers which is definitely the easiest option. Cut a small length of cardboard, remove the sticky back from the fish and attach one edge of the cardboard strip. Bend the cardboard around the front of the fish and secure the other end at the back. Then stick the entire fish onto blue cardboard and cut around. Write a random number onto the back of the fish (this will be the amount of points the catch is worth).BostikOcean7-8

BostikOcean9-10

Step 6

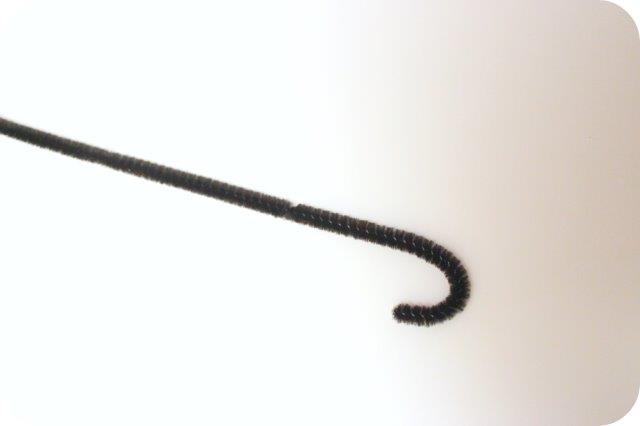
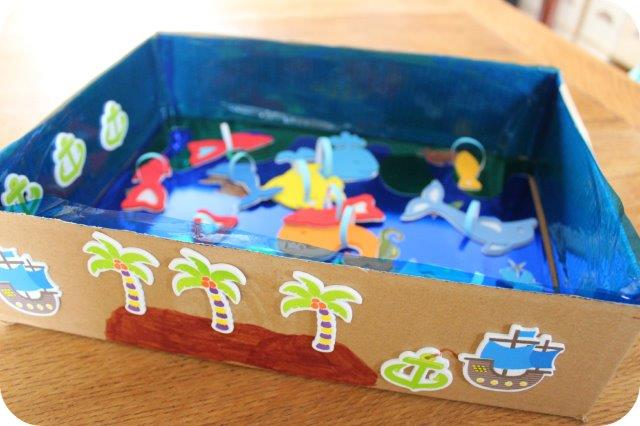
To make the fishing rods just bend the end of a pipe cleaner into a U shape. Decorate the outside of the box however you like (we used foam stickers and pens). That’s the game completed, now it’s time to play!BostikOcean11BostikOceanSide

How to Play!

Undoubtedly the most important element is how you play our fishing game. There are two versions of this game depending on the age of the children or how hard you want it to be.

BostikOcean12Easy Version:

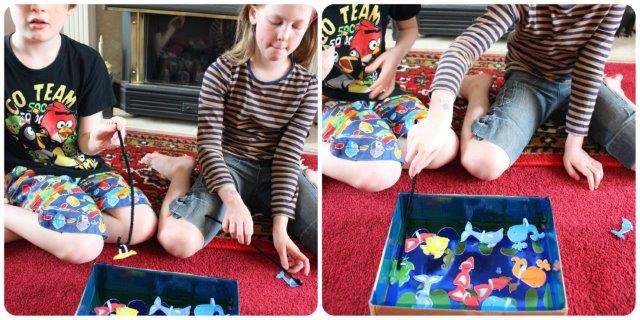
Each player takes it in turn to ‘fish’ a creature from the sea. Once all fish have been caught they are turned over to reveal how many points they are worth. The winner is the fisherman with the most points.

BostikOcean13Harder Version:

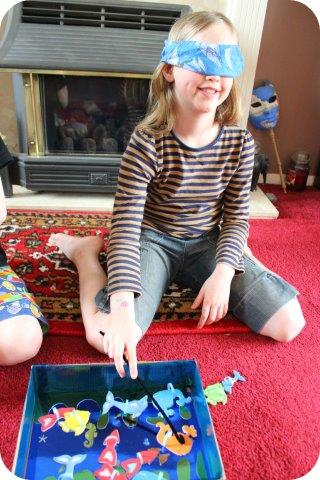
Exactly the same as the version above except that players wear a blindfold during their turn so they can’t see which fish they are hoping to catch. We gave each player a couple of swipes in the box and if they caught nothing then that was the end of their turn.

Blueberry and Hazelnut Scone Recipe!

blueberry hazelnut scone recipe

The weather is improving and there’s nothing I like better than afternoon tea in the sun. In my mind you can’t have a summer tea without scones with jam and cream, but that doesn’t mean your scones have to be traditional or plain. I created this brand new Blueberry and Hazelnut Scone Recipe and it’s really tasty topped with blueberry jam and lashings of whipped cream!

What You’ll Need

250g/ 9oz Self Raising Flour

30g/ 1oz Butter (softened)

85g/ 3oz Caster Sugar

30g/ 1oz Blueberries

30g/ 10z Chopped Hazelnuts

1 Egg

150ml Milk


Step 1

Preheat the oven to 220C/ 425F/ Gas Mark 7. Rub together the butter and flour, then mix in the sugar and blueberries.

Step 2

In a measuring jug combine the milk and egg using a small whisk or fork.

Step 3

Make a well in the centre of the flour mixture and pour in the liquid from the jug. Reserve a little of the milk mixture to glaze the scones before baking later.

Step 4

Using your hands bring together the ingredients to make a dough, if you find it too sticky then add a little flour until you reach the desired consistency. Don’t worry if you ‘pop’ some of the blueberries this will add colour to your finished scones, in fact I pop them on purpose 🙂

Step 5

Turn the dough out onto a floured surface and knead lightly. Using a rolling pin roll into a round about 2cm thick. Cut into scone shapes using a round cutter (or alternatively you can cut into squares using a sharp knife).

Step 6

Place the scones onto a lined baking tray. Pop them into the fridge for 20 minutes. Finally glaze the scones with the left over milk mixture and bake for 10-12 minutes.

Serve with blueberry jam or compote and oodles of whipped or clotted cream 🙂