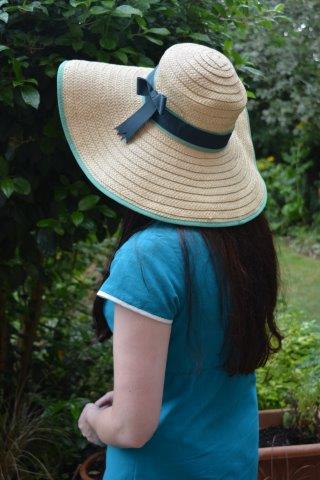
Upcycling tutorial – Making an old hat new!

DSC_0651As a creative sort of person I love taking things apart and remaking them to suit my own needs. Not only is it a fun and inspiring occupation but it’s economical and environmentally friendly too. I’ve detailed my latest project as an upcycling tutorial and written the steps below in case you would like to have a go at making an old hat new!
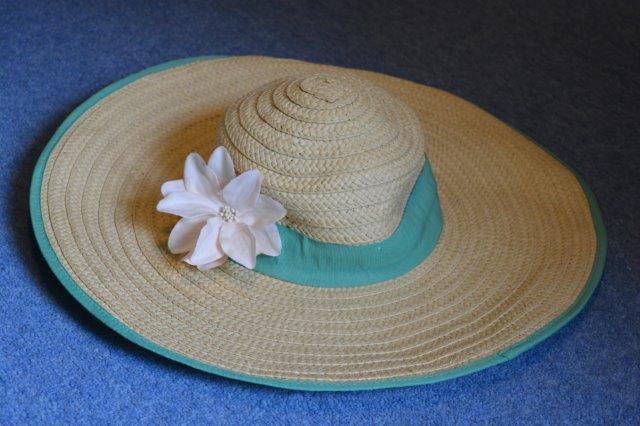
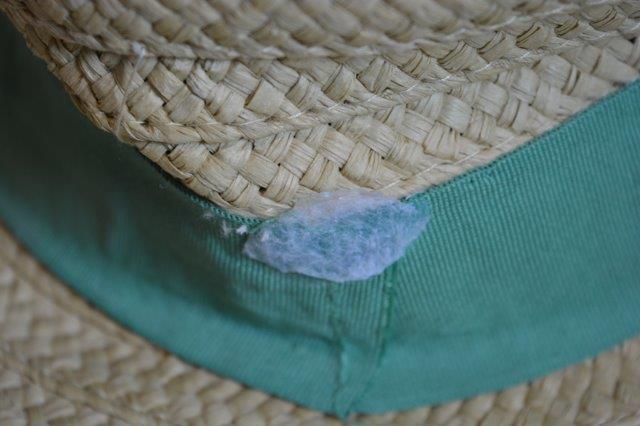
DSC_0628I wanted a large floppy hat to shield me from harmful rays (although the sun appears to be hiding today). I found my hat in a local Oxfam shop, but while I loved the fit (and the flop) I was less keen on some of the adornments. This picture shows the rather cheap looking flower that was stuck onto one side with a massive blob of glue. DSC_0629
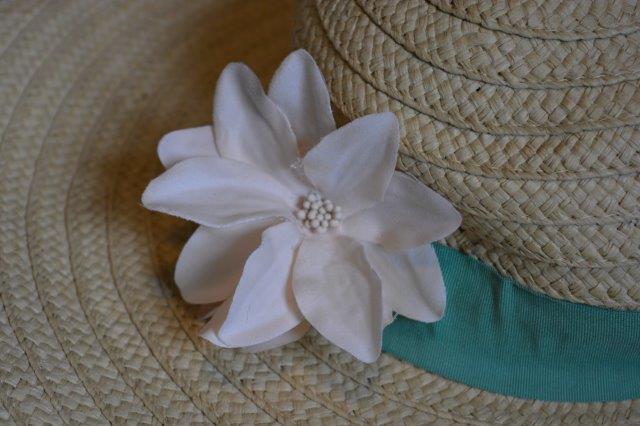
I removed the flower and as much of the glue as I could cut away but I was still left with a noticeable blob!

DSC_0630

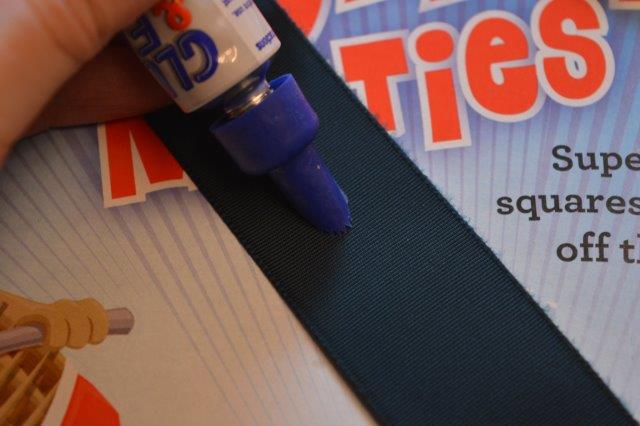
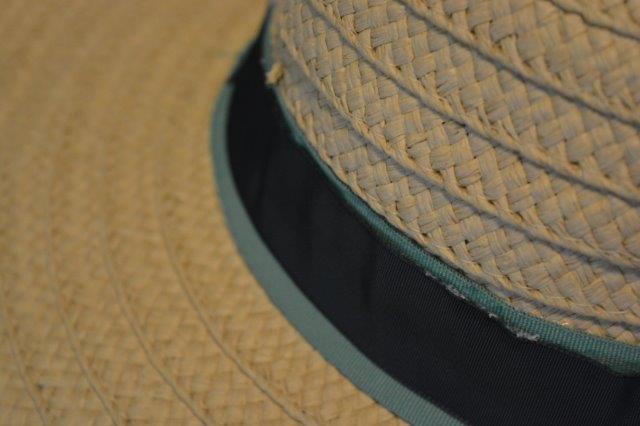
I covered the glue and crooked sewing with another band of contrasting ribbon. The hat was tough enough that sewing seemed a little difficult, so I used fabric glue to attach instead.

DSC_0631

DSC_0633

Next I sewed a simple fake bow from the contrasting ribbon, unfortunately I forgot to photograph this stage. The bow is created by cutting a length of ribbon and sewing the ends together to make a loop. A smaller piece of ribbon is folded in half and used to pinch the loop in the middle, this is then sewed together at the back. If you want ribbon tails just add in at the back with a couple of stitches. It creates a much flatter bow than a real one, making it easier to sew into place. I cut my tails into V shapes to stop them fraying and sewed the bow onto one side of the hat.DSC_0644
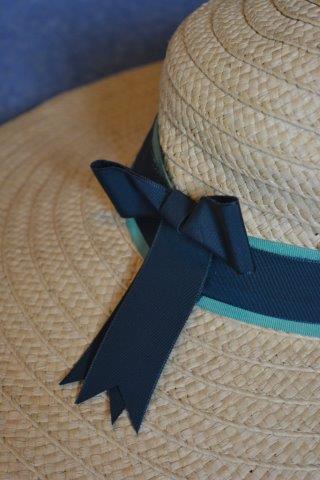
I was very pleased with my simple hat, it took hardly any time at all and became a truly unique creation. 🙂DSC_0651

This Old Thing – Vintage Patterns

this-old-thingIf you’ve been watching Channel 4 recently then chances are that you caught a bit of Dawn O’Porter’s new show ‘This Old Thing’. In it Dawn tries to convince vintaphobes (my new word, do you like it?) to swap their brand new mass produced clothing for the unique wonders of vintage. She’s mostly successful and is certainly introducing a whole new group to second-hand (excuse me vintage) clothing.dawnoporter_2954682b

As for myself I’ve always had a bit of a love hate relationship with ‘vintage’. I love historical fashions (I’d be dressed in a bonnet everyday if I could!) and I love being unique so vintage definitely appeals. However I don’t always love vintage stores, I’ve visited several which were cramped, badly lit, musty smelling and generally uninviting. However all of that would be nothing if I bagged a real vintage treasure, unfortunately many are now overpriced and underwhelming and their idea of good quality clearly differs from my own.

On the flip side when vintage is done well, enticing stores with bright colours and enthusiastic staff, it can be incredibly exciting. Only the other day I was bouncing about my house with glee having found a 1970s Clothkits dress in perfect condition and it cost me the princely sum of £8!

However I have an unwavering passion for vintage patterns! With them I can create wonders from the past with my own two hands, I could even use vintage fabric if I wish. The end result is just as unique, and even better, I can tailor things to my own choice and size. I could even make them again!

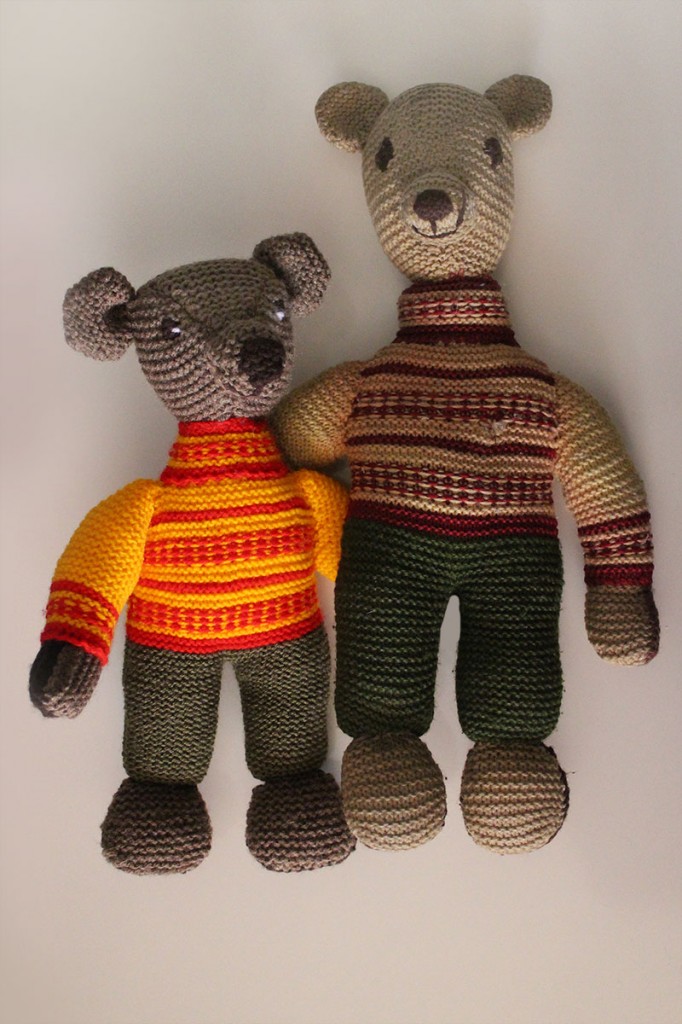
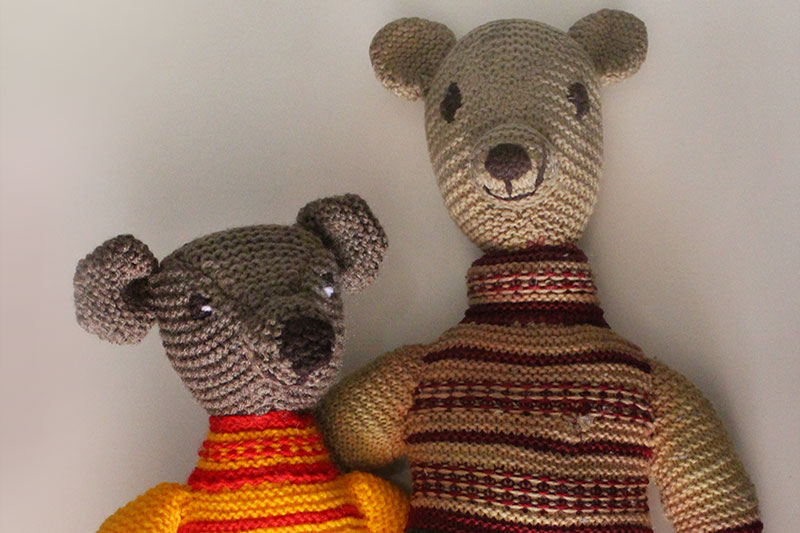
patternRecent acquisitions include a wonderful collection of knitting patterns. I can actually remember many of these sitting about the houses of my relatives. The best creation by far though is a wonderful Teddy pattern that my Granny knitted for my brother when he was a baby.snidneys2

The Teddy was named Sidney and was dearly loved. Unfortunately my brother (being a baby and all) had the audacity to throw up on him and thanks to a trip in the washing machine he stretched and never looked the same. Despite this Sidney became something of a phenomenon in my little village and before we knew it Sidneys (all named after the original) were popping up everywhere, knitted loosely to resemble our stretched one. Of course what none of those knitting Mommas knew was that Sidney was named by my Father after Sid Snot who was one of Kenny Everett’s many characters!snidneys2-crop

I picked up my needles recently and knitted my bro a brand new bear. However what I hadn’t expected was the size difference between the new bear and the original, it goes to show what a washing machine can do to hand knitting. If it hadn’t been for this gorgeous vintage pattern Sidney would have spent the rest of his days alone but now he has a significantly smaller brother to keep him company.

So I guess Dawn is right, there’s still life in This Old Thing. 🙂


Easy Blackberry Pie Recipe

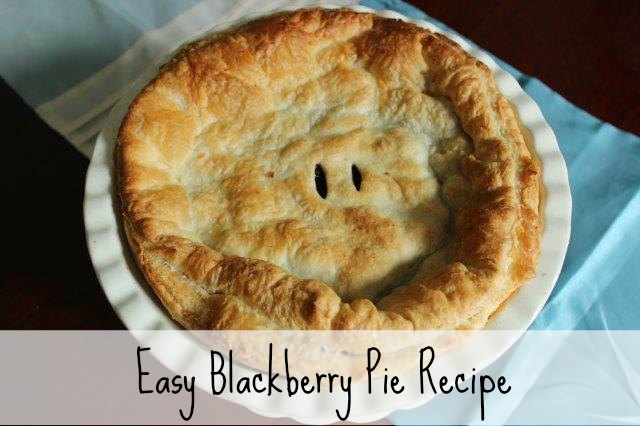
blackberry pieThis year our Blackberry bush has decided to produce fruit rather early and my children picked a bumper crop over the weekend. As much as I love a good pudding the weather was so hot and muggy that baking didn’t feel very appealing, so we needed a super quick and easy recipe to use up the berries. Therefore in today’s blog I’m going to share the most quick and easy blackberry pie recipe that I know!

What You’ll Need

1 block of shop bought Puff Pastry (I keep some in the freezer for just this kind of occasion)

550g Fresh Blackberries

125g Soft brown sugar


Preheat your oven to 180C/ 350F/ Gas Mark 4

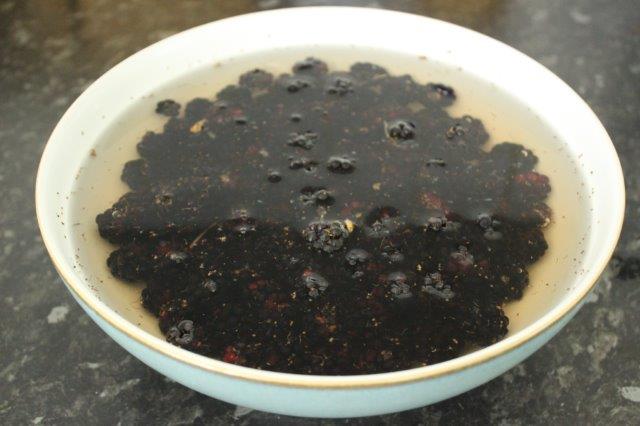
IMG_9871Start by preparing your Blackberries. If they are shop bought then they will just need a quick wash, however hand picked garden berries need to be soaked in cold water for awhile to make sure any resident bugs etc. float up to the surface. After removing any bugs give your berries a final rinse under the tap.

IMG_9872

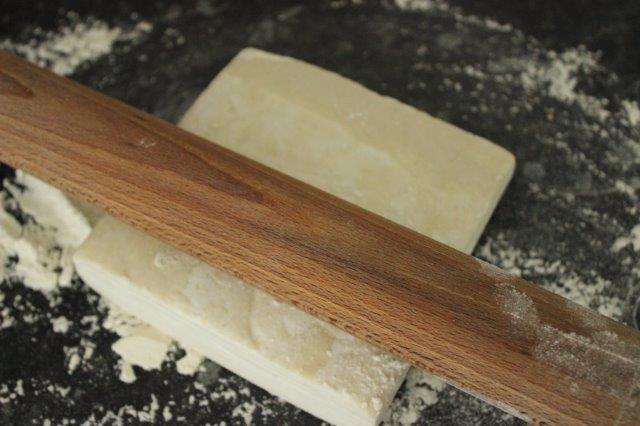
Next you need to roll out the pastry. Dust your worktop with plain flour and roll out thinly. It needs to cover the bottom and sides of your pie dish, but as it’s puff pastry don’t worry about a fold here or there, you wont notice it once baked.

IMG_9877

Cut any excess from the sides.

IMG_9878

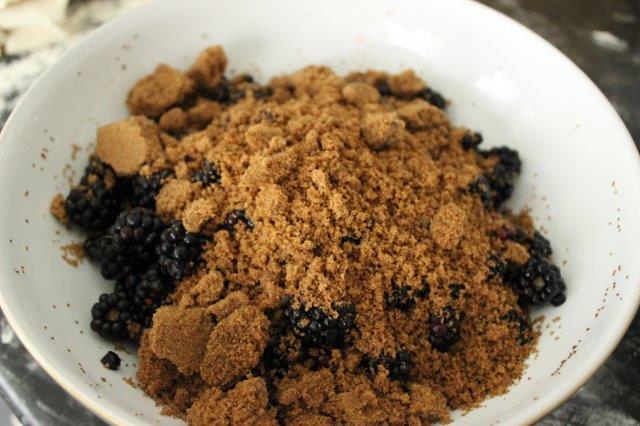
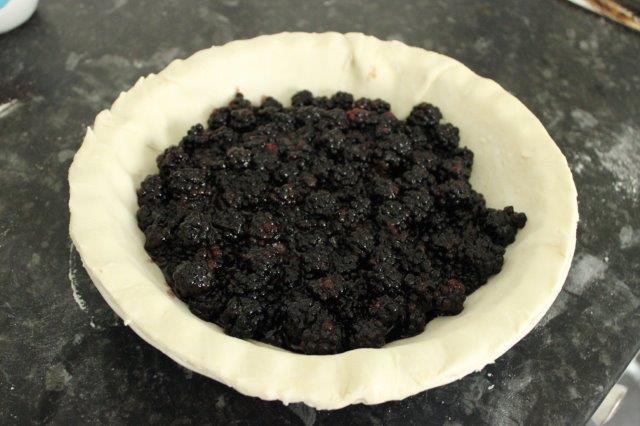
In a large bowl mix together the brown sugar and blackberries. Tip the berries into the bottom of the lined pie dish.

IMG_9884

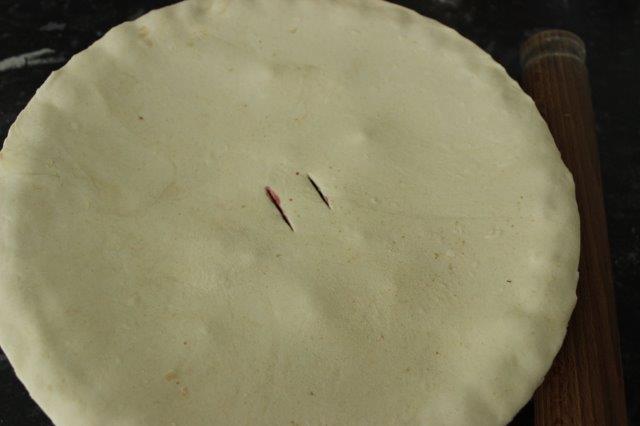
Using the remaining pastry roll out a top for your pie and lay across the dish, pushing the edges together with your fingers to seal. Cut a couple of steam holes into the centre of your pie.

IMG_9889

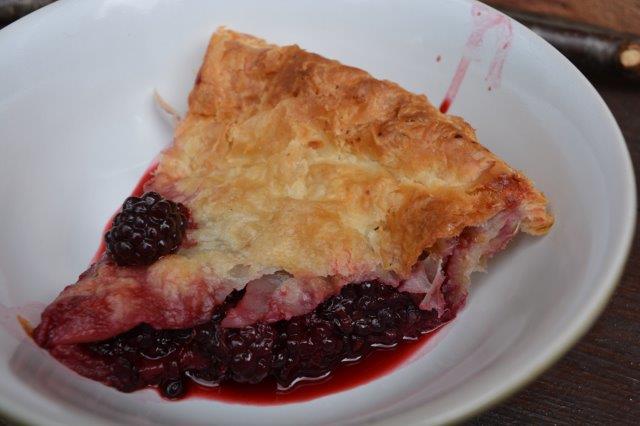
Bake in the oven for approximately 25 minutes or until golden and risen.

DSC_0259

Eat warm with oodles of custard and/or cream and ice cream.

Tip. This pie is full of juice, if you would rather have a firmer filling then the berries will need to be precooked or a little thickening added (such as cornflour).