How to make an Easter Bumble Bee and Easter Rabbit Tutorial

IMG_7751In my last post I showed you a collection of our recently completed Easter Crafts as part of the Bostik craft network. Today I’ll show you how to make an Easter Bumble Bee and Easter Rabbit with our simple and fun tutorial.

You will Need

Polystyrene Egg shapes

Googly Eyes

Bostik Glu Dots

Pens

Ribbon

Pipe Cleaners

Buttons

Pom Poms

Sheets of craft foam

Bumble Bee
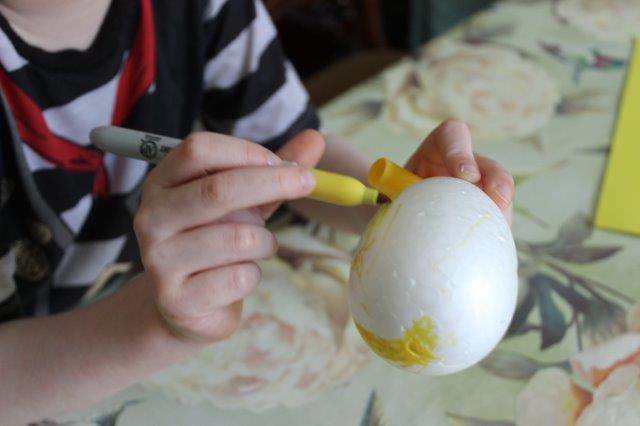
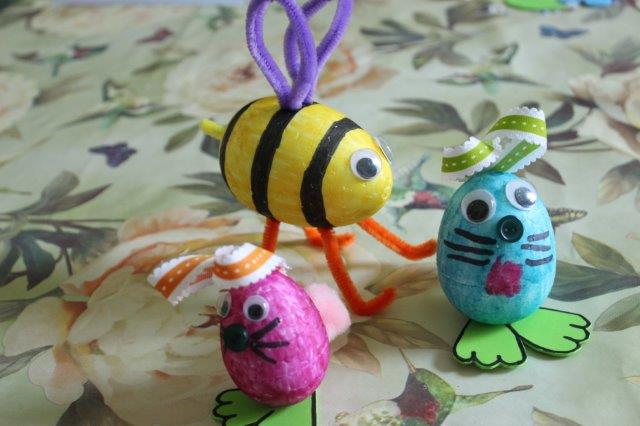
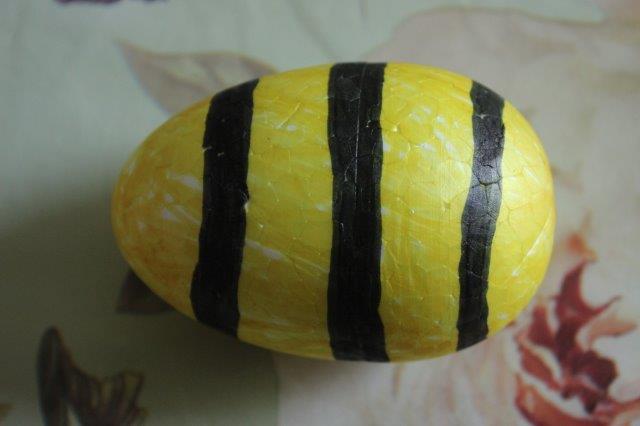
IMG_7716Start by colouring in one of your egg shapes yellow with black stripes.

IMG_7720

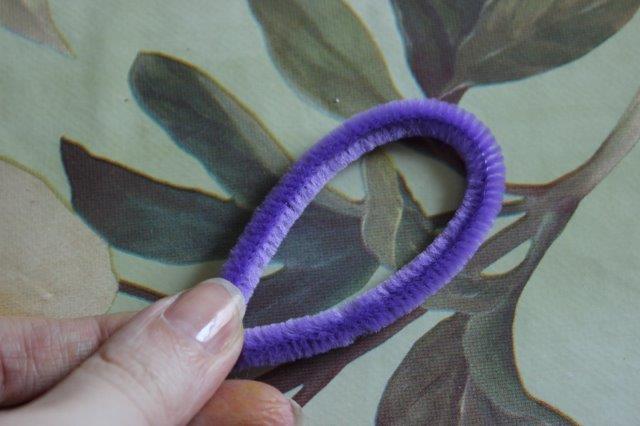
Next take two pieces of pipe cleaner (a colour of your own choice, we used purple) and bend into wing shapes. IMG_7721
Take another four lengths of yellow or orange pipe cleaner and bend to make legs, obviously if you want a technically correct bee he should have six legs, but four fitted in much more neatly.IMG_7722
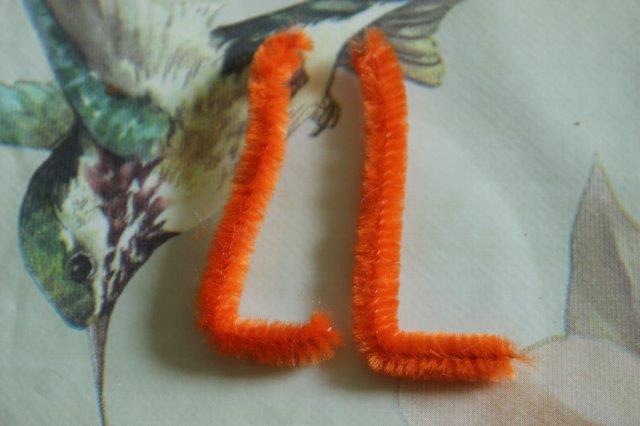
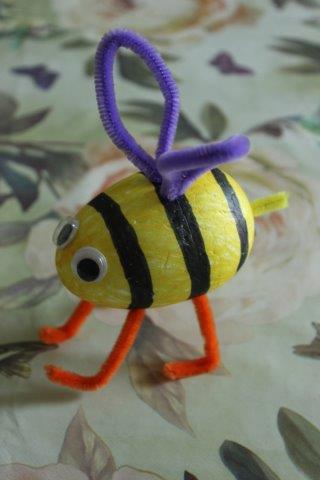
Push the leg pieces into one side of the coloured polystyrene egg shape. Push the wing shapes into the opposite side.

Finally stick some large googly eyes to the front of your bee, and push a small length of yellow pipe cleaner into the end to make his stinger!IMG_7736
Rabbit

Begin by colouring in a polystyrene egg shape in a colour of your choice.IMG_7723
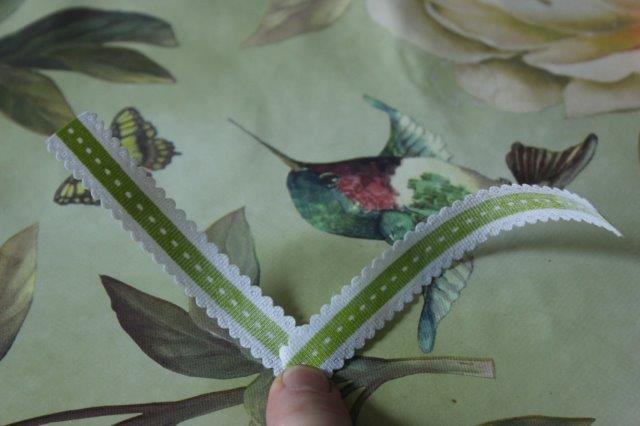
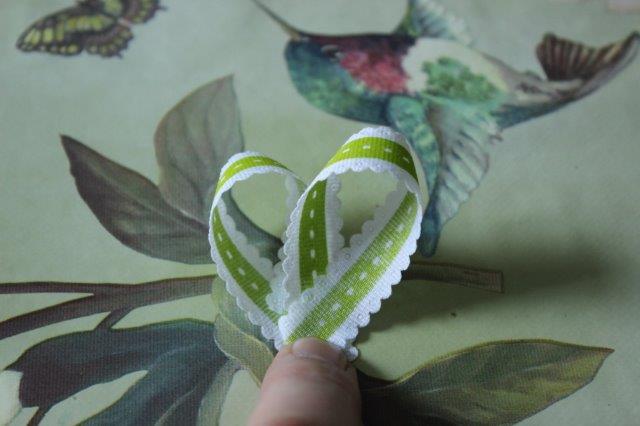
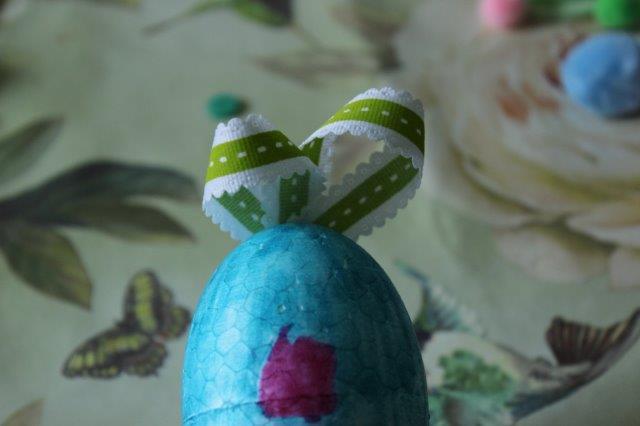
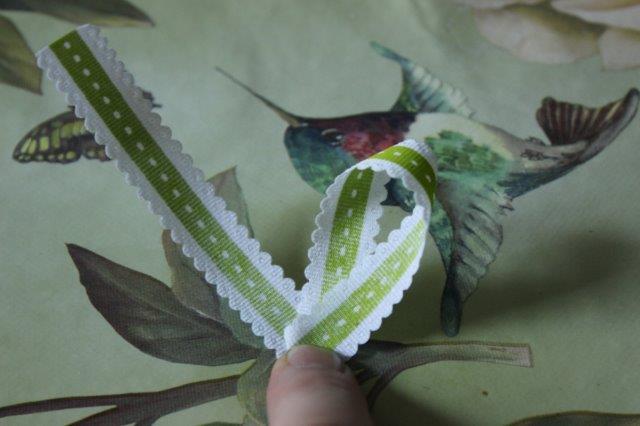
Next take a length of ribbon and fold as shown in these pictures to make the rabbit’s ears. Attach the ribbon ears to the thin end of your egg shape using a Bostik glu dot.IMG_7725IMG_7728IMG_7729
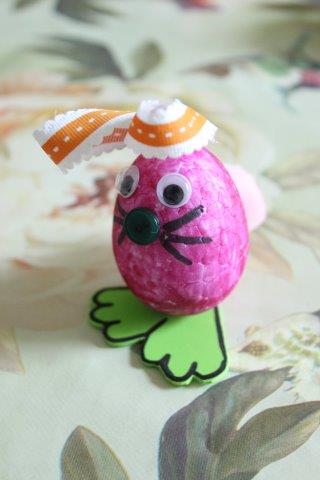
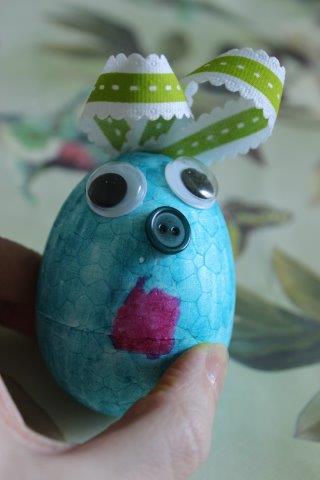
Next stick on two googly eyes to the front. Then using a Bostik glue dot stick a button on to give the rabbit a nose, you can draw the whiskers on using a felt tip pen.

IMG_7737

To allow your rabbit to stand up unaided he will need some feet! Cut feet shape from your craft foam and attach to the base of your bunny using a Bostik glu dot.

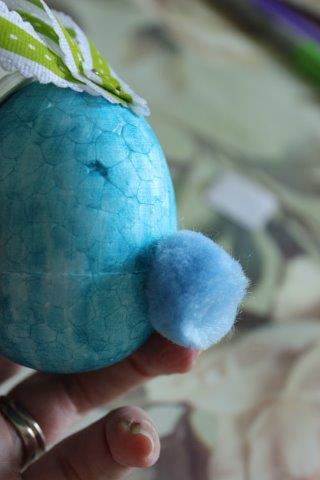
Finally give your rabbit a lovely cotton tail by attaching a pom pom with a Bostik glu dot to his back.
IMG_7739

IMG_7748

Easter Crafts for kids with Bostik!

Time for my second post as part of the Bostik Craft Bloggers Network. Every month Bostik send members of the network a pack containing crafty materials and challenge us to create something to share with our readers. Today I’ll show you an overview of the Easter crafts for kids that I came up with. I’ll post up the relevant tutorials over the coming days, so keep your eyes on the blog 🙂

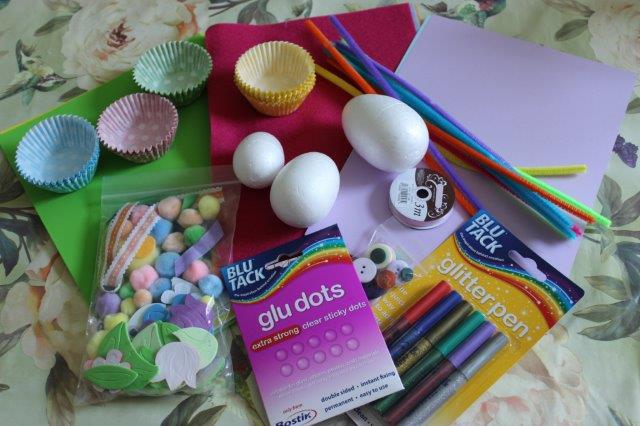
This month Bostik kindly sent me a large craft box containing:

IMG_7715Bostik Glu Dots

Bostik Glitter Pens

Foam

Felt

3 Polystyrene Egg shapes

Ribbon

Pipe Cleaners

Buttons

Various foam shapes, pom poms and googly eyes

Card

Cake Papers


I was thoroughly pleased to receive so many wonderful materials to work with, but what could I do with them all that would make fun Easter crafts for kids? After some discussions with my three little people I came up with some very simple and fun craft ideas.

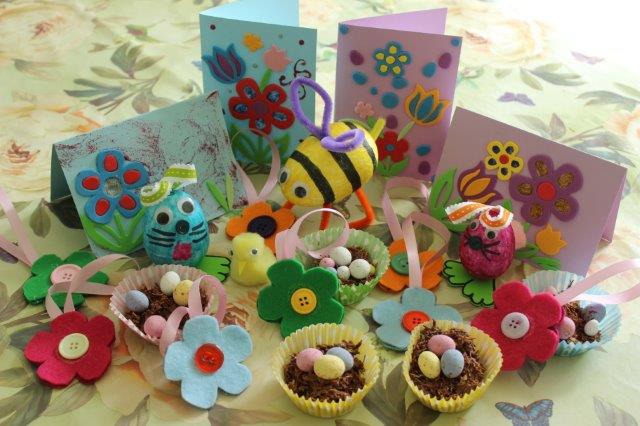
We made:Easter Crafts for kids

Easter cards (using the card, foam shapes and Bostik glitter pens)

Bumble Bee and Rabbits (using the polystyrene eggs, googly eyes, foam, pom poms, pipe cleaners and Bostik Glu Dots)

Chocolate Easter Nests (using the cake papers)

Easter Tree flower decorations (using the felt, buttons, ribbon and Bostik glue)

An Easter chick (using googly eyes, foam, pom poms and Bostik Glu Dots)


The kids had a fabulous time and I think they did a really great job with their Easter creations. If you would like to make your own versions of these fun crafts keep checking back as I’ll post up full tutorials over this coming week.

Simple Cake Recipe

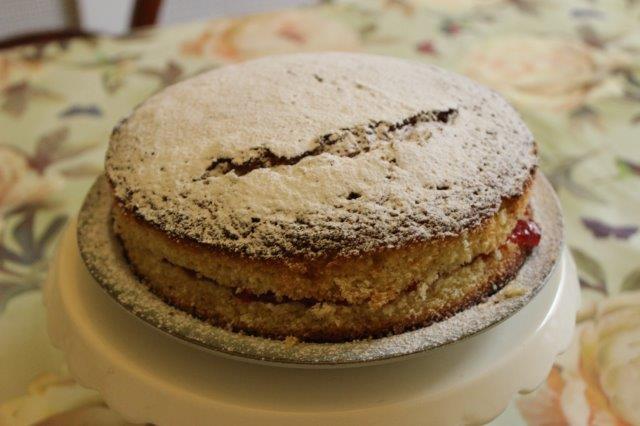
Basic Cake RecipeToday I’m sharing with you a very simple cake recipe, designed to assist brand new bakers looking to cook their very first cake. My youngest son has recently expressed an interest in cooking and this was the recipe he used. It’s very much a basic cake, but sometimes that’s just what you need. The cake above was made by my youngest 🙂

What You’ll Need

8oz Self Raising Flour

8oz Caster Sugar

8oz Butter

4 eggs

A Tsp Vanilla extract *optional

Strawberry Jam (or buttercream)

Icing Sugar to decorate

Hint. The beauty of this simple recipe is the ease with which it can be increased or decreased, how ever many eggs you use will require double the amount of oz of the other ingredients eg. 3 eggs, 6oz flour, 6oz sugar etc etc.

Method

Measure out all the ingredients into a mixing bowl and whisk to combine.

Spread the batter into a greased cake tin and then bake in a pre-heated oven at 170C for 25-30mins. It’s ready when a knife or skewer comes out clean when inserted into the cake.

Remove from the tin and cool on a wire rack. Once fully cooled spread Strawberry Jam (or buttercream) in the centre. Sieve icing sugar onto the top to finish.

Ta-Da the easiest cake ever! The simple cake recipe.