Inkodye Printing

I recently read an article in the Mollie Makes magazine about a really unique printing ink called Inkodye and I instantly wanted to have a go.  Unfortunately there is currently only one company in this country that stocks it www.firstcall-photographic.co.uk and the postage is quite high but I felt really impatient to try it out!

Inkodye comes out of the bottle colourless, you then apply it with a brush and then leave it to the sun to develop, almost like a fabric photograph. In theory it allows you to create beautiful prints using anything that casts a shadow. Of course I bought it in the winter when sunlight is sparse but I have still managed a few goes with it. At present it only comes in three colours: red, orange and blue, but you can mix them so it’s not too restrictive.

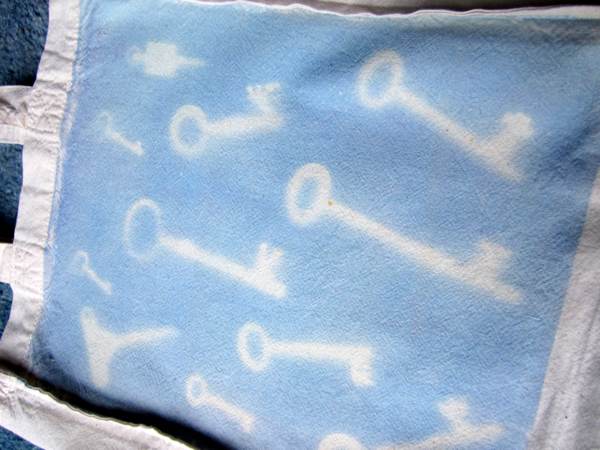
My first attempt was using the red, I placed some old keys onto a small bag which I put outside for about 45 minutes. There wasn’t really enough light so it turned out pink and I don’t think I painted enough dye onto the fabric either.

My next attempt was using the blue and the same old keys. This seemed to go a dark colour very quickly, so I panicked and washed the ink out too early and again it was rather pale.

Once your piece has developed the depth of colour you desire you have to wash it really well otherwise it continues to develop! I washed the blue bag by hand (really scrubbing it) and then put it through a machine wash. Despite this after leaving it on my table folded in half for a few days I noticed that it had still continued to develop and one half was darker and some of the keys had started to turn blue 🙁

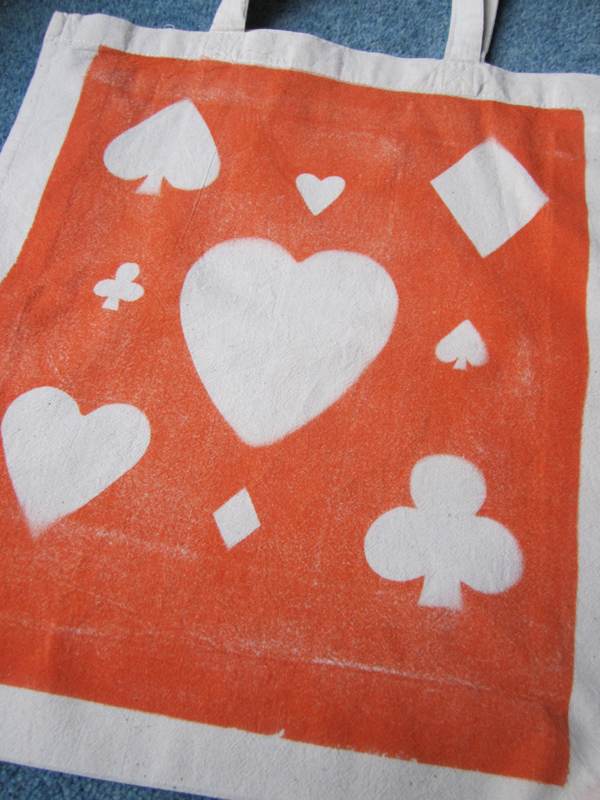
My third attempt was more successful. I cut some shapes out of cereal box and put a sheet of glass over the top to weight it down. I left it outside for one and a half hours but again there was not much light. The mistake I made with this one was washing my brush in my white kitchen sink and finding later in the day that I now have an orange and white sink!!!

Dyed sink aside I’m very pleased with the third piece and how it turned out. I think Inkodye is going to take me a little while to completely perfect but it’s definitely worth a try if you’re interested in trying out a new form of printing. Just remember my top tip…. wash that ink out until you can wash no more! Otherwise be prepared to see further colour development 🙂

Fat Quarter Clutch Bag Tutorial

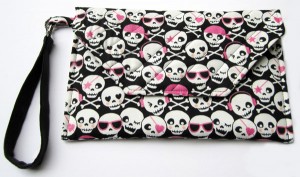
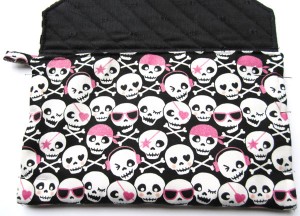
A little while ago I fell in love with a gorgeous Japanese print fabric. But when I enquired at the store they only had fat quarters left and none on the roll. Unable to resist the print, I bought it anyway. Aside from quilting there is one project that fat quarters are perfect for and that’s making Clutch Bags! I loved my new bag so much I decided to share this tutorial with you all. Incidentally it took far less than a fat quarter to complete (as I lined in a plain black fabric) so I now have a make up bag as well (two bags out of one piece of fabric is not bad going 🙂 ).

What You’ll Need

Fat Quarter of gorgeous fabric

Lining fabric (unless you are also lining with your fat quarter)

Wadding

Thread

Velcro or Poppers

Metal Handbag Clip

Step 1

Lay out your fat quarter and cut 2 pieces sized 29cm x 18 cm, one for the back and one for the front. Then cut a piece 29cm x 13cm for the front flap. You could have a completely square flap, but if you’d like to add a bit more shape cut off two corners on one of the longer sides. Tip. It’s easiest if you fold the flap piece in half and cut the two corners off in one go. With the remaining fabric cut a small piece 13cm x 4cm to make the loop needed to attach the wrist strap.

Step 2

We’ll start with the easiest piece, the small loop for the wrist strap. Fold the small rectangle in half (right sides of fabric on the outside). Iron and then fold the sides into the middle again. Iron and edge stitch along the folded edges. Fold in half ready to be sewn into the bag later on.

Step 3

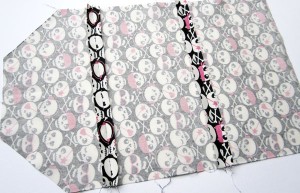
Sew the front and back bag pieces together on the wrong side of the fabric and along the longest lengths to make a long rectangle. Then attach the flap piece to one of the rectangles, making sure the two cut off corners are at one end.

Iron the seams open and  use this piece as a pattern for cutting out the lining fabric and wadding.

Step 4

Lay the three pieces on top of each other. The lining and main fabric are right sides together and then the wadding is placed on top. Now pick up the loop you made earlier and tuck it inside the three pieces of fabric so that only the ends are protruding. This needs to be placed at the top edge of the middle piece of the outside fabric.

Step 5

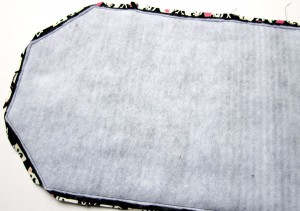
Pin and sew all the way around the edge, making sure to leave a 3cm gap on the shorter straight edge, this enables the bag to be turned the right way out. Trim the edge of the wadding back to the stitching. Trim all the corners to make turning easier, but make sure you don’t cut through your stitching.

Step 6

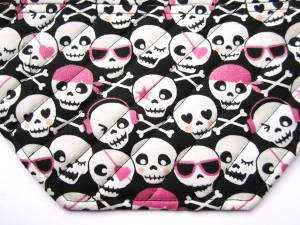
Turn the bag the right way out and ease the corners out using the end of a spoon or knitting needle. Iron the entire piece and then edge stitch or hand stitch the open gap closed.

Step 7

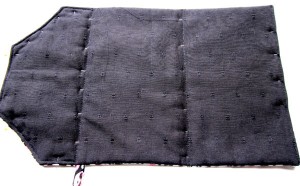
To make nice crisp folds sew through all the layers along the two seams on the outside piece of fabric. To make the flap sit more comfortably when the bag is finished, sew diagonally several times across the flap piece.

Step 8

Now fold the bottom straight edge of your bag up to meet the line of stitching at the base of the flap. Pin the edges and edge stitch to create the body of the bag. To strengthen sew backwards and forwards a few times at the top and bottom of your seams.

Step 9

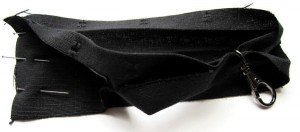
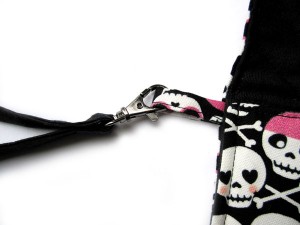
Sew on either two large poppers or pieces of velcro to the bag and flap to keep them closed when in use.To make the wrist strap cut a piece of the lining fabric 26cm x 6cm. Fold in half lengthways and then fold the two sides into the middle and iron. Don’t sew at this point, thread through the end of the metal hangbag clip and then sew a seam across the short edge. Then sew along the long edge to close, moving the clasp around as you go. You could of course either omit the wrist strap or sew it on permanently, but I like having the option of either.All you need to do now is take your lovely new bag out for a test drive 🙂

15 Minute Make! Embellishing a make-up bag tutorial

Sometimes you only have enough time to tackle a small project. You don’t really feel like painstakingly tracing and cutting out a pattern or taking up the table with a sewing machine and pins. But that doesn’t mean you can’t be creative and crafty. Today I’m going to show you one of our 15 minute makes, little projects/tutorials designed to be completed by hand while sat in front of the TV or taken on holiday etc it’s up to you.  So for today we’ll be embellishing a make-up bag. Incidentally this can be adapted to any small purse.

What You’ll Need

Purse

Needle

Thread

Bits & Bobs (whatever you have lying around, ribbons, buttons, trims etc).


Step 1 (the only step!)

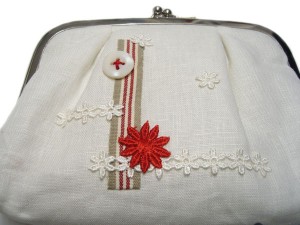
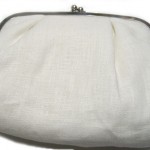
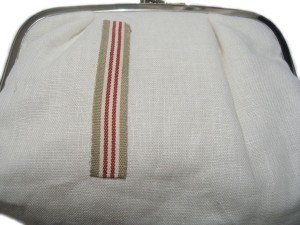
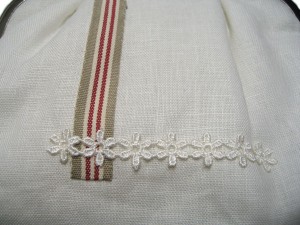
We bought this small make-up bag as our base. It’s a lovely shape, but it is frankly slightly dull. So by hand we sewed on a piece of ribbon, some trim (cut to different lengths to add interest). Then finally a pretty button and a larger piece of contrasting trim. Ta-da you have an individual and very pretty make-up bag in no time at all!