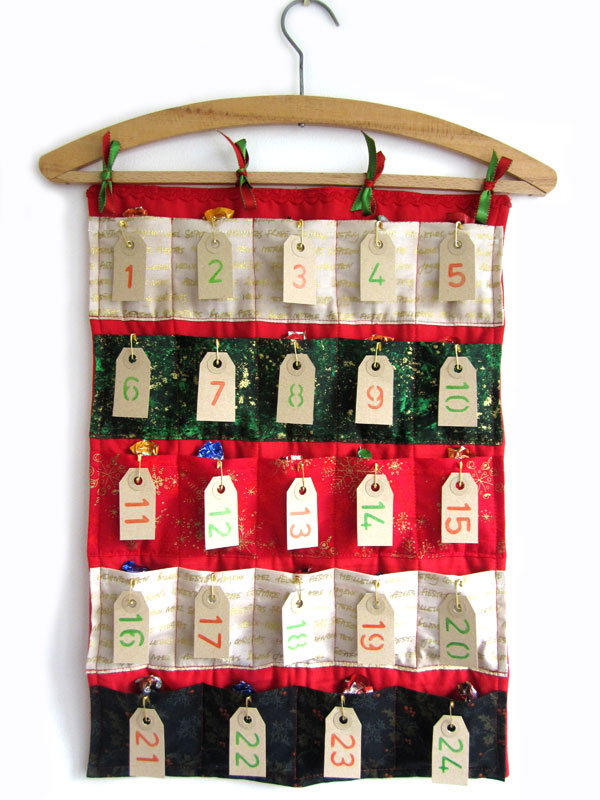
Advent Calendar Sewing Tutorial

With the festive season fast approaching I decided to share my tutorial to sew your very own advent calendar! I originally wrote this for the Boden Community which has now become the Boden Blog. You might just be able to find it if you scour through the archives, but it seemed far simpler to share it direct with my readers over here.

You Will Need

A hanger (I chose a lovely old wooden one)

2 pieces of fabric to make the background (mine measured 34cm X 48cm but this may vary depending on the size of your hanger)

1 piece of fleece fabric 34cm X 48cm

4 pieces of ribbon approximately 28cm in length

35cm piece of ric rac or ribbon

5 pieces of fabric measuring 12cm X 36cm each

24 mini luggage labels

24 mini gold safety pins

24 Sweets of your choosing.

Step 1

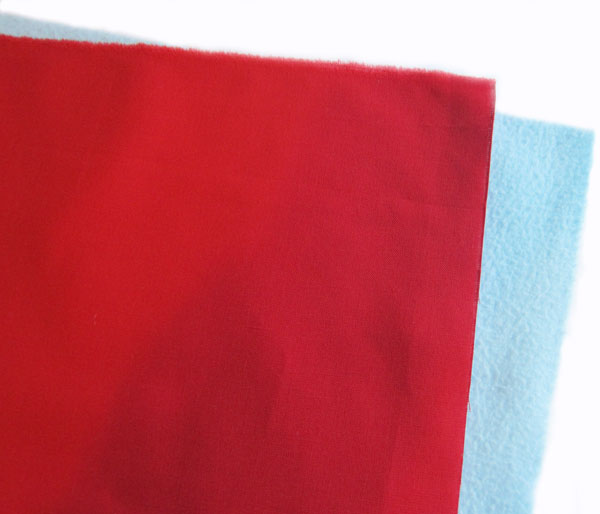
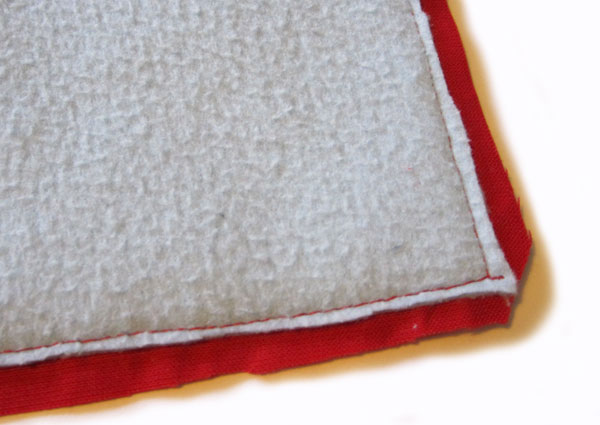
Begin by pinning the two background pieces of fabric together (right sides facing). Then place on top of the fleece fabric (I used an old blanket to cut the fleece from). Sew down one long side, across the bottom and back up the other side, leaving the top free. Iron the pieces together and then trim the fleece back close to your stitches, also trim the corners to aid turning.

Step 2

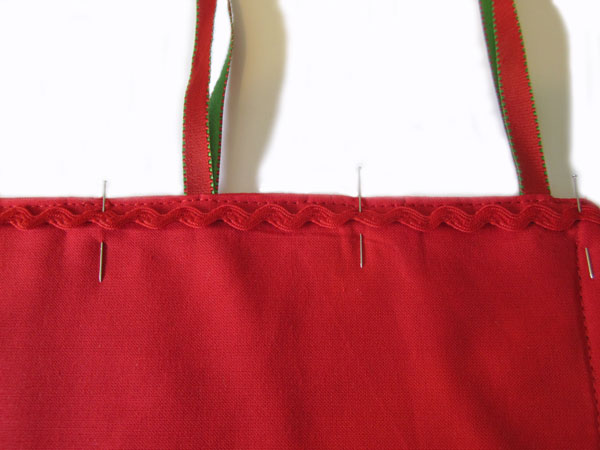
Turn the fabric the right way out and iron flat again, tuck in approximately 1cm of fabric at the open edge and iron ready for sewing. I chose to hang the calendar using pretty ribbon. Fold the 4 pieces of ribbon in half and tuck into the top open edge of your calendar. Sew across the open edge of the calendar, making sure to catch the ribbon as you go. For a little extra decoration I laid a piece of matching ric rac across my stitches at the top and sewed into place (ribbon would also work). You’ve now completed the background piece.

Step 3

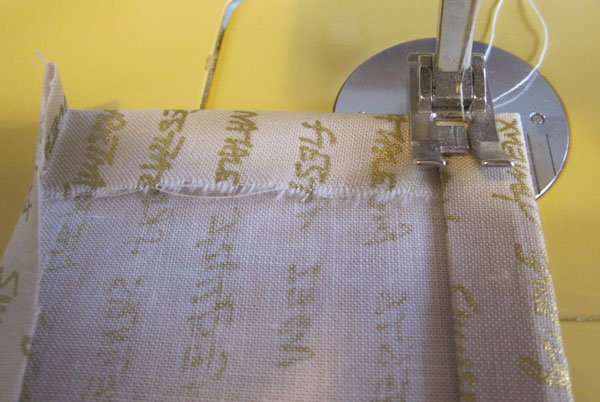
Time to make the pockets! On each piece of fabric turn over 1cm of fabric along one of the longer sides. Iron and then turn another cm over and iron again, this is the top edge of each set of pockets. Now turn each remaining edge over 1cm and iron. Machine stitch just the top edges of the pockets, leaving the other edges free.

Step 4

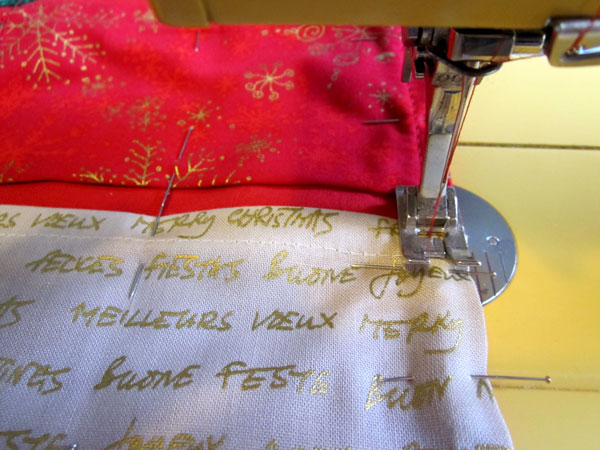
Position each set of pockets evenly across the background fabric and pin. Machine stitch across the bottom of each pocket and then around the entire edge of the calendar. You will now have 5 large pockets. In my example the first 4 rows have 5 pockets and the final row has 4 larger pockets. To create this you need to machine across each large pocket several times to make smaller pockets. On the first four rows I did this at approximately 6 ½cm intervals. On the final row I sewed at approximately 8cm intervals.

Step 5

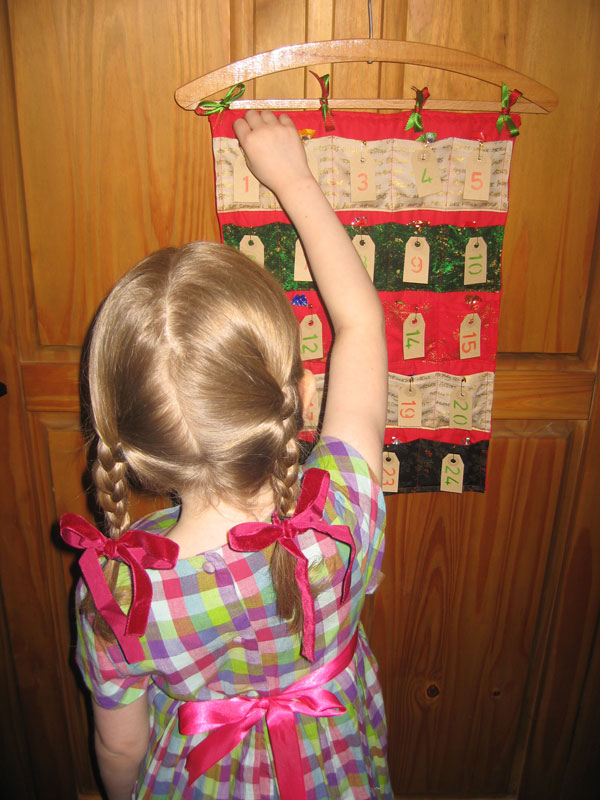
To make the calendar numbers I bought some small luggage labels from a Stationary shop. I cut them down just slightly to make them smaller. Using a red and green crayon I then stencilled a number onto each label. These are then pinned to each pocket on the calendar using mini gold safety pins (again picked up from a Stationary shop).

Step 6

Decide who the calendar is for and fill each pocket with an appropriate sweet or gift. It could even serve two or three lucky recipients, just pop a couple of extra sweets in each pocket. Now you have an attractive and reusable advent calendar that should serve you for many years to come.
Happy New Year!

Alright I know it’s still technically 2011, but I thought I’d just take a moment to wish you all a very happy new year!

The Christmas season may not be over for another 6 days,  in fact my son asks me everyday which day of Christmas it is and what that means, but most of us are probably looking forward to new year celebrations and gatherings this weekend.

After the children were born staying up until midnight became a distant memory and we had to look for new ways to ring in the next year. Much like Christmas Day my family has developed it’s own traditions and customs. Over time this evolved into a family party that is almost like a miniature Christmas. We eat lovely food, play humorous games and give little gifts. My kids even count down the days and become very excited, proving that quantity of gifts or their size has little to do with childish anticipation 🙂

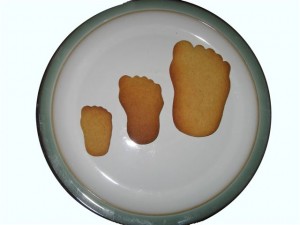
This year we also took inspiration from our new Christmas tradition and have made an awful lot of biscuits in the shape of feet! This was initially thought out because I was given some gorgeous metal cutters in the shape of a footprint. The idea is that it also represents the tradition of ‘First-Foot’. I don’t know if I will be able to convince my brother to visit again on New Years Day (as the only dark haired male) but at least if I can’t we have a mini nod to this old tradition.

If you are looking for a last minute New Year craft I have also written a tutorial for the Boden Community which was posted up today. This is to make my New Year Promise Pots (another tradition).

Have a wonderful time whatever your plans and I’ll see you all again in 2012!!

Boden Press Day Spring Summer 2012

Last week I was lucky enough to be invited along to Boden’s Press Day, to preview the Spring Summer 2012 collection. You are probably all aware that as well as this blog, I also write for the Boden Community. If you’ve not taken a look at their site yet do pop across and check it out, there are many wonderful posts on a wide variety of subjects. For today though, here is a brief taster of what Boden has in store for us next year.

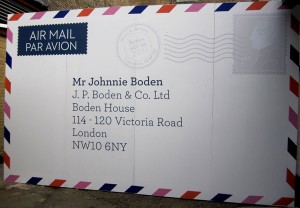
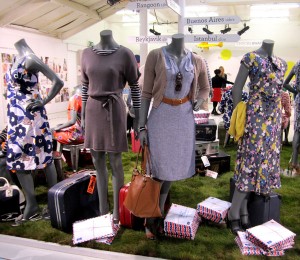
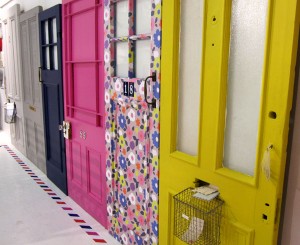
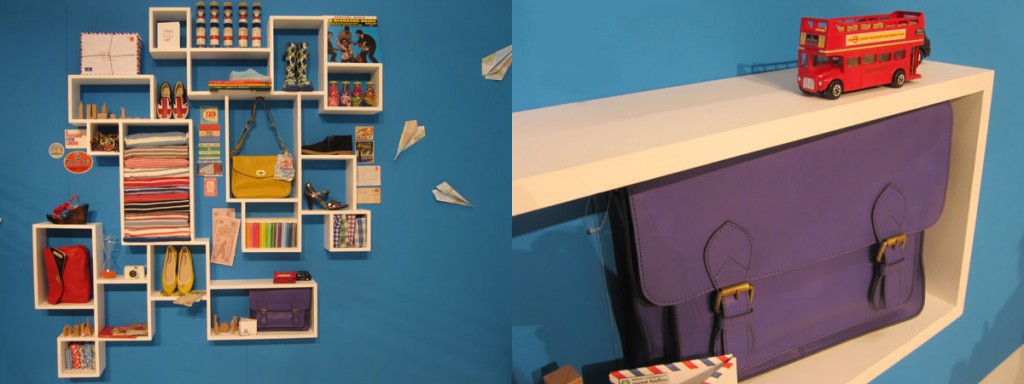
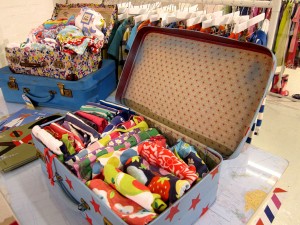
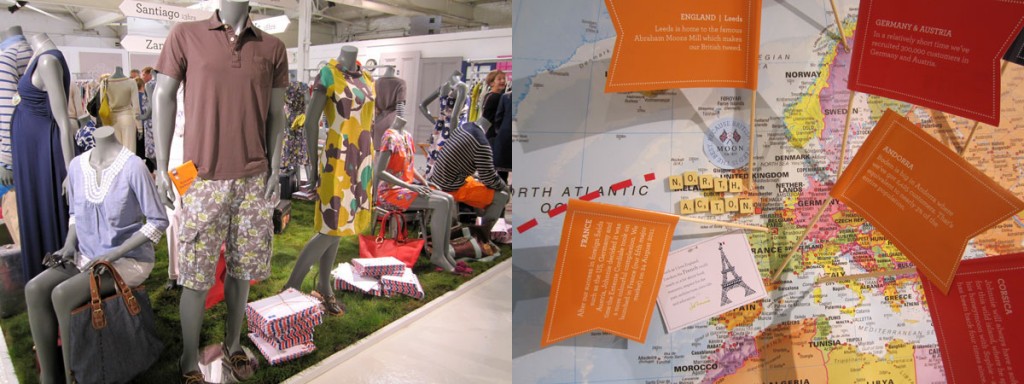
The upcoming collection has been inspired by world travel, even the board outside welcomed us in with a giant airmail letter! The whole room was festooned with maps, globes, signposts and doors. It was a visual treat before you even began to peruse the clothing.

There were three stories within the collection:

Globetrotter – a more subtle direction for Boden. The prints were delicate and refined, think of a gorgeous watercolour painting. There was a real touch of classic feminine glamour.

Breton Charm – I adored this collection of clothes, nautical inspired prints with a classic Britishness that was hard to resist. Perfect for a Spring picnic beside the lake, these clothes were wearable, classic and relaxed.

Secret Mediterranean – The holiday collection, beautiful vibrant colours that instantly transport you to a world of bright blue seas, golden suns and hours spent on the beach. The summer dresses really stole my heart here, easy, comfortable but with little touches that really made them stand out.

Even the men have been well catered for, here I am busy flicking through a lookbook and admiring some wonderful summer shirts.

If I had to pick one must have item, it would be this stunning Purple Satchel bag (also available in tan and red). Although it seems I wasn’t alone and everyone I encountered was coveting it too. I’m sure that’s a mark of good taste 🙂

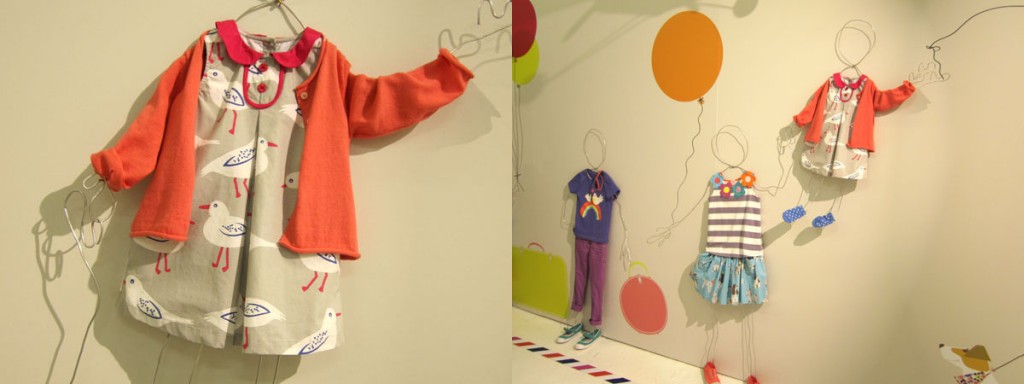
The Mini Boden collection was absolutely stunning, I particularly liked the pieces that employed a mixture of applique and traditional print.

The Boden team are a really happy, helpful bunch and are genuinely enthused about this collection. They know the pieces well and really believe in the vision they are creating.

So whether you’re looking to be smart, casual, classic or bright, Boden has something for all the family next year. I already have a shopping list of must have pieces for all my family (it’s rather long), I’m genuinely very excited!