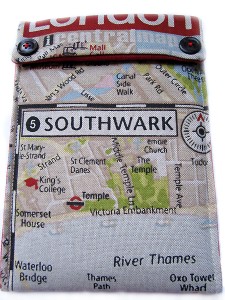
 We love books here at Angel Eden, reading (when we have the time) has always been a favoured pastime. But after awhile you exhaust all the space on your bookshelf, discover you can’t hide anymore under the bed and begin to wonder where on earth you’ll keep anymore books. The Kindle offers you the ability to buy and download books on a screen that is surprisingly ‘book-like’. But at the end of the day it’s still a piece of technology, where everyone looks the same. Our solution… make your own Kindle case!
What You’ll Need
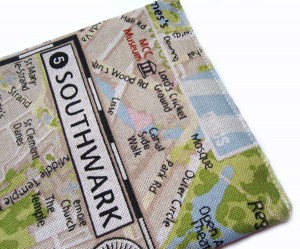
Outer Fabric
Lining Fabric
Thin Wadding
2 Buttons
Velcro
Pattern Paper
Thread
Needle
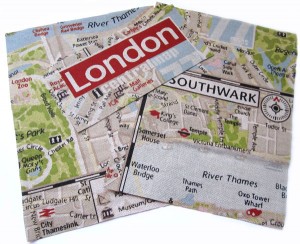
We used greaseproof paper to make our pattern. You need to measure and cut out 2 rectangles measuring 17cm X 22cm. Then one smaller rectangle measuring 17cm X 8cm. Pin your pattern to your outer fabric and cut out the three rectangles.
Step 2
Sew the two larger rectangles together width ways to make a long rectangle. Then sew the smaller rectangle to one end in the same way. The smaller rectangle will become the closing flap of your case, so if using fabric with words or pictures make sure you sew it so it will face the right way up when flapped over. You should now have one long piece.
Using your long outer fabric piece as a template, cut out a piece of lining fabric and wadding the same size.
Place your wadding down on a flat surface and cover with the lining fabric facing upwards. Then lay the outer fabric on top face down as in the picture.
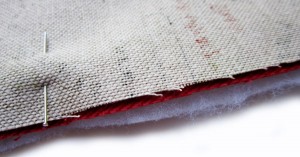
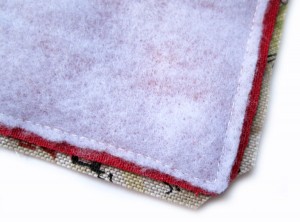
Now we need to stitch the layers together. Begin at the end with the smaller rectangle. Starting about 3cm from one corner sew all around your pieces of fabric until you come back to the side you started on. Only sew in about 3cm from the corner so you have a gap left on the side of the small rectangle to turn your piece the right way out. Trim the corners to allow for easier turning (as in the pic).
Turn the right way out, easing the corners out as much as possible. Iron the whole piece paying particular attention to your open end. Edgestitch the open end closed.
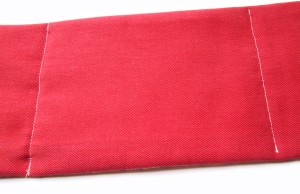
Sew across the two stitch lines in the outer fabric to create bends in the lining and wadding.
Step 8
Fold up the bottom of your case leaving the small rectan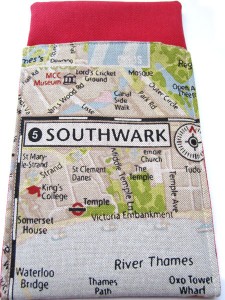 gle free, this now becomes your flap. Machine stitch the edges together, so you’ve created a pocket.
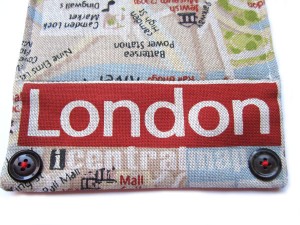
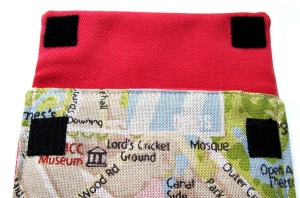
Sew two buttons onto the outside of your flap for decoration. On the inside sew two pieces of velcro to the flap, and the corresponding pieces of velcro to the outside of the pocket to match.
Now sit back and admire your new Kindle Case.


2 Comments (Leave a comment)