Simple Cushion Cover Tutorial

For awhile now I have had two very pretty cushions sat upon my sofa. Unfortunately their beauty was only skin deep and they quickly died an untimely death. I blame the silk being far too thin, it wore away into threads within months 🙁 So finally I did what I should have done in the first place and made my own cushions. Although I did do my bit for the environment and reused the feather cushion pads. I even have the old covers stashed and will salvedge what I can for another project. If you fancy having a go at these extremely simple covers, here’s how I did it.

What You’ll Need

Cushion Pad

Fabric for the front

Fabric for the back

Ribbon


Step 1

Measure the width and length of your cushion pad. We will make covers which are exactly the same size, this makes them lovely and padded. Take the fabric intended for the front of the cushion and cut it out using these measurements.

Step 2

This cushion has an envelope opening at the back. To make this, devide the length of your cushion pad into 3. Take 1/3 of the measurement and add 7cm, this will make one side of the back. Then take 2/3 of the measurement and add 7cm, this will make the other side. Your width measurement will be the same. Cut out the two pieces from the back fabric. If you lay them down and overlap them by 7cm you will see that the back will match the front.

Step 3

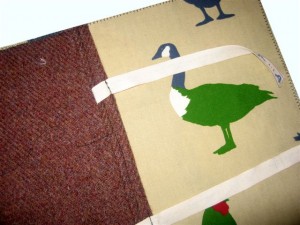
Next use a zig zag stitch around each of the 3 pieces of fabric to stop them fraying. Now lay down the larger back piece, cut out two pieces of ribbon (approx 28cm long) and pin and sew them at equal points onto one of the shorter sides.
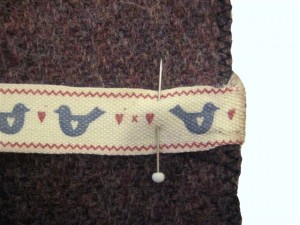
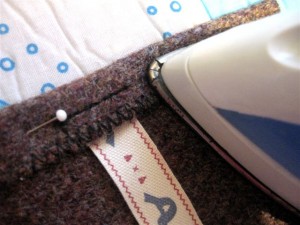
On the side with the ribbon attached, turn over approx 2cm of fabric and iron. Then fold over another 2cm and iron flat. Stitch close to the edge to secure these folds. Bring the ribbon to the front and stitch to keep in place.
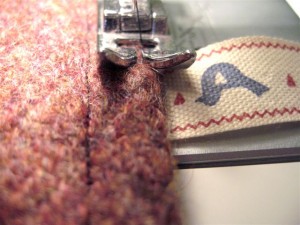
Repeat the folding/sewing process with the shorter back piece, but don’t attach any ribbon.

Step 4

Lay down the front piece print side up. Then lay the larger back piece on top, matching up the edges. Next lay over the shorter back piece, overlapping the longer back piece but matching the edges of the front. Pin and Sew all the way around the cover’s edge.
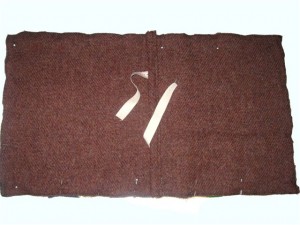
Step 5

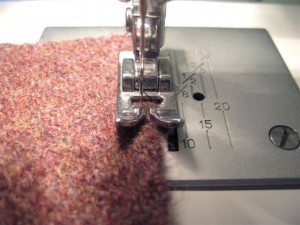
Turn the cover the right way out and place the cushion pad inside. Cut two more pieces of ribbon (approx 21cm long) and hand sew them onto the shorter back piece opposite the other ribbon. Tie them up and you’re done!

 

Crochet Jam Pot Cover Tutorial

Autumn is the season when trees are laden with delicious fruits and berries. This makes it the perfect time to make jam, marmalade, chutney, the list is virtual endless.

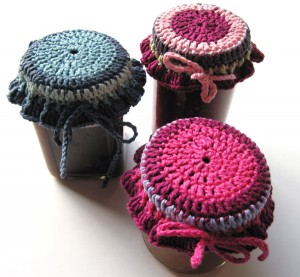
Home-made preserves and chutneys also make wonderful presents, with most varieties being able to be made well in advance. Adding your own label adds  the first personal touch, but you can complete it with today’s tutorial. With a crochet hook in hand, you can make a very quick and simple Jam Pot Cover. I think it has a wonderful retro appeal which looks fabulous sat upon a shelf or dresser.

Pattern

I used DK Cotton yarn and a 3.5mm crochet hook.

ABBREVIATIONS

ch chain

sl st slip stitch

tr treble crochet

Round 1

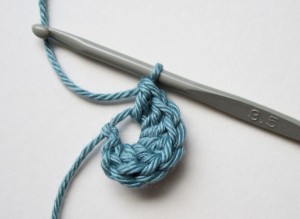
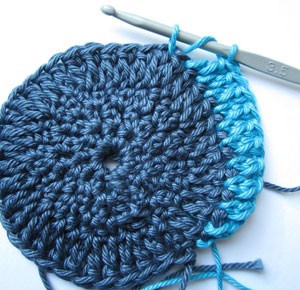
Start with a slip knot and work 3 chain.

11 tr into 3rd ch from hook, join with sl st to top of beginning ch 3, (12 stitches).

Round 2

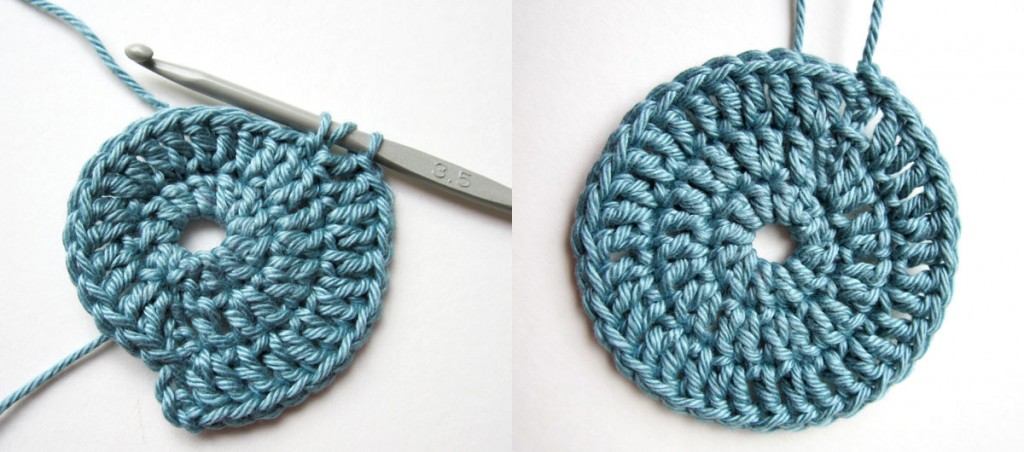
Ch 3, 1 tr into first st and then work 2 tr into every stitch from the previous round. Join with sl st, (24 stitches).

Round 3

Ch3, *1 tr into first stitch, 2 tr into next*, repeat from * to *round the circle and then close using a sl st. (36 stitches)

Round 4

Ch 3, *1 tr into first stitch, 2 tr into next*, repeat from * to *round the circle and then close using a sl st. (54 stitches)

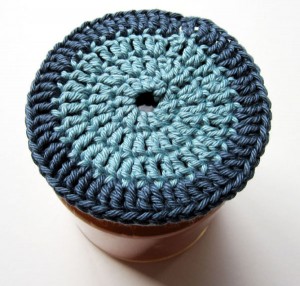
At this stage check whether the size of your work is the same as the top of the jar lid.

If it is the same size as the lid you will complete one more round in the same way as rounds 3 and 4, if it is smaller than the lid you will need to complete two more rounds.

Round 5

Ch 3, *1 tr into first stitch, 2 tr into next*, repeat from * to *round the circle and then close using a sl st. (82 stitches)

Round 6

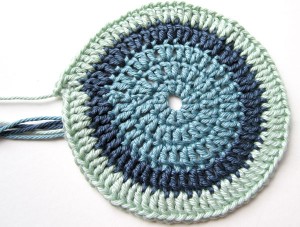
Ch 3, 1 tr into every stitch from the previous round and then close using a sl st. (82 stitches).

Round 7

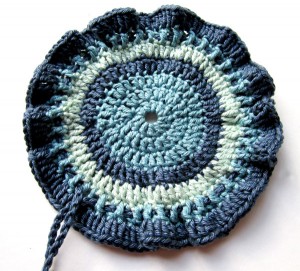
Ch 3, 2 tr into every stitch from the previous round and then close using a sl st. (164 stitches)

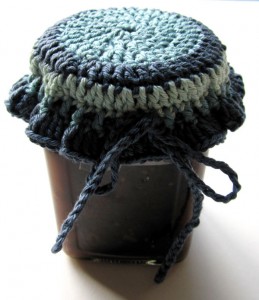
The jam pot cover is now complete. All the ends need to be woven through the back of the work and cut off. The cover could be gathered using a piece of ribbon or as I have done by making a length of chain. You will need a chain long enough to go around the edge of the circle and then add a few more centimetres.

Thread the chain or ribbon through the stitches of Round 6.

Place your cover over the top of your jar and gather by pulling the chain or ribbon and tie in a bow. This will make your jar of jam look really special and far more appealing!

Crochet Tin/Jar Cover Tutorial

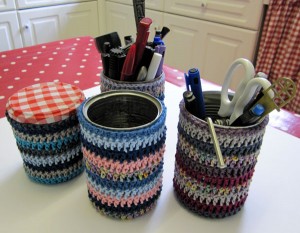
We don’t use much in the way of tinned food, but just occassionally we find use for a tin of tomatoes or baked beans. Of course they can be recycled, but they can also be reused to make a funky pen pot or desk organiser. Anne created this crotchet pattern, but we have since found several others online for jam jar covers etc. so if tins aren’t your thing then  a quick search should find you an appropriate variation.

Back to our pattern 🙂

What You’ll Need

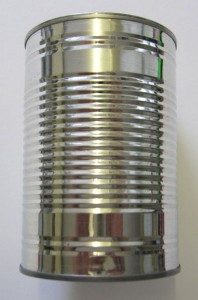
Clean tin or Jar (make sure edges are smooth)

3.5mm Crochet Hook

Cotton DK Yarn

Abbreviations:

ch – chain

dc – double crochet

sl st – slip stitch

tr – treble crochet


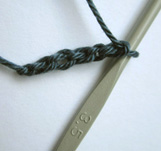
Start with a slip knot and work 5 chain, join to make a loop with a sl st into first ch.

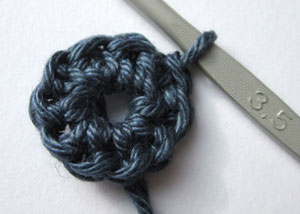
Round 1: ch 1, 9dc into central loop, sl st into 1st chain to close up the circle.

Round 2: ch 1, *1 dc into first stitch, 2 dc into next*, repeat from * to *round the circle and then close using a sl st.

Round 3: ch 1 and then 2 dc into every stitch and then close the round using a sl st.

Round 4: ch 3, * 1 tr into first 2 stitches and 2 tr into 3rd*, repeat from * to* around the circle and close with a sl st.

Round 5: Join second colour into top of any tr st from last round, ch 3 and the work 1 tr into each stitch until you have completed the circle and then join with a sl st.

Rounds 6 – 13: join in a new colour for each round and then complete in tr stitch as round 5.

Round 14: Join a new colour and ch1, dc into each stitch until the round is completed.

To finish, darn in all the ends of the cotton and place your tin inside.