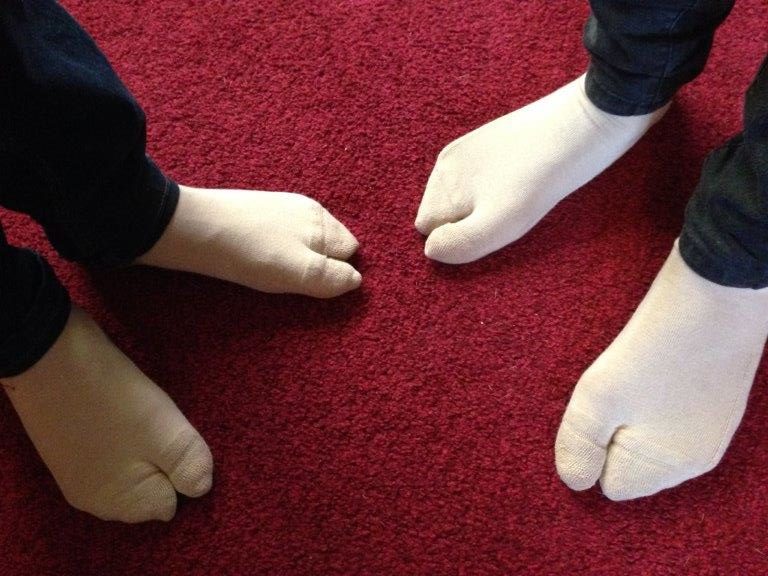
Sew Simple Tabi Socks with this Quick and Easy Way to Make Toe Socks

Sew Simple Tabi Socks with this Quick and Easy Way to Make Toe SocksIf you’ve ever admired Japanese Tabi socks or just fancied wearing socks with your toe shoes or sandals then this is the tutorial for you! Japanese Tabi style socks are not only stylish they’re also  super quick and simple to sew, all you need is a regular pair of socks to alter! I whipped up several pairs of these recently when the kids were wearing flip flops as part of a costume and given that it was the end of November I didn’t want their toes freezing off. Cosplay considerations aside they’re also an extremely fun and practical sock design so give them a go today and sew simple Tabi socks with this quick and easy way to make toe socks.
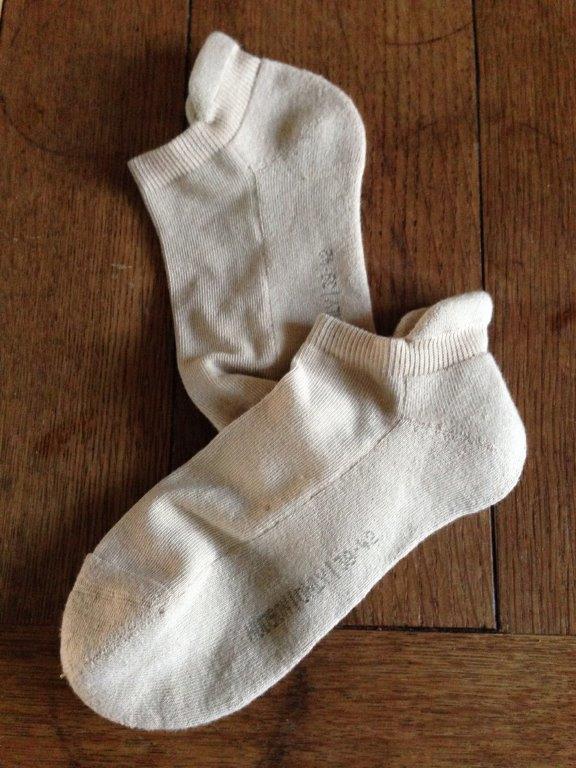
 

What You’ll Need (this has to be one of the shortest lists I’ve ever written for a tutorial)

A pair of socks

Scissors

Matching Thread


That’s literally all that’s required, I suppose you also need a pair of feet to measure them on but you’re bound to have all the materials required at home right now.
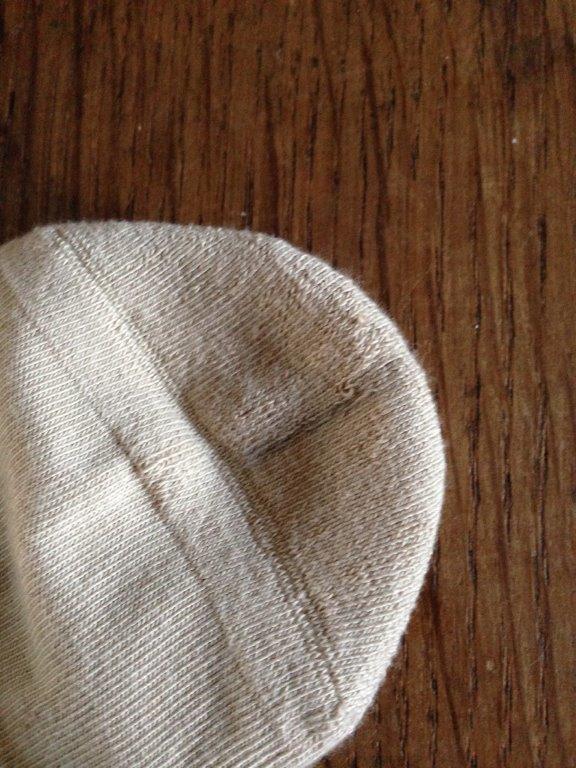
Step 1

Put your pair of socks onto the recipient’s feet and mark (using a pencil or tailors chalk) a line between the big toe and the rest of the toes.
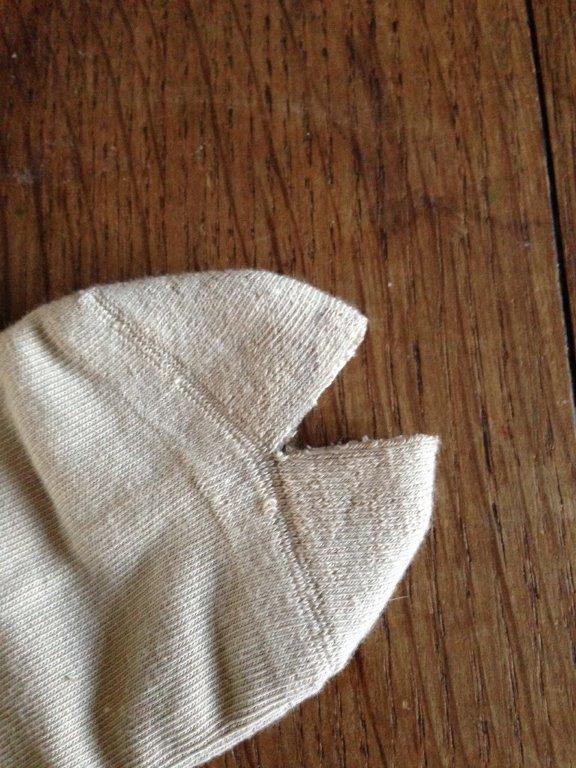
Step 2

Remove the socks, and carefully cut along your line using scissors.
Step 3

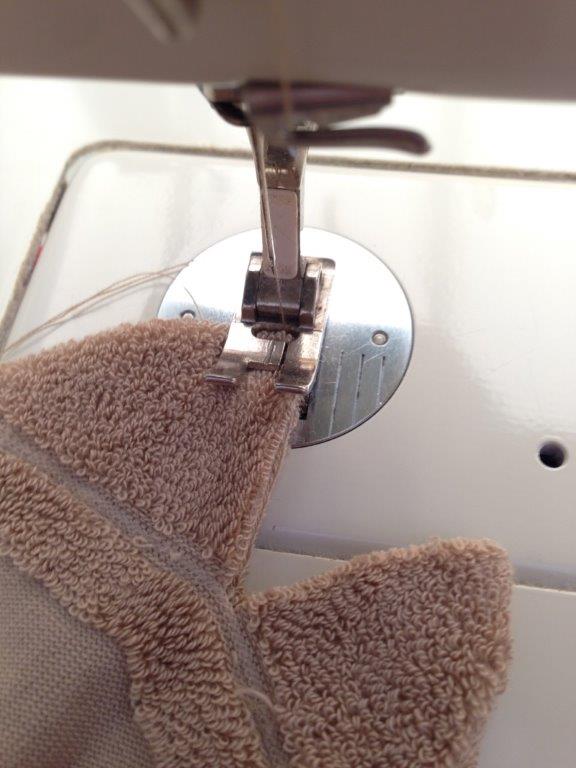
Turn the socks inside out and stitch close to the edge (just like in the pic) using either a sewing machine or by hand.
Step 4

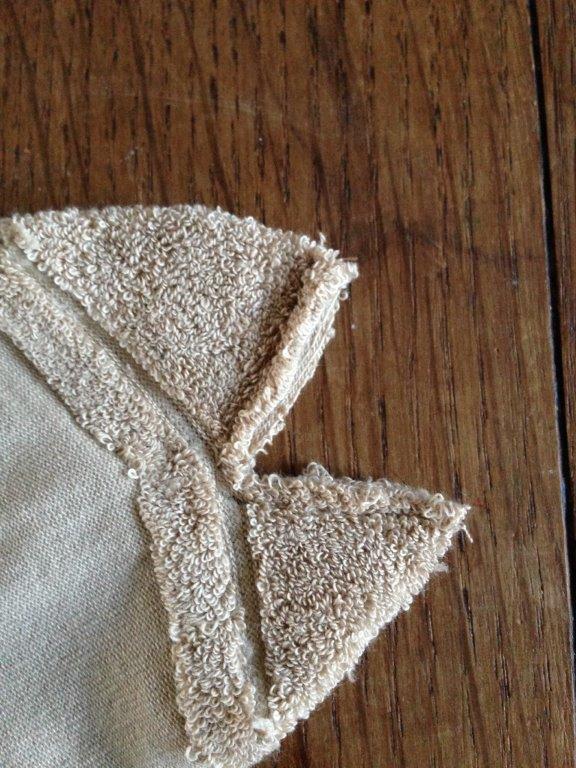
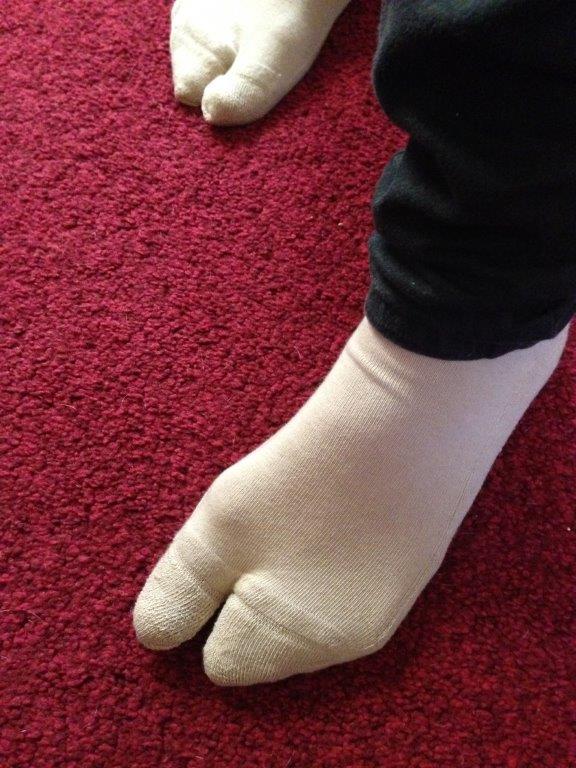
Turn the socks back out the right way, pop on the recipient’s feet and feel smug at your speedy and stylish accomplishment.
Sew Simple Tabi Socks with this Quick and Easy Way to Make Toe Socks

Step 5

Make all your socks into toe socks and wear them with all your flip flops! Or just so you can waggle your toes around the house while feeling all toasty and warm!

How to make Pompom Animals

how to make pompom animals

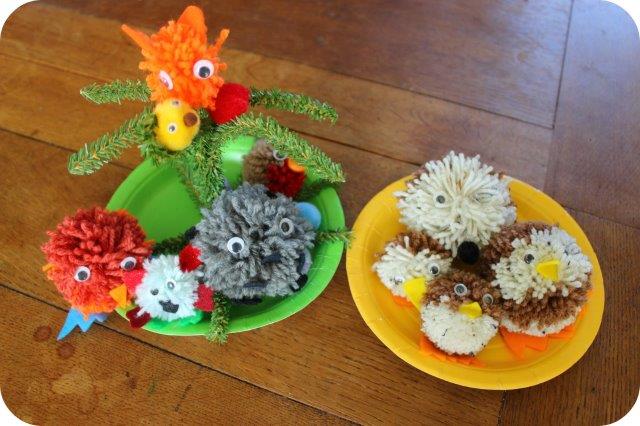
Whew it’s been while since I managed to get anything up on here. Between the summer holidays and technology failing it’s all been against me. But I’m back today with a tutorial that’s perfect to keep you and the kids occupied as the light draws in and the days get increasingly cold. Learn how to make pompom animals and you have hours of activities at your fingertips. They can be themed (robins & snowmen are great for Christmas) made large or small and the range of possibilities is limited only by your imagination! Today we’ll be making a bird pompom animal (actually inspired by our Quail).

pompomanimals

What You’ll Need

Pompom maker – of course you can make these the old fashioned way with circles of cardboard but these little machines are super cheap and easy to use, I’ve even seen them in the pound-shop.

Wool

Scissors

Glue

Felt

Googly eyes

pompomanimal1

Step 1

Take your pompom maker and open up the sides completely. Begin winding your wool around one of the arms until it’s nice and thickly covered. Do the same with the other arm, for our bird we used a lighter coloured wool on the second side.

pompomanimal2

Step 2

Fold both arms back into the centre of the pompom maker. Cut between the gaps in the arms (see pic) do this for both sides. Using some extra wool tie all the way around the pompom through the same gap where you just cut with the scissors. Tie up tightly.

pompomanimal3

Step 3

Open up both arms again, your pompom should stay put. Pull the pompom maker apart and you should have a lovely squishy pompom. Trim off any excess wool until you’re happy with the shape.

pompomanimal4

Step 4

Cut out felt shapes for the feet, if you’re making a bird a small square folded in half makes a great beak. Glue into place on the pompom (fabric glue works very well). Then stick on a pair of googly eyes and you have one happy little pompom creature.pompomanimal5


How to Reuse Coffee Sacks and make a coffee sack bag

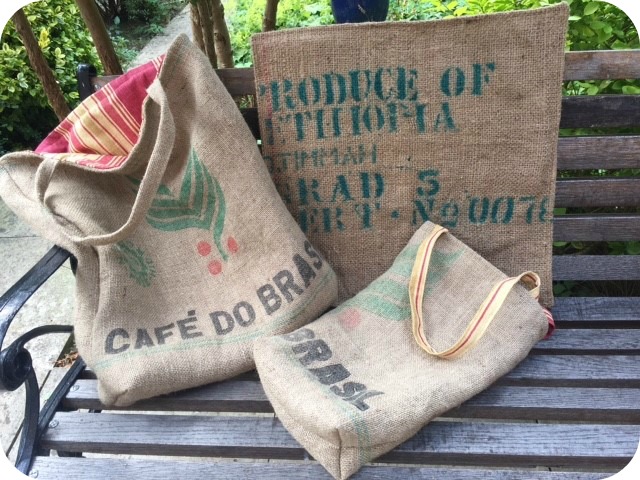
coffee sack bagIt’s been quite a while since I last posted a tutorial and with the summer holidays in full swing that (hopefully) means extra time on your hands for getting crafty. In this tutorial I’ll show you how to reuse coffee sacks and make a coffee sack bag!
I love old coffee sacks with their rustic charm but finding a use for them can be harder than you think. They’re made for strength which means the material can be quite rough with a largish weave. They’d make great looking cushions but you might not enjoy leaning against them but their hardwearing nature makes them perfect for a shopping bag tote!

What You’ll Need

1 Coffee Sack

Colourful/patterned fabric to use as lining

Fabric to make bag handles (needs to be reasonably strong, not a lightweight cotton)

coffeesack1Step 1

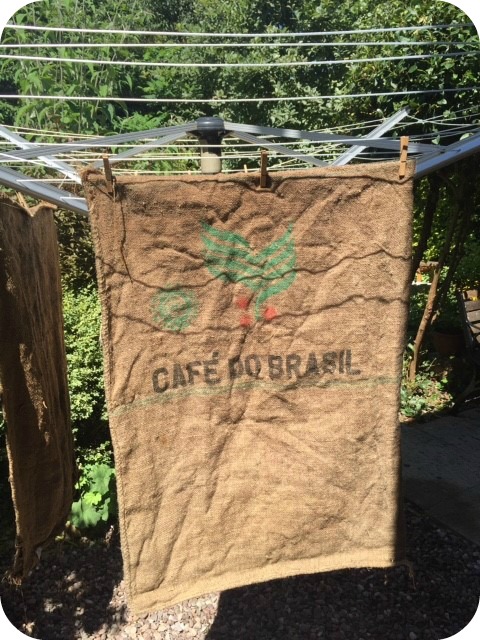
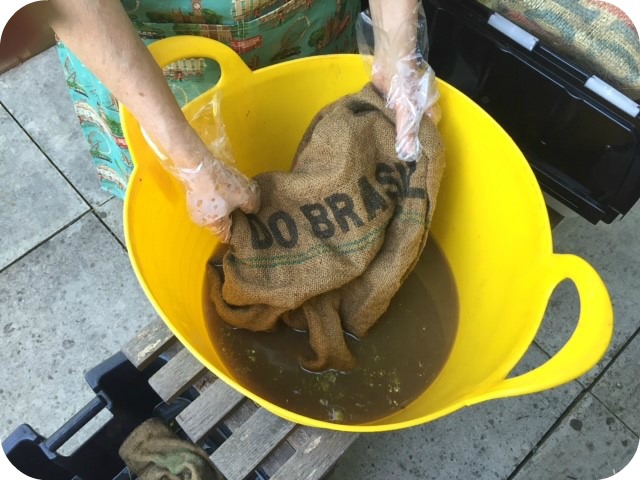
Give the sacks a good wash, it’s easiest to do this in a rubber tub outside if you can, then peg up on a washing line to drip dry.

coffeesack2Step 2

Once dry cut out two large rectangles from the sack, both the same size as each other. The actual size you cut will depend on the design printed on your sack and how large a bag you want to make. As long as both rectangles are the same size it doesn’t really matter.

Step 3

Using your lining fabric cut another two rectangles the same size as those made from the coffee sack.

coffeesack3Step 4

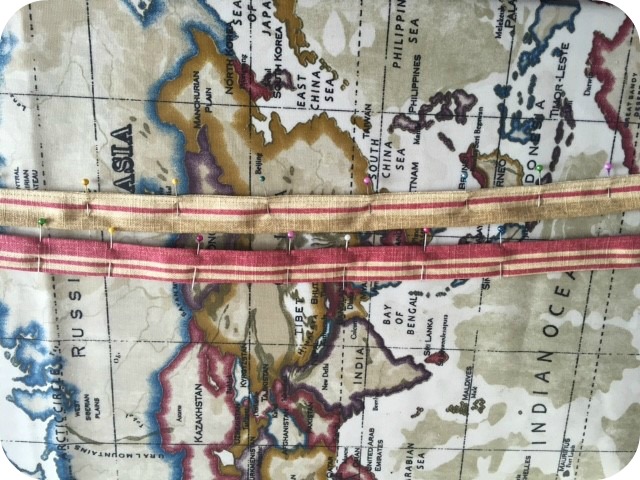
Now take the fabric you have chosen for the bag handles and cut two identical long rectangles of fabric (length is dependent on how long you want you handles). Fold each long rectangle in half and iron to make a centre crease. Unfold the rectangle, fold each of the cut edges into the centre meeting the ironed crease, iron into place and then refold in half. This should enclose the cut edges. Sew along the open side.

coffeesack4Step 5

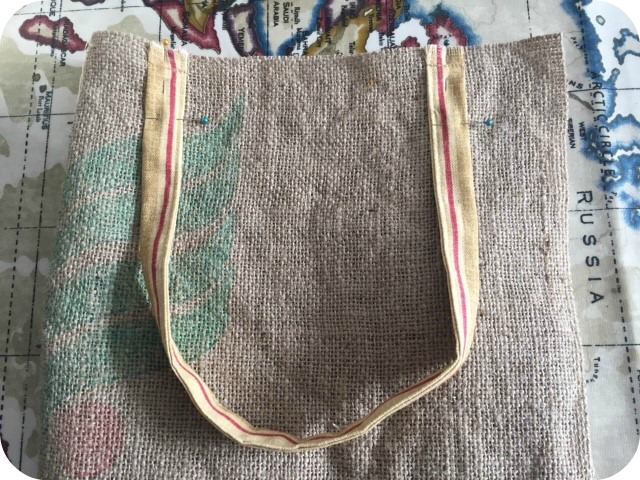
The handles can now be sewn onto the right side of each coffee sack rectangle along the top short edge.

coffeesack5Step 6

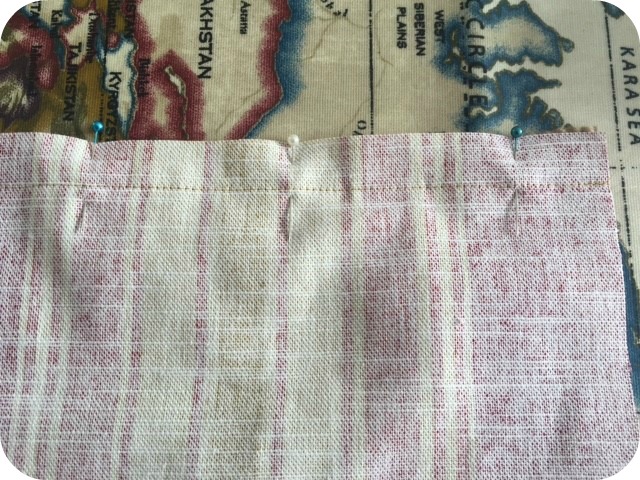
Next sew the top edges of the lining fabric rectangles to the top edges of the coffee sack rectangles (right sides together). The handles will hang between these two layers.

coffeesack6Step 7

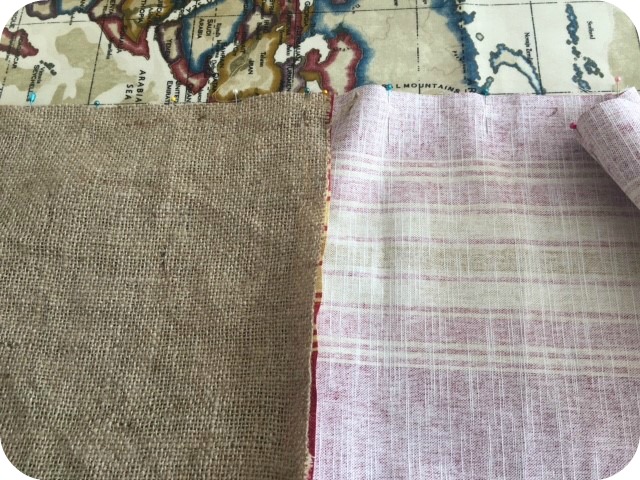
You can now sew the whole bag together. Unfold the lining and coffee sack piece that you sewed together in the last step. Lay with the right side up onto a table, then lay the other coffee sack/lining piece on top so that the right sides of the fabric are together. It will make one large rectangle which you sew all the way around leaving a gap at the bottom of the lining.

coffeesack7Step 8

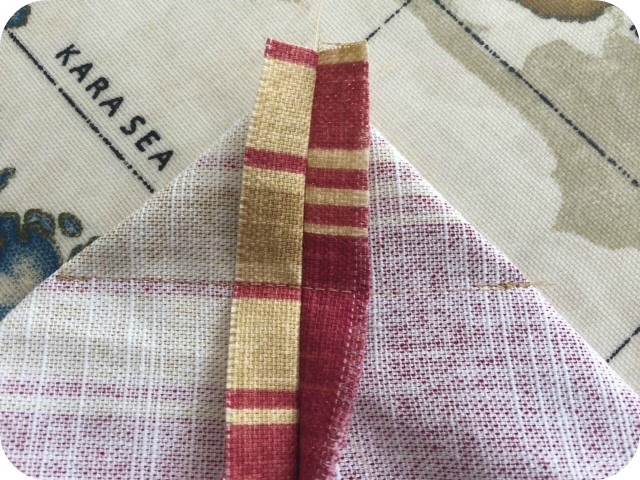
Before turning the right way we’re going to give the base of the bag some structure. To do this you need to squash each of the four corners to make a triangle and then sew straight across (see pic), do this to each of the corners. If you’re unfamiliar with this technique then check out this tutorial on the sewing directory.  Trim off the excess fabric.

coffeesack8Now turn the entire piece the right way out through the gap left in the lining. Sew closed the gap in the lining and push inside the bag.

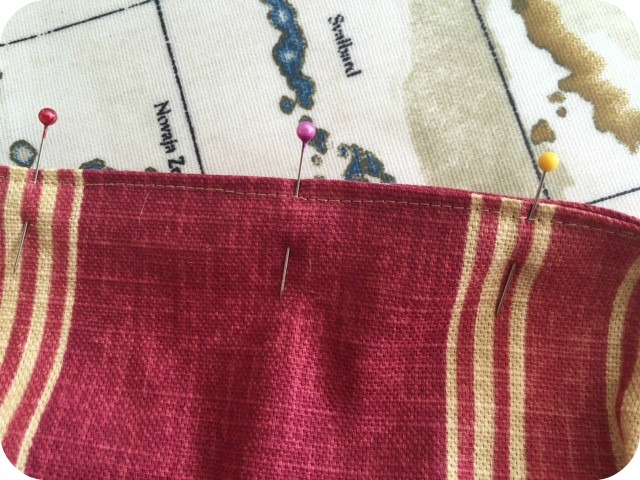
Optional Step: Once the bag is complete you can top stitch around the top edge of the bag to give a good finish and extra rigidity.