This is a quick craft to make for yourself or to be given as a present. It’s also a great way of using up leftover scraps of fabric. We used the wonderful London Map Fabric. You might have gathered from previous posts that we simply adore this fabric and have made kindle cases, purses, bookmarks, phone cases and recovered chairs using it! Sadly we are now running to the end of our supply so this project was just perfect for using it up.
To make the case you will need:
Two pieces of your chosen fabric 18cm x 10.5cm
Two pieces of wadding 18cm x 10.5cm
Two piece of lining fabric 19cm x 10.5cm???
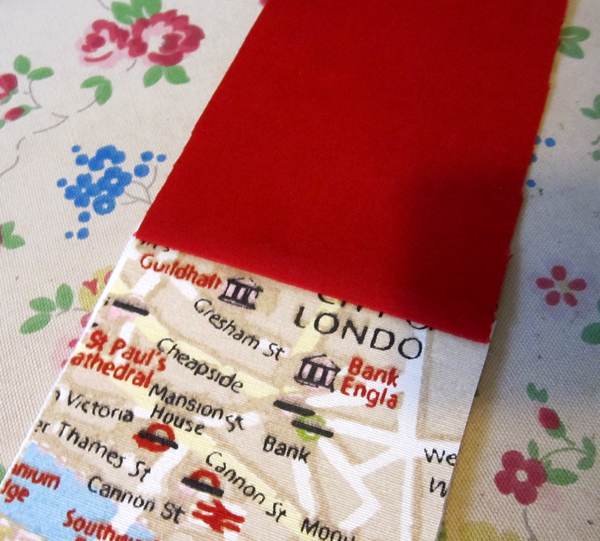
The lining fabric is cut one centimetre longer as it is going to be seen on the outside at the top of the case.
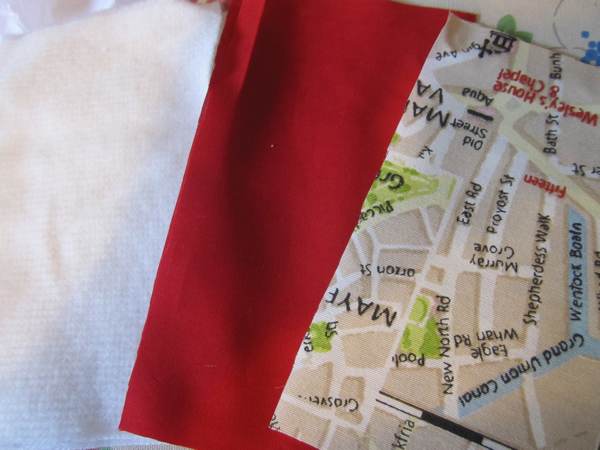
To attach the three pieces together, firstly place down the wadding and then lay the outside fabric on top (right side facing up) and lastly add the lining fabric (right side down).The lining and the outside fabric should be layered right side to right side.
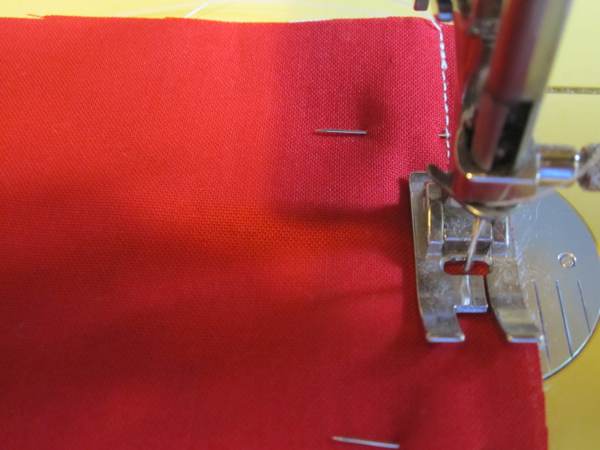
Do the same with the second three pieces and then machine across the narrow top through all three pieces. If your outside fabric has a right way up make sure you are stitching at the top of the case.
Once these three have been sewn the seam needs to be pressed open.
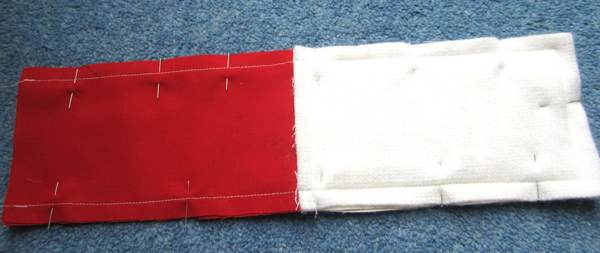
Now the two pieces are sewn together right side to right side. You need to sew all round the edge about one centimetre in and leave the short edge at the bottom of the lining open to be able to turn your case the right way out.
Now is a good time to trim the seams. I start by carefully trimming the wadding back to the line of stitching and then trim the fabric about halfway between the edge of the fabric and the stitching.
It is also a good idea to cut across the corners to make it easier to turn these out.
Before turning the correct way out I turn over the seam allowance at the bottom of the lining and press. This makes it easier to sew later.
Carefully turn the case out the right way and ease the corners, this can be done by pushing a ruler down inside your work. Once it is the correct way out, edge stitch across the end of the lining and then push this down inside the case, again a ruler can help. At last you have an attractive and useful item!


Comments Off on Glasses Case Tutorial