Advent Calendar Sewing Tutorial

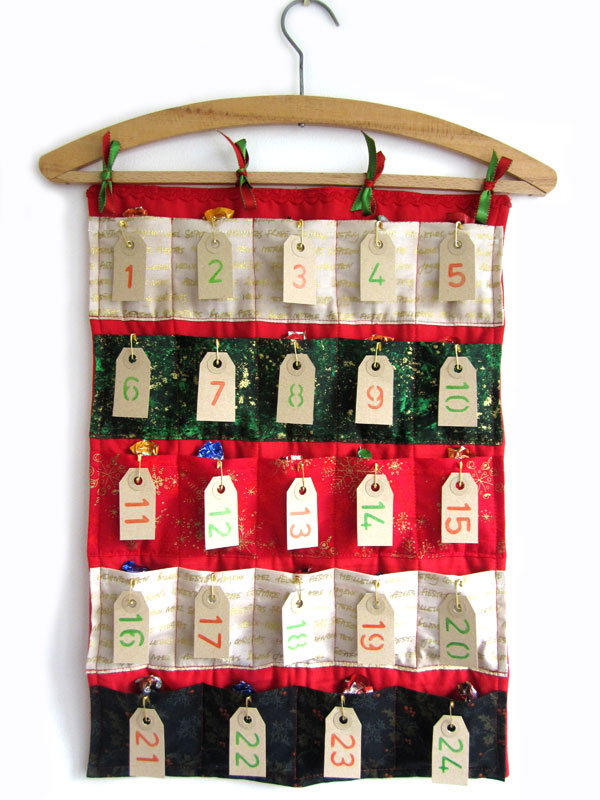
With the festive season fast approaching I decided to share my tutorial to sew your very own advent calendar! I originally wrote this for the Boden Community which has now become the Boden Blog. You might just be able to find it if you scour through the archives, but it seemed far simpler to share it direct with my readers over here.

You Will Need

A hanger (I chose a lovely old wooden one)

2 pieces of fabric to make the background (mine measured 34cm X 48cm but this may vary depending on the size of your hanger)

1 piece of fleece fabric 34cm X 48cm

4 pieces of ribbon approximately 28cm in length

35cm piece of ric rac or ribbon

5 pieces of fabric measuring 12cm X 36cm each

24 mini luggage labels

24 mini gold safety pins

24 Sweets of your choosing.

Step 1

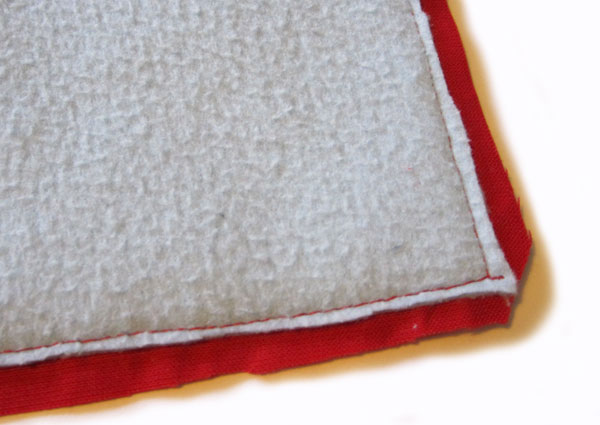
Begin by pinning the two background pieces of fabric together (right sides facing). Then place on top of the fleece fabric (I used an old blanket to cut the fleece from). Sew down one long side, across the bottom and back up the other side, leaving the top free. Iron the pieces together and then trim the fleece back close to your stitches, also trim the corners to aid turning.

Step 2

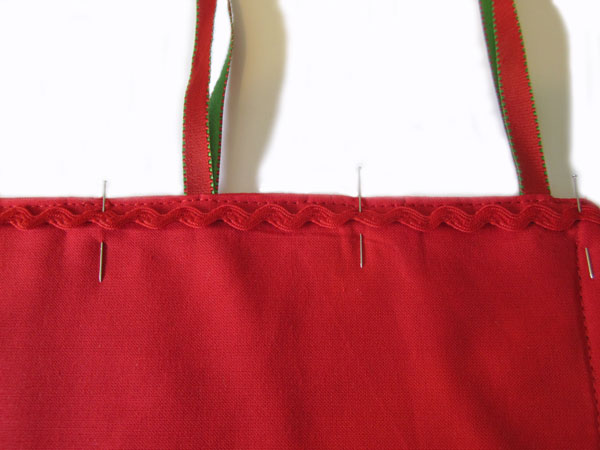
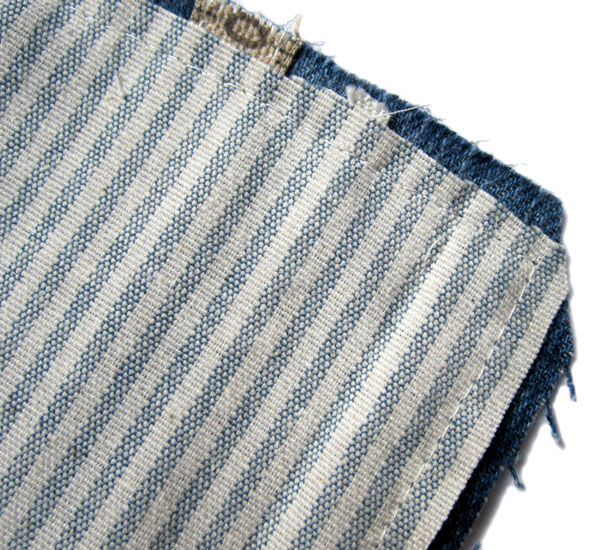
Turn the fabric the right way out and iron flat again, tuck in approximately 1cm of fabric at the open edge and iron ready for sewing. I chose to hang the calendar using pretty ribbon. Fold the 4 pieces of ribbon in half and tuck into the top open edge of your calendar. Sew across the open edge of the calendar, making sure to catch the ribbon as you go. For a little extra decoration I laid a piece of matching ric rac across my stitches at the top and sewed into place (ribbon would also work). You’ve now completed the background piece.

Step 3

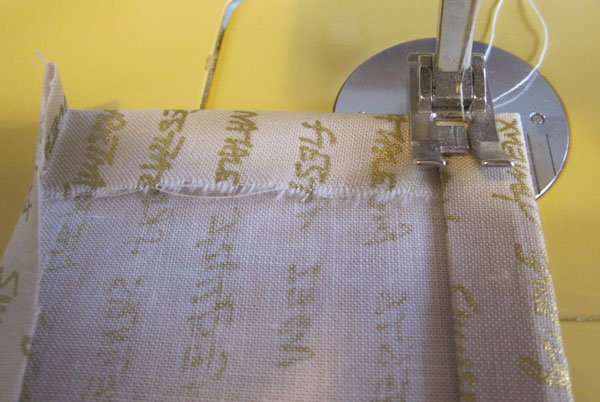
Time to make the pockets! On each piece of fabric turn over 1cm of fabric along one of the longer sides. Iron and then turn another cm over and iron again, this is the top edge of each set of pockets. Now turn each remaining edge over 1cm and iron. Machine stitch just the top edges of the pockets, leaving the other edges free.

Step 4

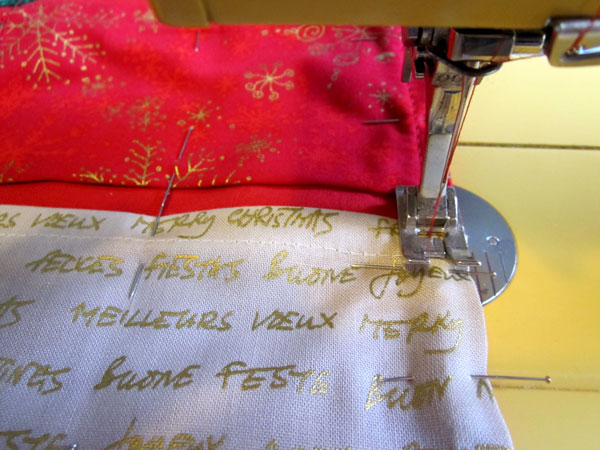
Position each set of pockets evenly across the background fabric and pin. Machine stitch across the bottom of each pocket and then around the entire edge of the calendar. You will now have 5 large pockets. In my example the first 4 rows have 5 pockets and the final row has 4 larger pockets. To create this you need to machine across each large pocket several times to make smaller pockets. On the first four rows I did this at approximately 6 ½cm intervals. On the final row I sewed at approximately 8cm intervals.

Step 5

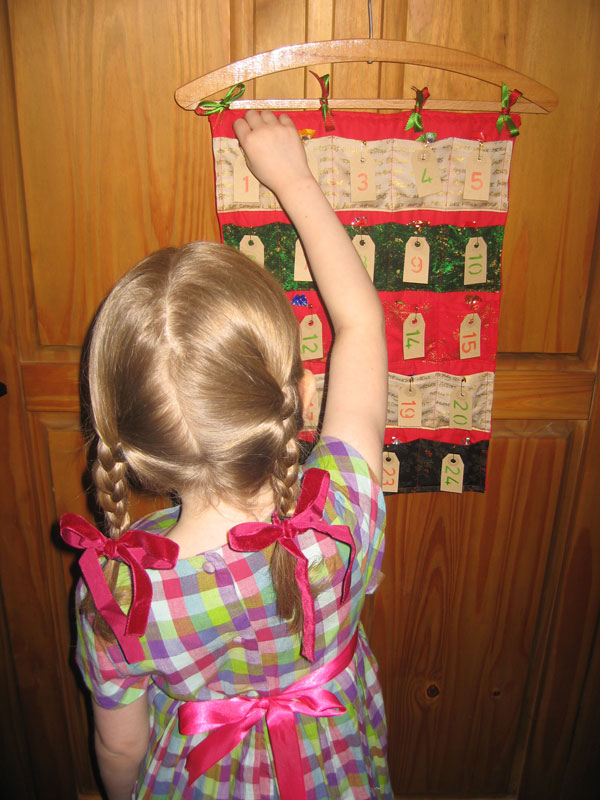
To make the calendar numbers I bought some small luggage labels from a Stationary shop. I cut them down just slightly to make them smaller. Using a red and green crayon I then stencilled a number onto each label. These are then pinned to each pocket on the calendar using mini gold safety pins (again picked up from a Stationary shop).

Step 6

Decide who the calendar is for and fill each pocket with an appropriate sweet or gift. It could even serve two or three lucky recipients, just pop a couple of extra sweets in each pocket. Now you have an attractive and reusable advent calendar that should serve you for many years to come.
Notebook, Photo Album, Sketchpad Cover Tutorial

I orginally wrote this tutorial for the Boden Community, which has now changed into the Boden Blog. If you scour through their archives you can probably still find it, but I thought it would be great to share with all the readers over here, especially with the potential to make Christmas presents!

We’re going to make a covering for a book in this tutorial, I personally made a notebook cover. But this method works equally well to cover photo albums, Sketch-pads or any other kind of book.

What You’ll Need:

An old pair of jeans

Paper

Lining Fabric (I used an old pair of curtains)

Notebook or similar to cover

Measuring Tape

Thread

Sewing Needles

Pins

Ribbon, tape and/or buttons for embellishment

Step 1

To start you will need to create a paper pattern. With the book closed measure top to bottom and then add on 4cms (this is height of your rectangle). Next lay the book down flat and open. Measure from the inside of the book cover, taking your measuring tape over the back of the cover, across the spine and to the other edge and back inside. Take a couple of cms off the total length (this is the width of your rectangle). Now using these measurements, draw a rectangle onto paper and cut out.

Step 2

Get ready to cut into your jeans! Lay down and pin your paper pattern to the denim fabric and cut out. Then cut an identical rectangle from a piece of fabric to be used as lining.

Step 3

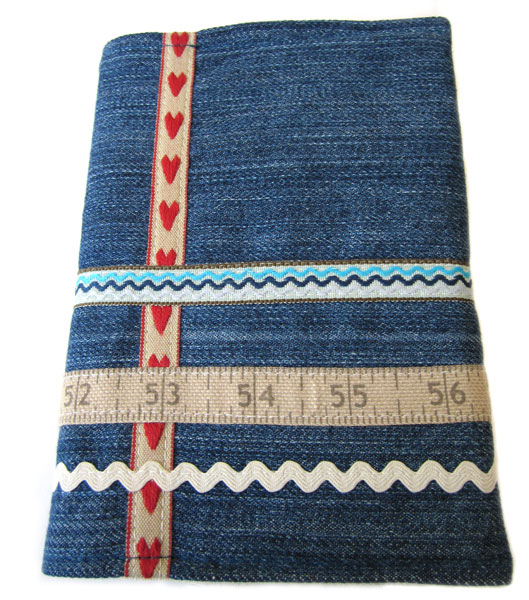
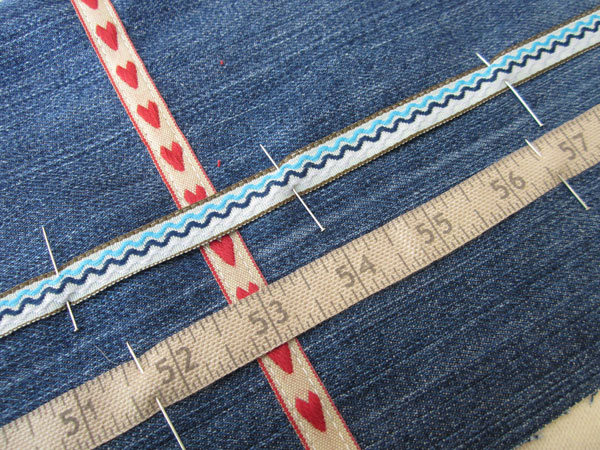
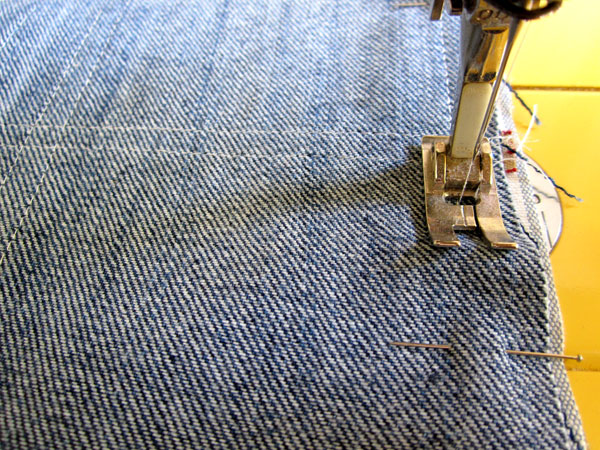
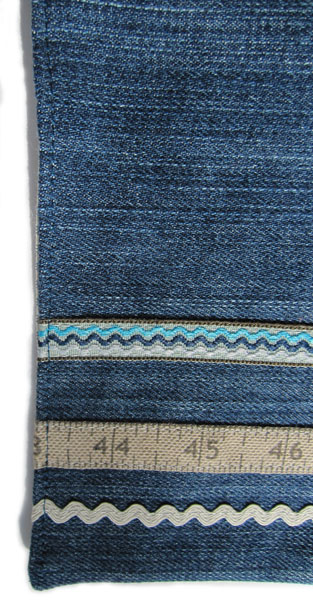
Now it’s time to add the decoration. You can be really creative here, so don’t hold yourself back. In my example I used some ribbon, tape and ric rac, buttons look fab too. Lay the embellishments onto the right side of your cut out piece of denim. I used three long pieces running the entire width of the cover and one shorter piece running top to bottom on the front. Pin down your ribbons etc. and sew into place securely.

Step 4

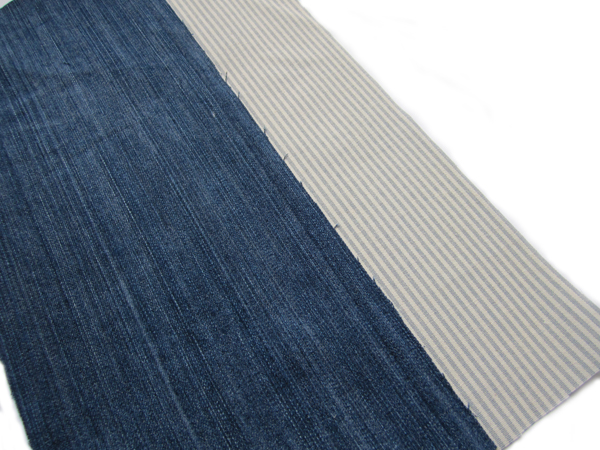
Lay down the lining fabric with the right side facing up. Place the denim fabric down right sides facing and pin together. Machine stitch around the edge, remembering to leave a gap approximately 10cms wide which you’ll use to turn the cover the right way out.

Step 5

Before turning, cut the corners of the cover diagonally. This will ensure crisp corners once turned (remember not to cut into or too near your stitches).

Step 6

Turn the cover the right way out through the un-sewn gap. Carefully tease out the corners, a knitting needle is useful for this purpose. Fold in the edges around the un-sewn gap in the cover, iron the entire cover, then sew up the gap.

Step 7

You should now have a very pretty rectangle of fabric. Fold this in half and iron it to find the centre. Then lay the spine of your notebook onto the centre crease. There should be fabric extending past the notebook on both sides. Fold the fabric over the notebook’s cover to the inside and pin (this will create your inside flap). Make sure that your book closes comfortably and the cover is snug enough. Once happy, machine stitch your flaps close to the edge on either side.

Step 8

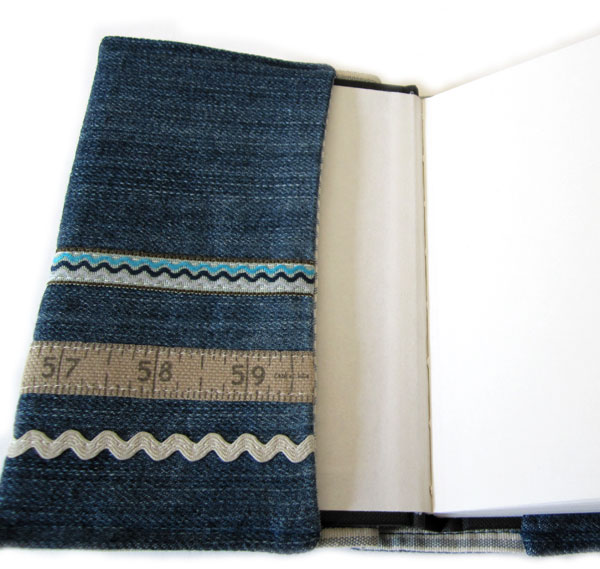
Your cover is now finished! Fold the cover of your notebook back (as in pic.) to slip the cover on. If you can bear to give it away, then this would make a fabulous present. But I’m convinced you’ll love it so much that you’ll never want to part from it.

Dice Knitting Pattern and Yarn Bombing Derby Feste!

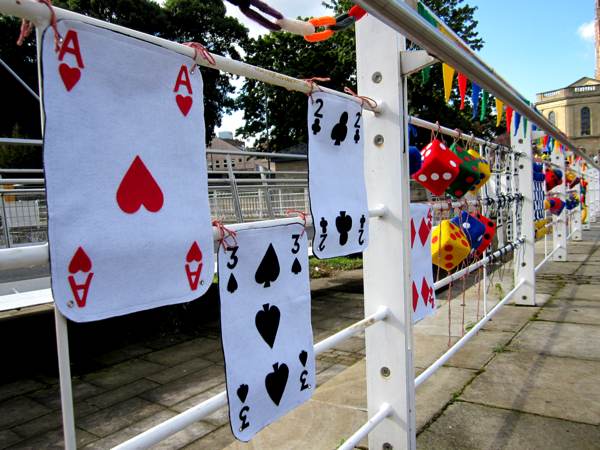
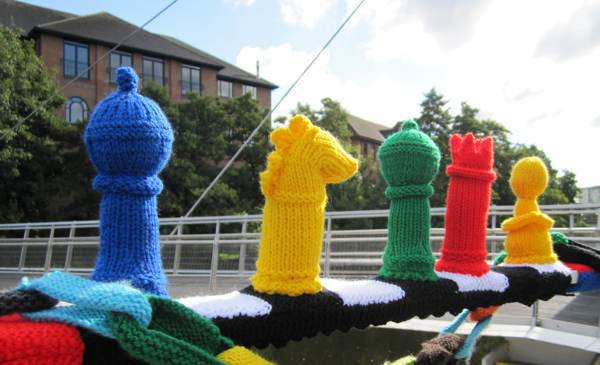
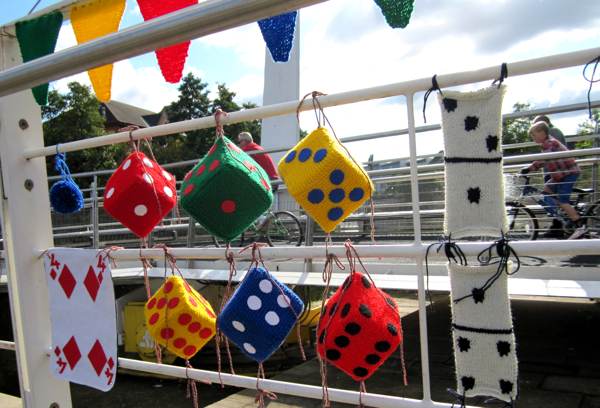
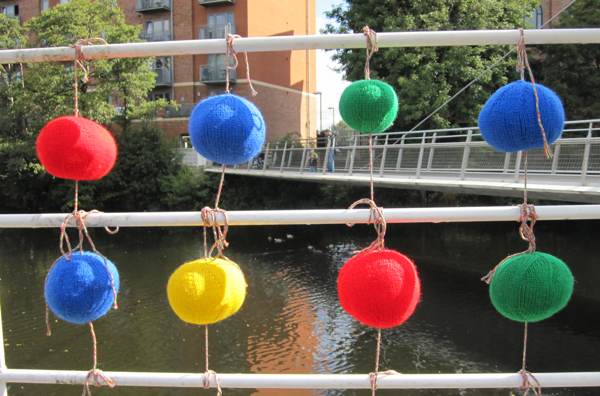
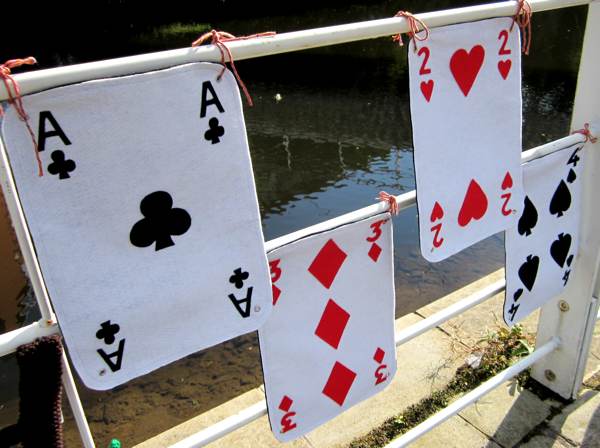
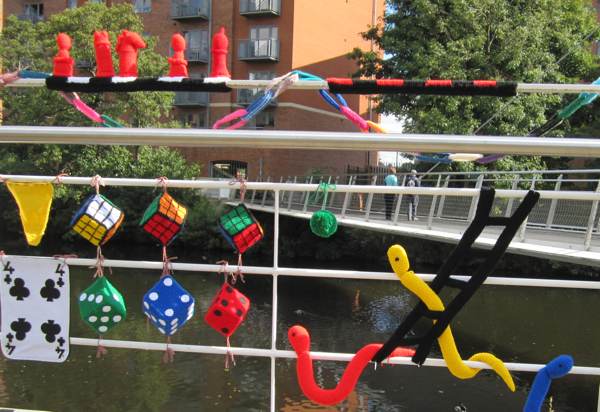
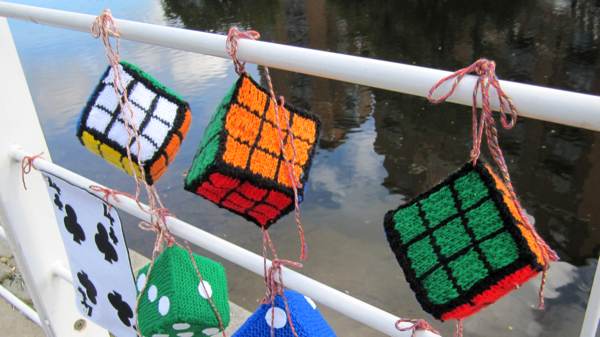
This past weekend was Derby Feste and Anne organised to once again Yarn Bomb Derby’s Silk Mill. Many enthusiastic individual knitters and knitting groups got involved and between Anne’s wonderful patterns and everyones hard work (many a knitting needle was worn out) they managed to produce this wonderful tribute to everything game related!

Unfortunately the display was somewhat obscured for part of the day by a giant blow up snake (interesting planning on the part of the event organisers there) but when it was visible the yarn bombing was hugely popular with adults and children alike. All the contributers came along to visit and there was a general feeling of pride that their combined efforts had managed to produce such a wonderful display. Unfortunately it had to be removed at the end of the day but it is due to decorate the local hospital over the next few days.

Knit A Dice

The dice were particularly popular with the Feste visitors so I am very pleased to be able to share Anne’s knitting pattern with you all here today.

Using double knitting yarn and size 8(4mm) needles.

Cast on 20 stitches and knit every row.

Knit until it makes a square, I had to knit 34 rows (this may very on how tightly you personally knit).

Cast off.

Knit 5 more squares in the same way for the other sides of the dice.

To Make Up:

Firstly sew 4 sides together.

I found it best to sew the cast on edge of the first square to the side edge of the second. The side edge of the second was sewn to the cast on edge of the third and then the cast off edge of the third was sewn to the side edge of the fourth.

Sew the first and fourth pieces together so that all four pieces are joined.

Now attach the fifth square to start making it into a cube. Again stitch a cast on edge to a side edge and sew around all four sides.

When stuffing the dice I wanted it to look as square as possible so I used foam cut to size, each side measured approximately 8.5 cms. I had to use several pieces of foam to form this particular cube.

Once it has been stuffed with the foam attach the last side.

I cut circles of black felt to make the spots. They were roughly the size of a 20 pence coin.