Autumn and Halloween crafts with Bostik!

The nights are closing in and cold air is sweeping through our homes, Autumn is definitely here! There’s no need to be downcast though, less time out playing means more time indoors crafting for all members of the family. Today I’m showing you some fun Autumn and Halloween crafts that your kids are bound to enjoy. As part of the Bostik Craft Bloggers Network I receive a regular box of themed goodies that let my kids and I enjoy a great afternoon coming up with interesting ideas that are fun to make.

DSC_0209This month our box contained:

Pegs

Lolly Sticks

Pipe Cleaners

Faux Leaves

Bostik Glu Dots

Bostik Glu Pen

Ribbon

Polystyrene Balls

Melting Beads

Greaseproof Paper

Here’s what that lovely box turned into:

IMG_0520

Autumn Peg Fairies

A slight twist on the standard peg person, these peg fairies look great standing on a shelf or hung upon a tree.

Autumn Peg Fairies

Using the Bostik Glu dots two leaves are wrapped around a peg to create the fairy’s skirt.IMG_0498

Next cut a lolly stick into a few pieces and secure to both sides of the peg using the Bostik Glu Dots to make arms.IMG_0502

Wrap ribbon around the peg over and under the arms to make the bodice. Secure using the Bostik Glu Pen.IMG_0504

Next two leaves are used to make the wings. Using a Bostik Glu Dot stick part of a leaf down as shown in the following picture.IMG_0505

Stick to the back of your fairy.IMG_0509

We left our fairies looking simple, but of course you could create hair using wool and draw on a face.

Pumpkin & Skeleton Decorations

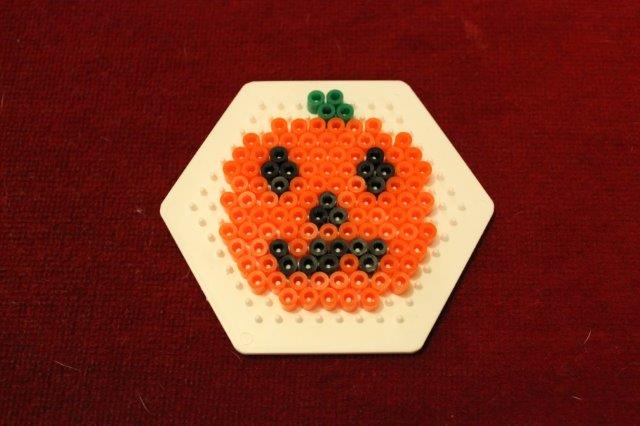
Made with specially designed beads these pumpkin and skeleton designs are the work of my son and husband. They could also be used as seasonal coasters.

IMG_0516

The beads are arranged in your chosen design upon a board. A piece of greaseproof paper is then laid upon the design and ironed. The iron melts the beads which joins them together.

IMG_0527

Spider Monster and Eyeball Decorations

IMG_0525

My daughter and youngest son made these designs by colouring in polystyrene balls. The spider monster then had pipe cleaners pushed into place and secured using the Bostik glu pen to make legs. They are very proud of their spooky creations.

Make your own Fabric Knitting Bag, Pencil Roll & Fabric Flowers with Bostik!

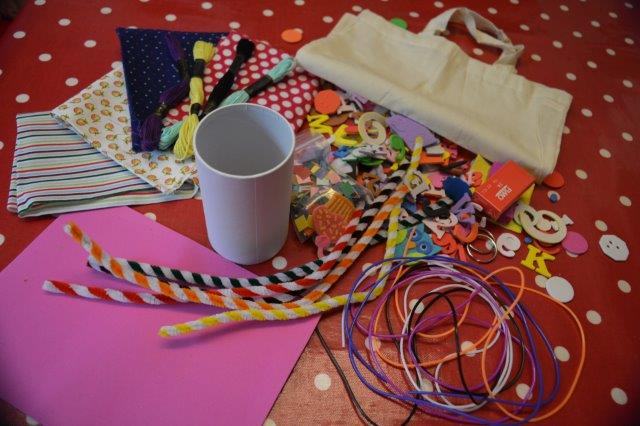
Time for my latest post as part of the Bostik Craft Bloggers Network. With this box of crafty goodies my kids and I made a knitting bag for my daughter, a pencil roll and gorgeous fabric flowers complete with their own vase. Bostik kindly sent me a box containing the items seen in the picture below:

DSC_0846

The key ingredient in this box was Bostik Sew Simple fabric glue. This amazing glue allows you to stick fabric together in an instant, completely bypassing the need for laborious sewing.

DSC_0860

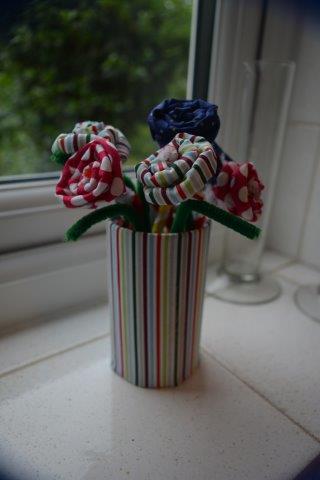
Fabric Flowers with Vase!

DSC_0847

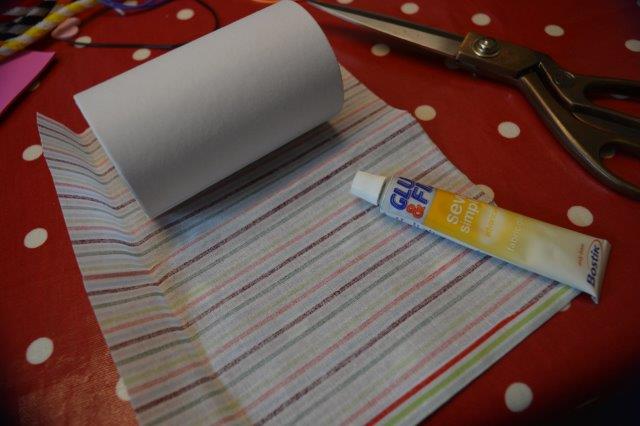
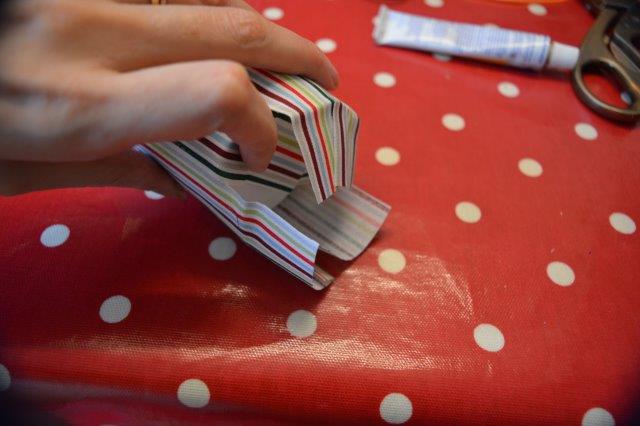
To make the vase for our flowers we used the Bostik Sew Simple fabric glue to attach fabric to a simple cardboard container. At the base the fabric is clipped into wide strips to allow them to be folded and glued into place.DSC_0850

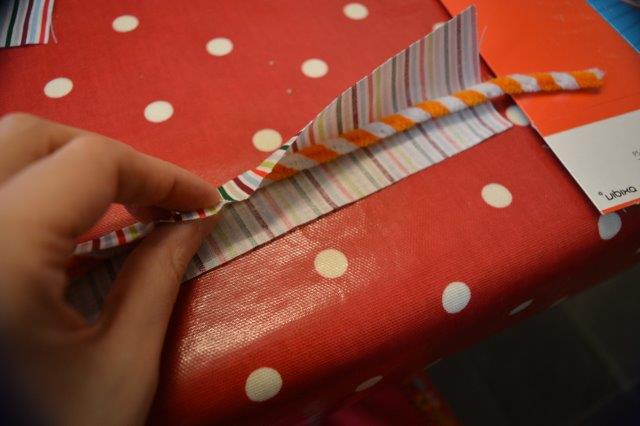
The flowers are made by cutting a strip of fabric wider than a pipe cleaner. The fabric is glued along one edge to cover the pipe cleaner, keep a small piece of pipe cleaner sticking out of each end.DSC_0853

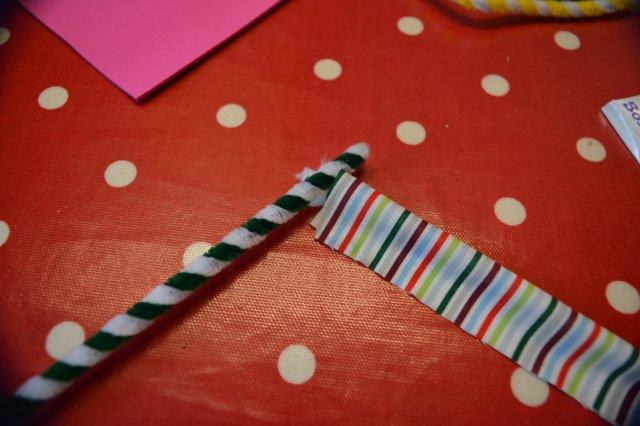
Another pipe cleaner is looped around the first on one end, this will create the stem of your flower.DSC_0855

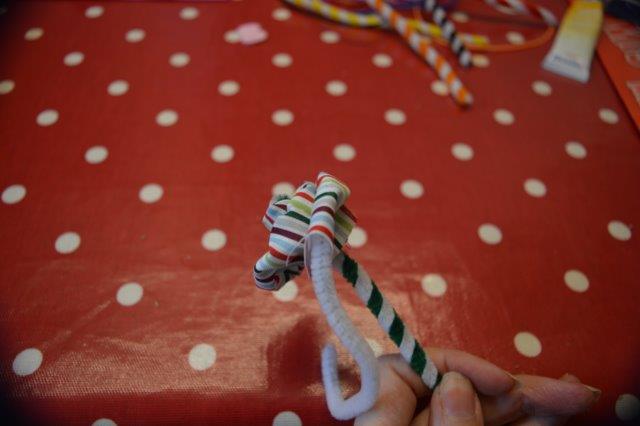
The fabric is then bent and wrapped around the stem to create a flower shape. To finish wrap the end of the first pipe cleaner tightly around the stem to secure.DSC_0859

Make several more and display in your brand new fabric vase!

DSC_0860

Knitting Bag!

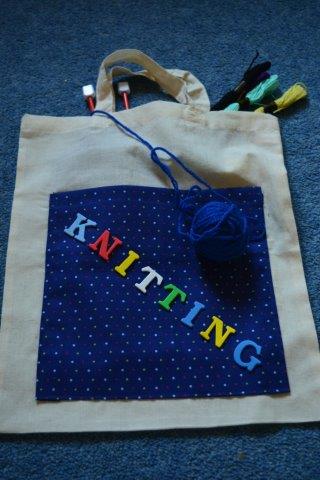
My daughter has only recently started to knit and as any knitter will know having a bag to keep your needles and wool in is essential to avoid complete confusion and tangled threads.DSC_0352

The bag is just a plain fabric bag. Using the Bostik Sew Simple fabric glue we stuck a large panel of cotton fabric to the front. My daughter then selected colourful foam letters which spell out ‘Knitting’ and glued them into place.DSC_0345

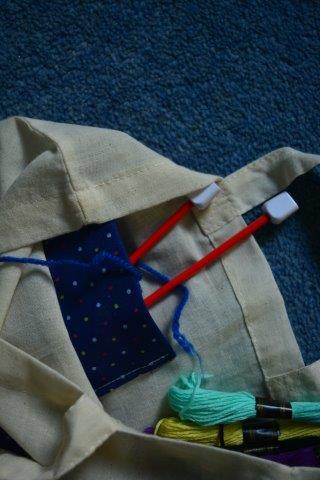
Inside the bag we attached a smaller piece of fabric, which was the perfect size to slip her knitting needles into. This was sewn into place to give a little extra strength.


DSC_0349Pencil Roll!

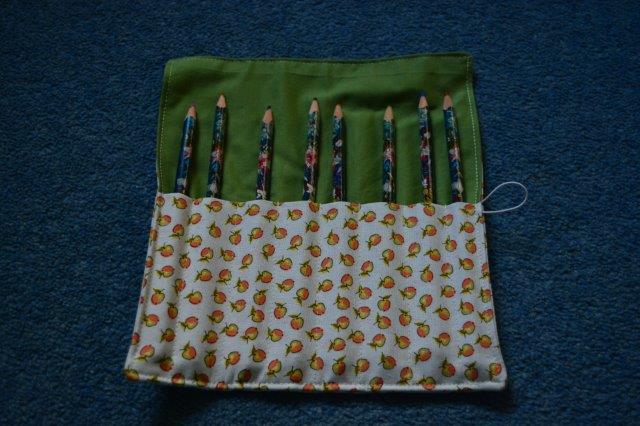
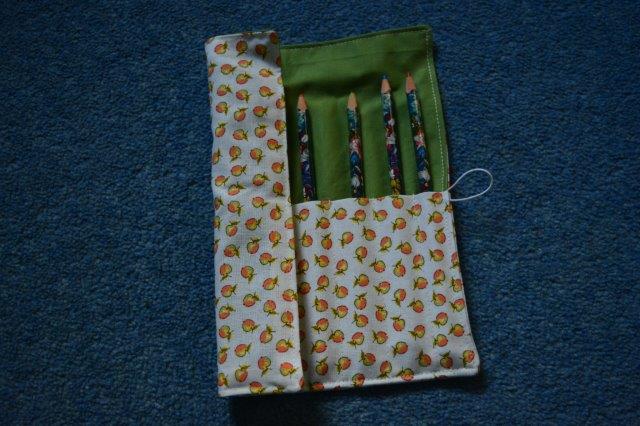
If your children are anything like mine then you’ll be used to finding stray pencils and crayons in all manner of places. Having a pencil roll keeps the best of them organised and is perfect for taking on a trip out and about.DSC_0348

To make the pencil roll I adapted a tutorial I found online at http://two-little-monkies.blogspot.co.uk/2013/04/sewing-tutorial-w-pictures-crayon-caddy.html. It’s a great little tutorial and definitely worth a go.


Make your own Monster tutorial and Peg people with Bostik!

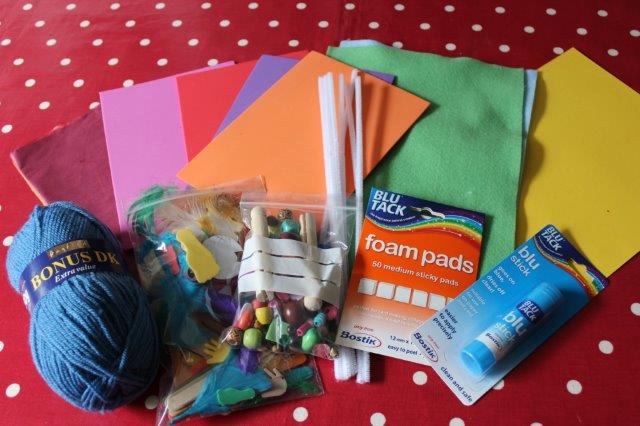
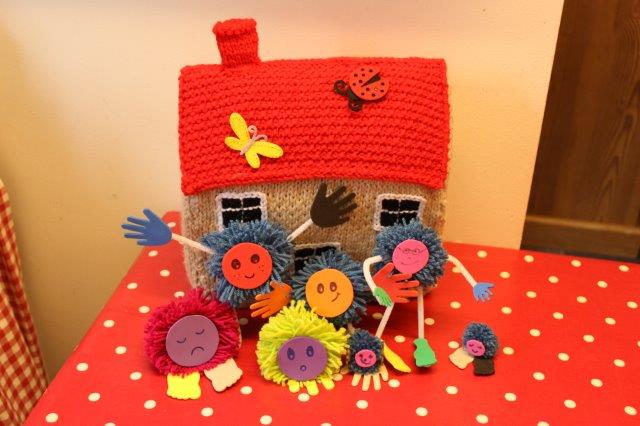
IMG_8208Time for my latest post as part of the Bostik Craft Bloggers Network. With our recent box of crafty goodies my kids and I made funny woolly monsters and peg people. Bostik kindly sent me a box containing:

IMG_8139

Bostik Blu-tack glue stick

Bostik Blu-tack foam pads

Wool

Bag of mixed bits (including wooden pegs, sequins etc)

Bag of mixed bits (including foam shapes, lolly sticks etc)

Sheets of foam

Felt

Cardboard

Pipe cleaners

Tissue Paper


Monsters!

IMG_8202

Try making our fun and silly monsters with this tutorial. They were a firm favourite in our house as it appeals to both genders and different ages.

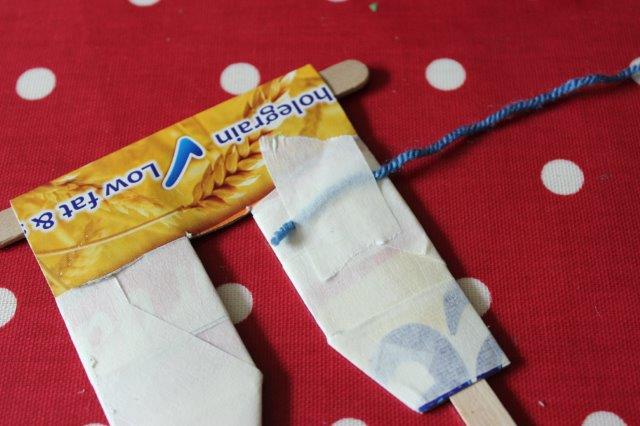
IMG_8172Begin by cutting two ‘N’ shapes out of cardboard, these are then stuck together using tape. Lolly sticks are inserted across the top and down both sides to give some structure. This is a creation of my Mum’s and is the perfect invention for rapid pom pom making.IMG_8174

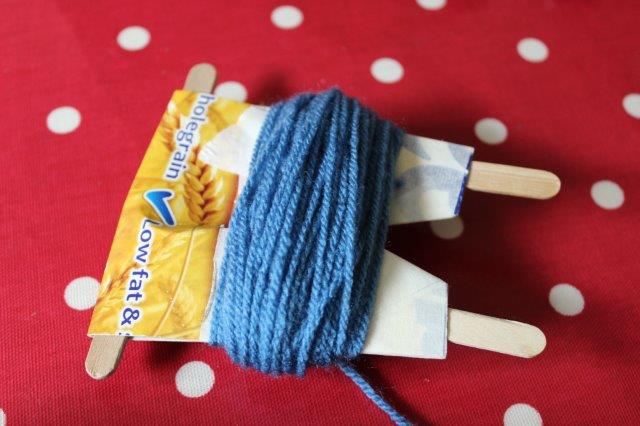
IMG_8176Grab your wool and stick the end down to one side of your ‘N’ using tape. Then wind the wool around the ‘N’ as shown in this picture. You want a decent amount to give your pom pom some body.IMG_8178

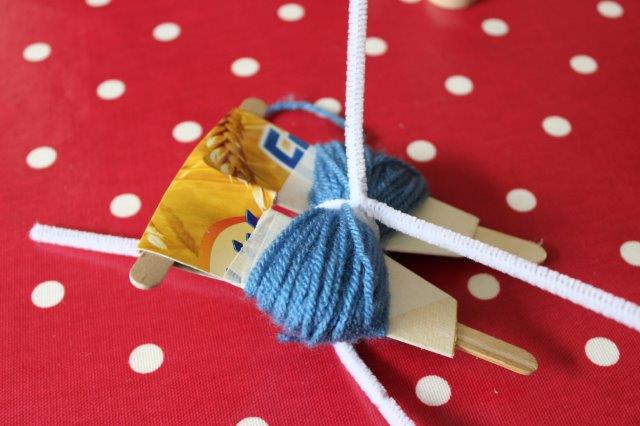
Next cut a length of wool and tie around the middle of your pom pom securely, for safety tie it again to the opposite side.

IMG_8184Now take a pipe cleaner and wrap around the centre in a similar fashion, add another facing the other way, these will then form the arms and legs.

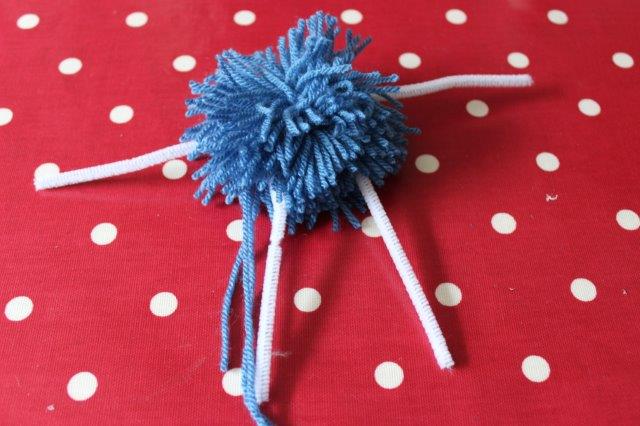
IMG_8185Next cut both sides of your pom pom and slide off the ‘N’ shape. Trim off any longer pieces of wool.

IMG_8187Trim the arms and legs to your preferred length and consider bending a small part of the pipe cleaner back on itself to prevent sharp ends. We then stuck foam feet and hand shapes onto the pipe cleaners using the Blu-tack foam pads.

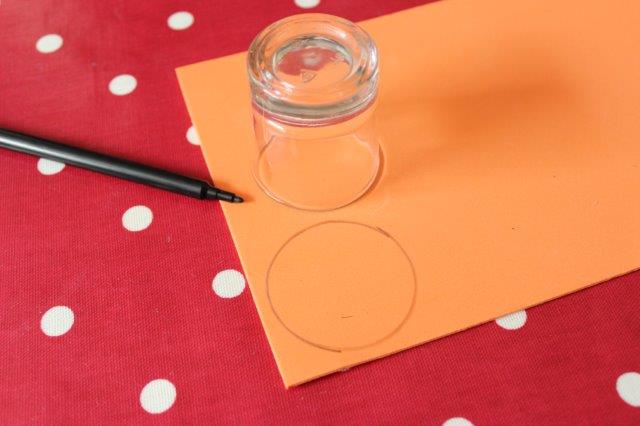
IMG_8188Draw around a small glass on a foam sheet and cut out, this will become the monster’s face. Draw the features on with a pen and attach using the Blu-tack foam pads.

Variations in size, colour and feet/hand shapes all add variety to your monsters.

Peg People

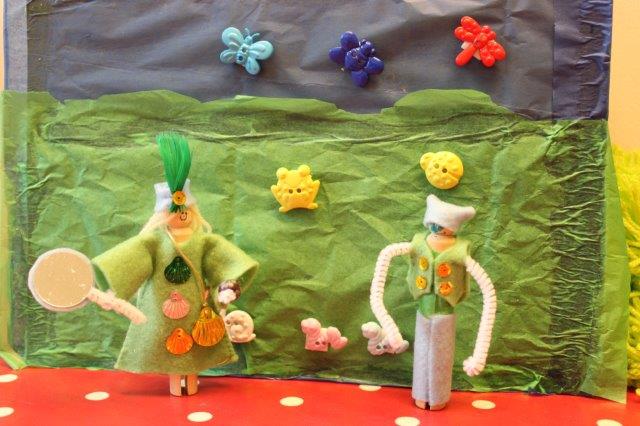
IMG_8217

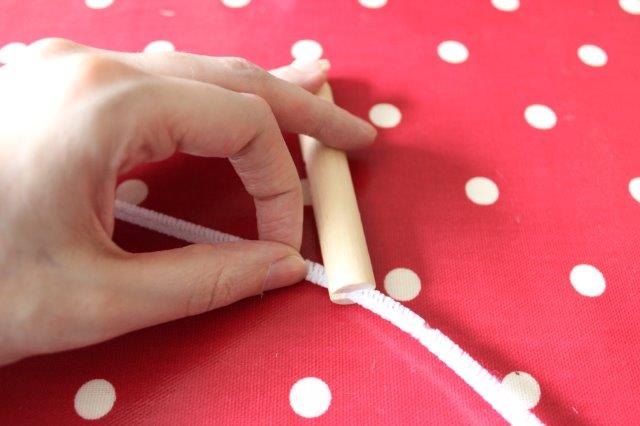
IMG_8140First take a peg and slide a pipe cleaner through the open slit. Twist around the peg to form arms and then stick into place using tape.

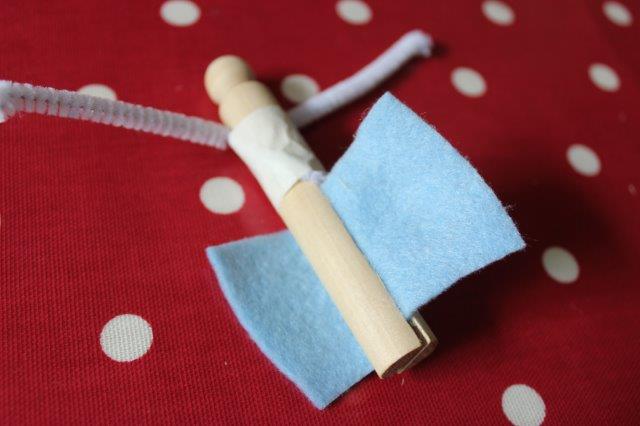
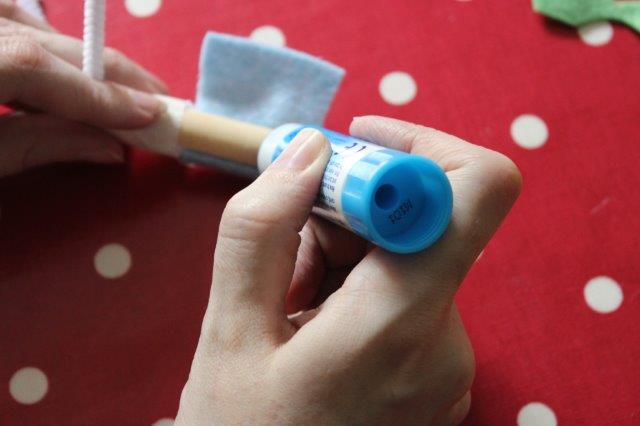
IMG_8153Next take a rectangle of felt and slide though the peg. Using the Blu-tack “Blu glue stick” secure the felt directly onto the peg to create trousers.IMG_8158

Now cover the upper part of the peg using the glue stick and some tissue paper.

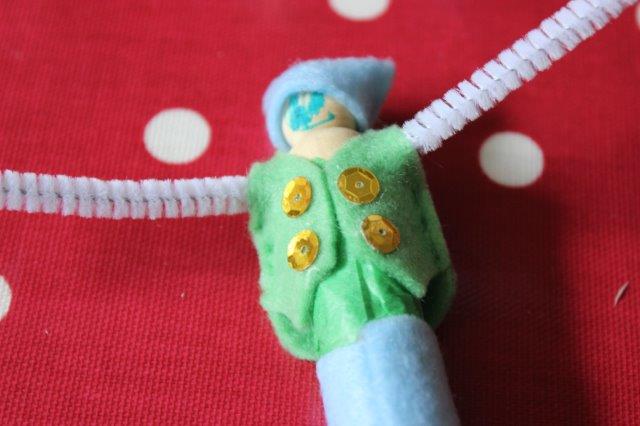
We cut a waistcoat shape from the felt which was attached using a couple of small stitches.

IMG_8160

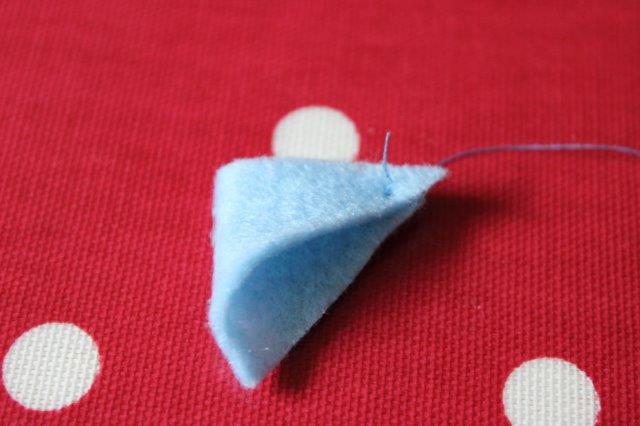
A hat/bandana is made by cutting a triangle shape. Fold the triangle in half and make a small stitch at the back.

IMG_8168

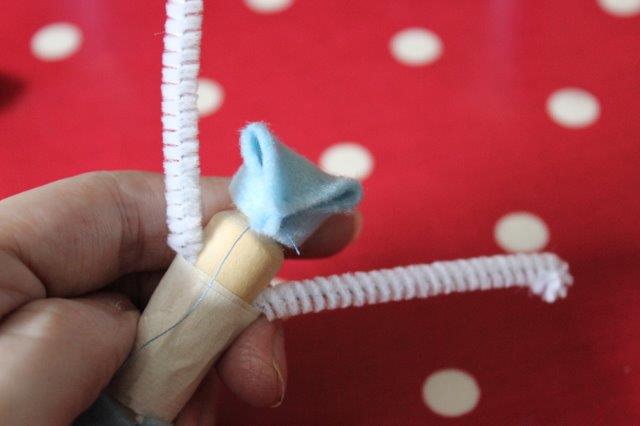
Fold the final triangle point back down and stitch it together, slide over the peg dolls head.

IMG_8171

Finally glue a few sequins in place for buttons.

My daughter also made a female variation where a dress shape was cut from felt and hair made using wool.