As promised earlier here is my step by step guide to making a quick Father’s Day card in CraftArtist Platinum.
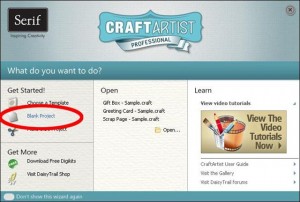
Upon opening the program you will be presented with a wizard to help you get started, I clicked ‘blank project’ which you can see circled here.
Now click ‘Greeting Cards’ in the left hand menu and A5 fol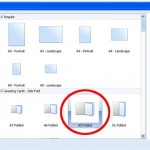 ded in the centre menu. Then click ‘OK’.
Step 2
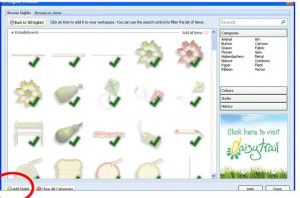
Next a window will open called the Digikit Browser. Here you can pick out your favourite combinations 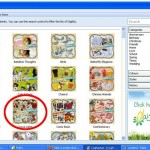 of items to use on your card. Click on whichever digikit takes your fancy and then click ‘Add Digikit’ and then ‘Done’. All your Digikit items will now be added to the programs sidebar.
Step 3
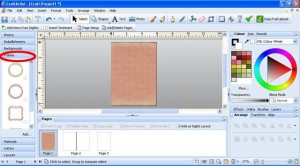
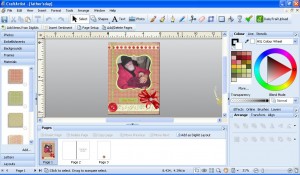
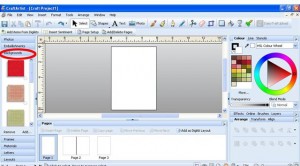 On the left hand side of the screen you should now click ‘Backgrounds’. Choose whichever background you like and then click and drag this over onto your blank card design in the centre window.
Now click ‘Frames’ on the left hand side, pick a frame and drag over onto your card. You can resize this frame or turn as you like.
Step 5
Now there’s not much point in a frame without a picture! So click ‘Photos’ on the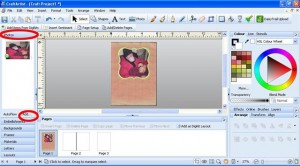 left side and ‘Add’. Once your photo has loaded into the software you can drag it over and drop it into your frame.
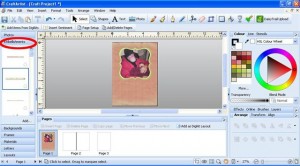
Now we come to the best part! Click ‘Embellishments’ on the left. You can really go to town here dragging and dropping ribbons, buttons, animals etc onto your card. Layer them up for an authentic effect.
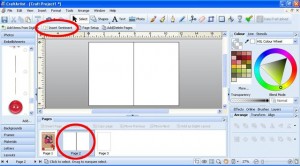
You can of course leave you card blank and write in your message after printing. But if you want to add in a professional caption just select the centre of the card in the ‘Pages’ menu at the bottom of your screen. Then click ‘Insert Sentiment’ at the top of the screen. Scroll through to Father’s Day, pick which sentiment you like and hit ‘Insert’. You can resize or change the justification once you have your words on your card.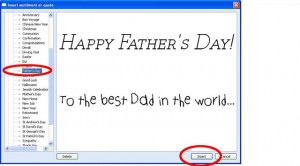
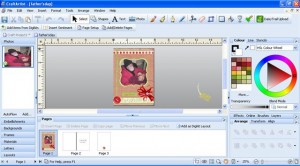
Then all you need to do is hit ‘File’ and ‘Print’ in the top menu and hand over to your grateful recipient



2 Comments (Leave a comment)