How to Reuse Coffee Sacks and make a coffee sack bag

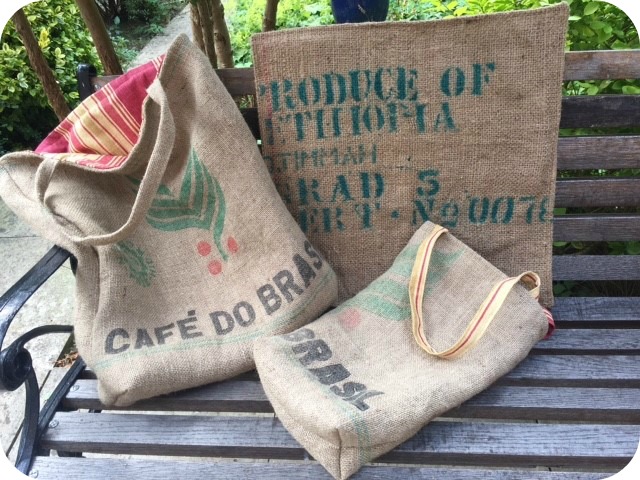
coffee sack bagIt’s been quite a while since I last posted a tutorial and with the summer holidays in full swing that (hopefully) means extra time on your hands for getting crafty. In this tutorial I’ll show you how to reuse coffee sacks and make a coffee sack bag!

I love old coffee sacks with their rustic charm but finding a use for them can be harder than you think. They’re made for strength which means the material can be quite rough with a largish weave. They’d make great looking cushions but you might not enjoy leaning against them but their hardwearing nature makes them perfect for a shopping bag tote!

What You’ll Need

1 Coffee Sack

Colourful/patterned fabric to use as lining

Fabric to make bag handles (needs to be reasonably strong, not a lightweight cotton)
coffeesack1Step 1

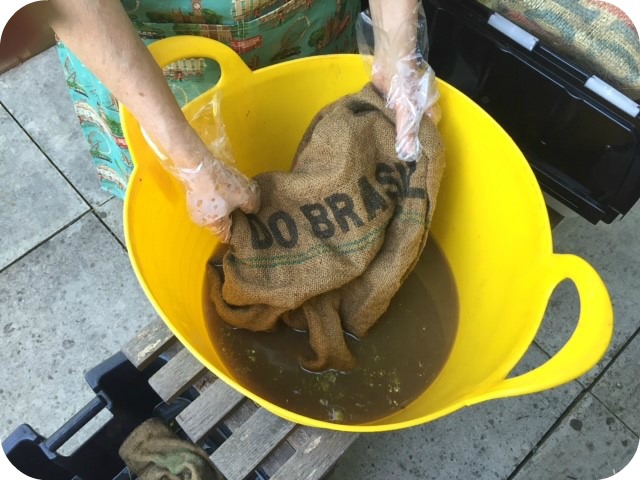
Give the sacks a good wash, it’s easiest to do this in a rubber tub outside if you can, then peg up on a washing line to drip dry.
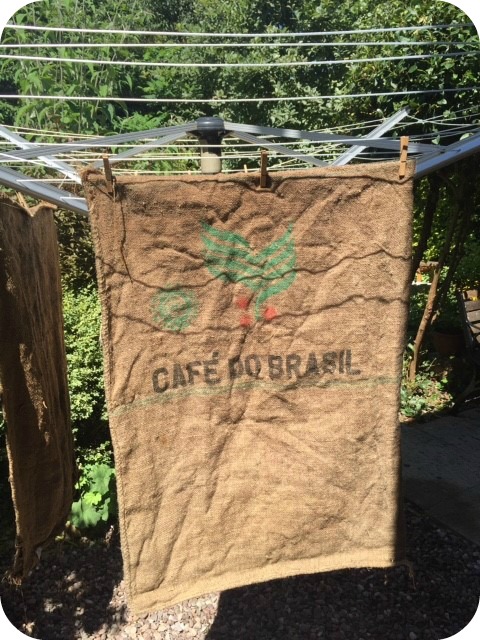
coffeesack2Step 2

Once dry cut out two large rectangles from the sack, both the same size as each other. The actual size you cut will depend on the design printed on your sack and how large a bag you want to make. As long as both rectangles are the same size it doesn’t really matter.

Step 3

Using your lining fabric cut another two rectangles the same size as those made from the coffee sack.
coffeesack3Step 4

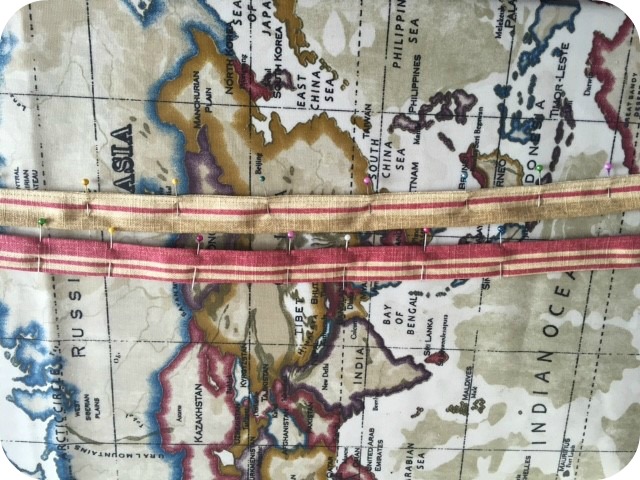
Now take the fabric you have chosen for the bag handles and cut two identical long rectangles of fabric (length is dependent on how long you want you handles). Fold each long rectangle in half and iron to make a centre crease. Unfold the rectangle, fold each of the cut edges into the centre meeting the ironed crease, iron into place and then refold in half. This should enclose the cut edges. Sew along the open side.
coffeesack4Step 5

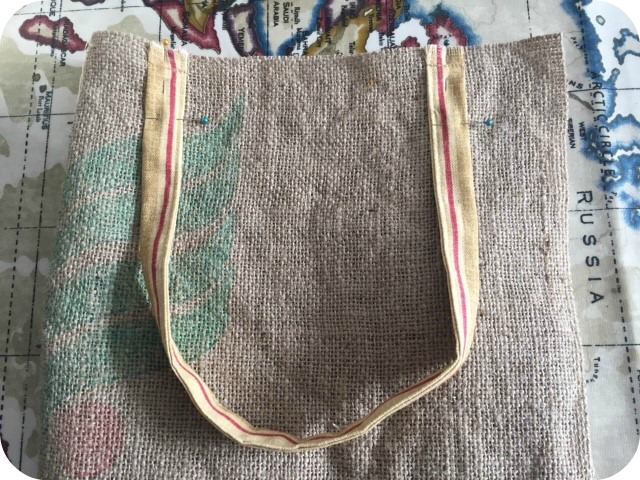
The handles can now be sewn onto the right side of each coffee sack rectangle along the top short edge.
coffeesack5Step 6

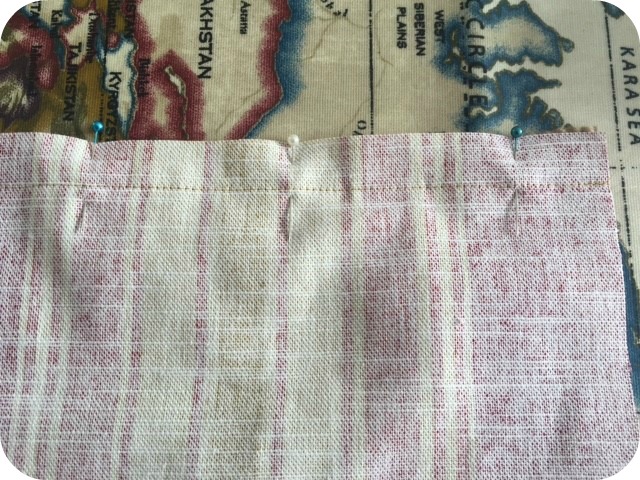
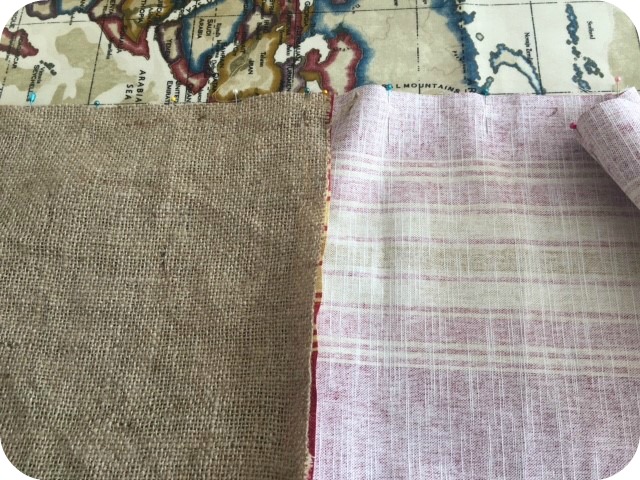
Next sew the top edges of the lining fabric rectangles to the top edges of the coffee sack rectangles (right sides together). The handles will hang between these two layers.
coffeesack6Step 7

You can now sew the whole bag together. Unfold the lining and coffee sack piece that you sewed together in the last step. Lay with the right side up onto a table, then lay the other coffee sack/lining piece on top so that the right sides of the fabric are together. It will make one large rectangle which you sew all the way around leaving a gap at the bottom of the lining.
coffeesack7Step 8

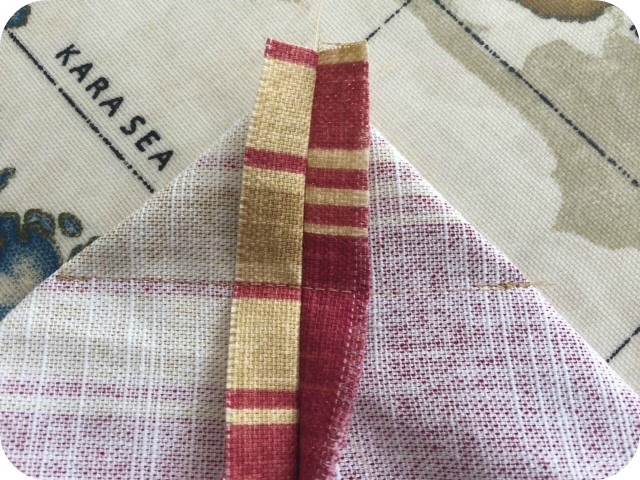
Before turning the right way we’re going to give the base of the bag some structure. To do this you need to squash each of the four corners to make a triangle and then sew straight across (see pic), do this to each of the corners. If you’re unfamiliar with this technique then check out this tutorial on the sewing directory.  Trim off the excess fabric.
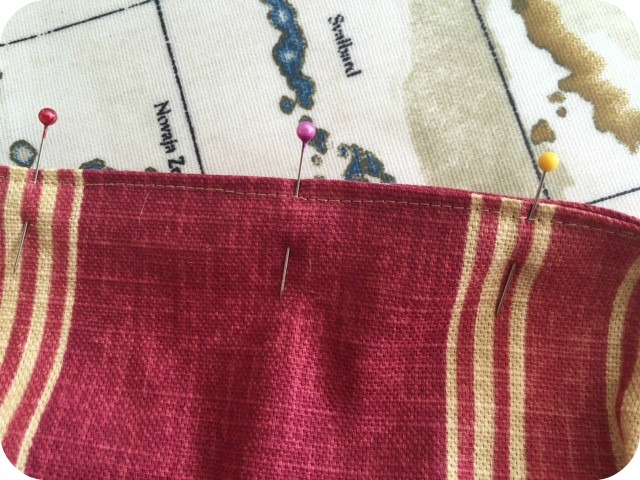
coffeesack8Now turn the entire piece the right way out through the gap left in the lining. Sew closed the gap in the lining and push inside the bag.

Optional Step: Once the bag is complete you can top stitch around the top edge of the bag to give a good finish and extra rigidity.

Boden Place Mat Tutorial!

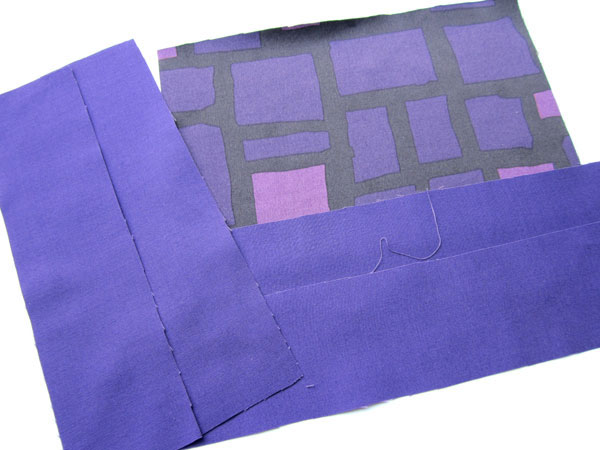
Family gatherings or dinner parties with friends aren’t just about the food, dressing the table plays a big part in proceedings and this tutorial teaches you how to sew your own placemats! I originally wrote this for the Boden Community which has now become the Boden Blog. You might still be able to find it if you look through the archives, but it’s much quicker to share it direct with my readers over here.

Boden Placemats

Boden Placemats


Home-made accessories give a wonderful feeling of accomplishment, plus they make fabulous presents if you’re going home-made this Christmas. Armed with a bundle of gorgeous Boden fabric I’ll show you just how I made mine. It’s a very quick method that will have you whipping up mats in no time at all.

placemat2

What You’ll Need (for one Mat)

23cm X 15cm piece of fabric (for the middle panel)

Two 23cm X 6cm pieces of fabric

Two 25cm X 6cm pieces of fabric

Matching Thread

Wadding

Backing Fabric

Step 1

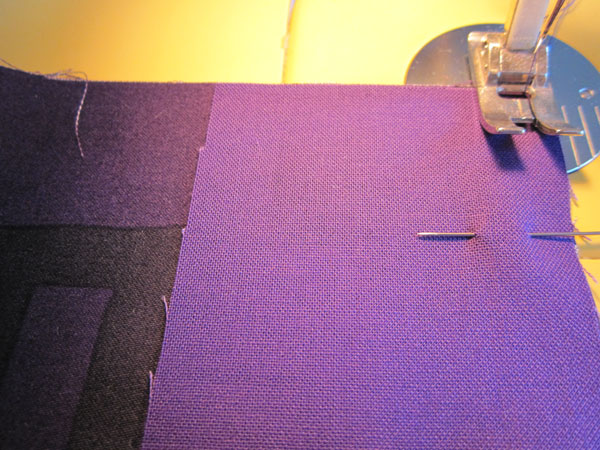
Begin by pinning and sewing the two shorter (23cm X 6cm) pieces of fabric, one to each side of the longer edges of the middle panel. I used a small seam allowance, approximately ½cm.

placemat3

Step 2

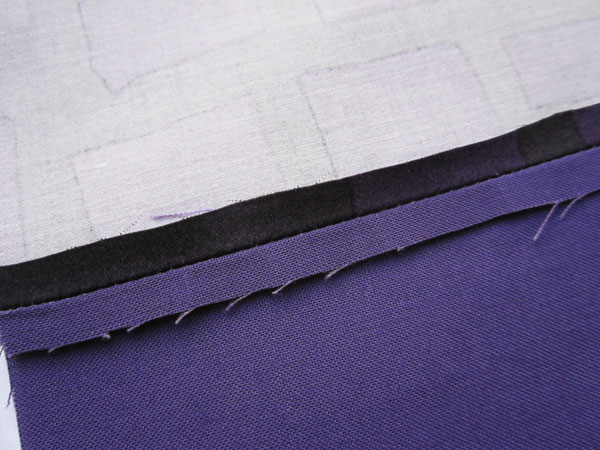
Iron the seams open and then sew the two longer strips to the side edges (this now includes the middle panel and the two fabric strips from step 1). Iron the seams open.

placemat4

Step 3

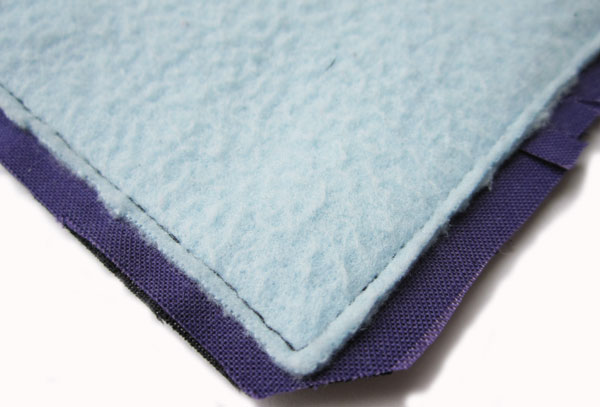
Cut a piece of wadding and backing fabric the same size as your placemat piece is currently. Put the backing fabric down right side up. Add the placemat piece on top right side down (so the right sides of backing and placemat are facing). Then finally place the wadding on the back of the placemat piece. Sew all three pieces together leaving a 5cm gap in one side, this allows you to turn your mat the right way out. Once sewn, trim the wadding back close to the stitches and cut across the corners.

placemat5

Step 4

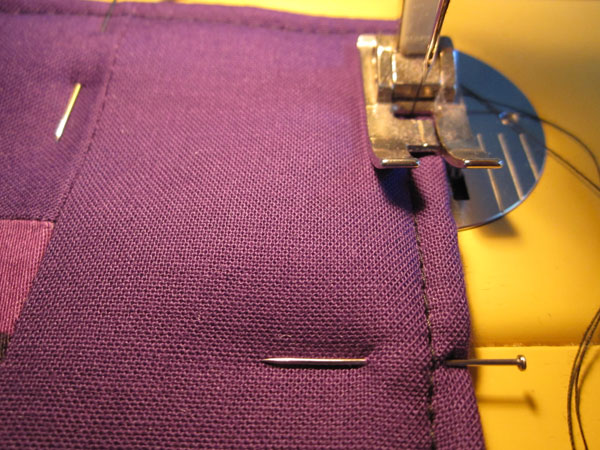
Turn the mat the right way out and iron. Iron and pin where you left the gap and then machine stitch close to the edge all the way around the mat. I also stitched around the middle panel to keep the three layers neatly in place.

placemat6

All you need to do now is repeat the steps above and make as many placemats as you like!


Boden Placemats

Boden Placemats


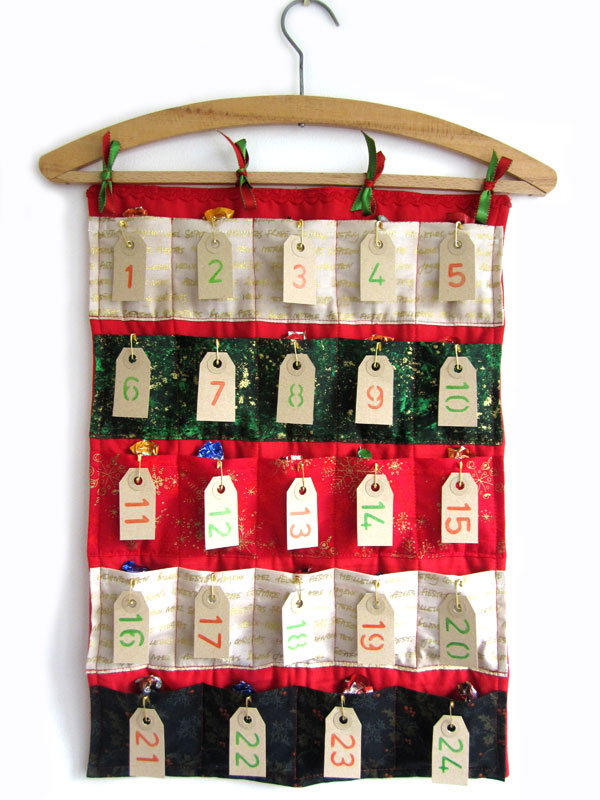
Advent Calendar Sewing Tutorial

With the festive season fast approaching I decided to share my tutorial to sew your very own advent calendar! I originally wrote this for the Boden Community which has now become the Boden Blog. You might just be able to find it if you scour through the archives, but it seemed far simpler to share it direct with my readers over here.

You Will Need

A hanger (I chose a lovely old wooden one)

2 pieces of fabric to make the background (mine measured 34cm X 48cm but this may vary depending on the size of your hanger)

1 piece of fleece fabric 34cm X 48cm

4 pieces of ribbon approximately 28cm in length

35cm piece of ric rac or ribbon

5 pieces of fabric measuring 12cm X 36cm each

24 mini luggage labels

24 mini gold safety pins

24 Sweets of your choosing.

Step 1

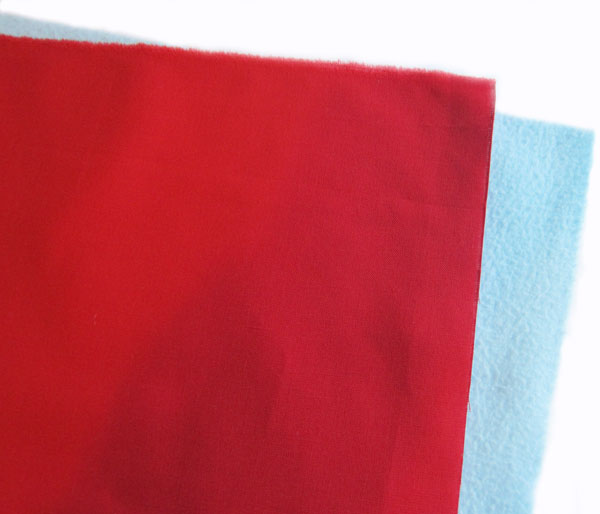
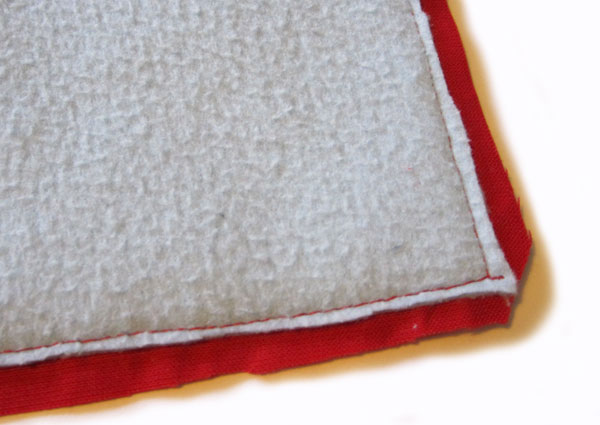
Begin by pinning the two background pieces of fabric together (right sides facing). Then place on top of the fleece fabric (I used an old blanket to cut the fleece from). Sew down one long side, across the bottom and back up the other side, leaving the top free. Iron the pieces together and then trim the fleece back close to your stitches, also trim the corners to aid turning.

Step 2

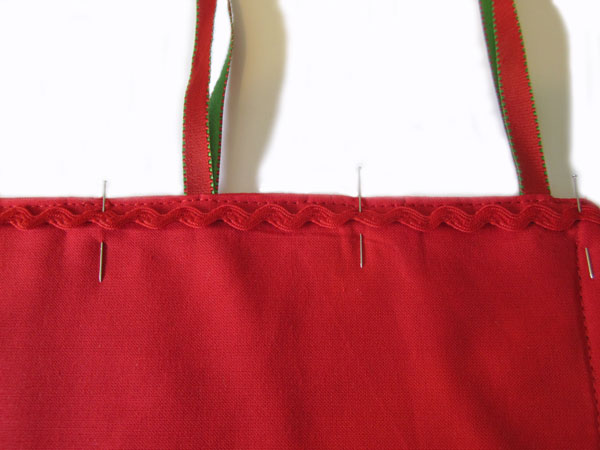
Turn the fabric the right way out and iron flat again, tuck in approximately 1cm of fabric at the open edge and iron ready for sewing. I chose to hang the calendar using pretty ribbon. Fold the 4 pieces of ribbon in half and tuck into the top open edge of your calendar. Sew across the open edge of the calendar, making sure to catch the ribbon as you go. For a little extra decoration I laid a piece of matching ric rac across my stitches at the top and sewed into place (ribbon would also work). You’ve now completed the background piece.

Step 3

Time to make the pockets! On each piece of fabric turn over 1cm of fabric along one of the longer sides. Iron and then turn another cm over and iron again, this is the top edge of each set of pockets. Now turn each remaining edge over 1cm and iron. Machine stitch just the top edges of the pockets, leaving the other edges free.

Step 4

Position each set of pockets evenly across the background fabric and pin. Machine stitch across the bottom of each pocket and then around the entire edge of the calendar. You will now have 5 large pockets. In my example the first 4 rows have 5 pockets and the final row has 4 larger pockets. To create this you need to machine across each large pocket several times to make smaller pockets. On the first four rows I did this at approximately 6 ½cm intervals. On the final row I sewed at approximately 8cm intervals.

Step 5

To make the calendar numbers I bought some small luggage labels from a Stationary shop. I cut them down just slightly to make them smaller. Using a red and green crayon I then stencilled a number onto each label. These are then pinned to each pocket on the calendar using mini gold safety pins (again picked up from a Stationary shop).

Step 6

Decide who the calendar is for and fill each pocket with an appropriate sweet or gift. It could even serve two or three lucky recipients, just pop a couple of extra sweets in each pocket. Now you have an attractive and reusable advent calendar that should serve you for many years to come.