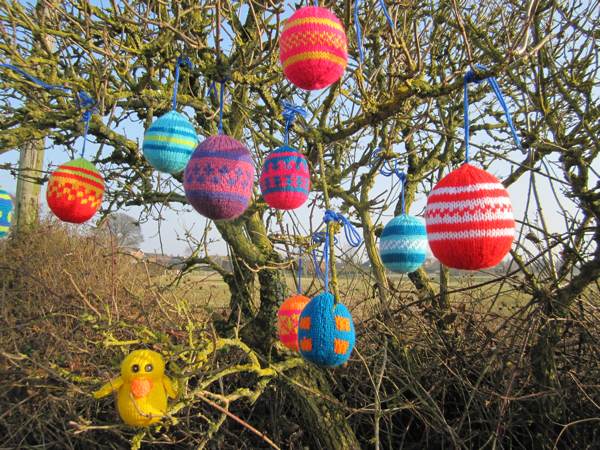
Easter Egg Knitting Pattern Tutorial

With Easter just around the corner there’s every chance that you are looking forward to baskets laden with chocolate eggs and gatherings with your family.

But what if you don’t like chocolate!? Or you’re on a diet and avoiding sugar!? Need you suffer an eggless day with little to bring you cheer? Here at Angel Eden we say no, we think you should knit yourself some calorie free Easter Egg decorations with our brand new pattern 🙂

In fact we think you should knit them even if you are endulging in chocolate, we like them that much!

The Pattern

The eggs were knitted using DK yarn and size 4mm(8) needles.

They could be made larger by using a bigger yarn and needles.

The eggs are knitted in stocking stitch, one row plain and the next purl.

Cast on 10 stitches

Row 1 Purl

Row 2 Knit 1, Kfb (Knit into the front and back of each stitch) all the remaining stitches, (19sts)

Row 3 Purl

Row 4 Knit 2, Kfb (Knit into the front and back of each stitch) all the remaining stitches, (36sts)

Row 5 Purl

Row 6 Knit

Row 7 Purl

Row 8 Knit 1, (Kfb, K1) repeat until last stitch, K1, (53 sts)

Row 9 Purl

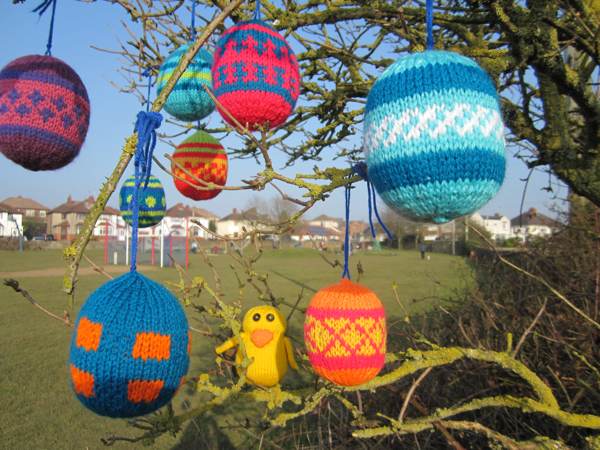
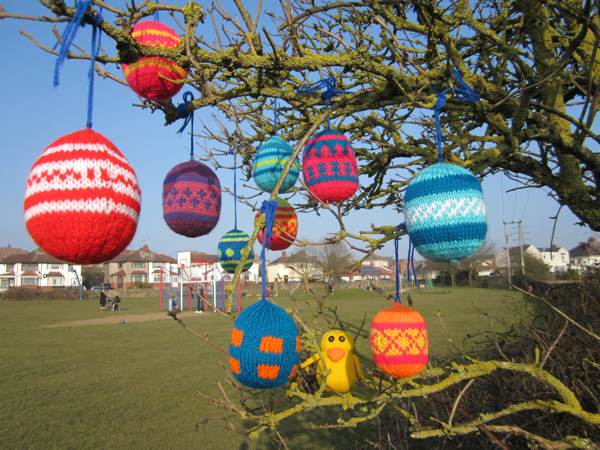
Rows 10 – 25 continue in stocking stitch and pattern as desired. The pattern could be different coloured stripes or spots or zig zags.

Row 26 (K2, K2Tog) repeat to end of row, K1(40sts)

Row 27 Purl

Row 28 Knit

Row 29 Purl

Row 30 (K1,K2Tog) repeat to the end of the row, K1 (27sts)

Row 31 Purl

Row 32 Knit

Row 33 Purl

Row 34 K1, (K2Tog) to end of row, (14sts)

Row 35 Purl

Row 36 Knit

Row 37 Purl

Row 38 (K2Tog) to end of row, (7sts)

Cut the yarn and thread through the last 7 stitches and pull up. Sew down the side of the egg and then stuff with toy stuffing. Finish off by running some yarn round the cast on edge and complete sewing up.
Happy Easter Everyone!

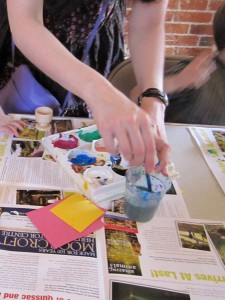
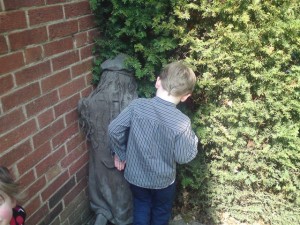
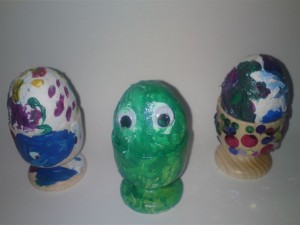
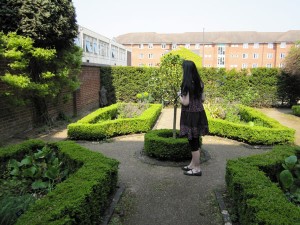
A bit late posting this week, like many of you I have little people at home who need activities and attention. We’ve been lucky and have been enjoying some fabulous weather which has helped. I did prebook all three into a workshop run by the local council and held at a Georgian Townhouse in Derby called Pickfords House. The children all love Pickfords and have visited before with their school. It has a room full of puppets and miniature theatres, as well as a garden full of homes for bugs and statues of children playing. But on Thursday we visited the bottom floor and got covered in paint, glue and some very stubborn sequins that were insistent about sticking to our hands rather than our work. The kids all decorated an egg cup and egg without adult help (other than a bit of paintbrush washing). We took them outside to the garden to dry and enjoyed some time in the sun.  I hope you are all enjoying the weather wherever you are and don’t eat too many chocolate eggs this weekend 😉 Happy Easter everyone!

Eggcellant Easter Eggs!

I’m probably not the only parent who received a letter recently telling them that their children had to decorate an egg for school. This seems to be a yearly tradition where the kids get messy, the parents worry about the eggs cracking and the teachers judge whose is best. Last year I found out about the competition too late and my kids didn’t enter. So this year we tried to be a bit more prepared and set to work decorating eggs last night.

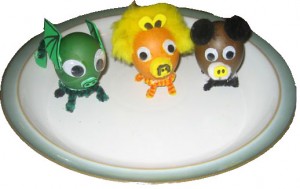
I started by looking online for some inspiration, there are some fantastic websites out there with all kind of eggy projects. A lot called for white eggs which I don’t think I’ve seen for years, but they were all very impressive and definitely competition worthy. My kids liked the idea of making their eggs into animals, I could only find instructions for farm animal eggs online, so we had to make ours up as my son wanted to make a Lion, my daughter a Dog and my youngest a ‘Dagon’ (translation – Dragon).

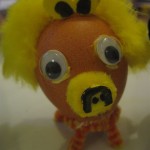
The lion is made by dying an egg yellow and then cutting up a pompom for his mane, cutting out ears and noses from foam and googly eyes.

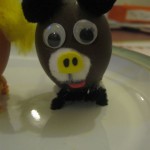
The dog is made by dying an egg brown and then using pompoms for ears and nose, then foam nostrils and tongue and more googly eyes.


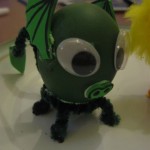
Then the Dragon was made by dying an egg green and attaching big googly eyes, a foam nose and wings. They all have pipecleaner legs and tails.


We also decided to make some marble eggs, to do this you dye an egg one colour first, then in a second pot of dye you add some oil (I used olive) and swirl the dye around the roll your eye in it and dry.

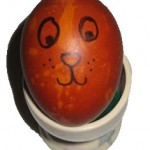
We made Cuthbert the happy egg.

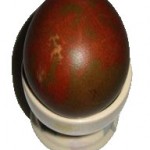
Then Ceril the unhappy egg, he’s mainly unhappy because youngest dropped him and cracked his back 🙁


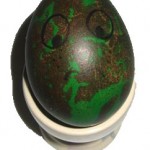
Then we made a Dinosaur egg.


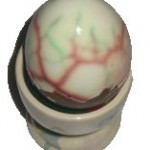
The nice thing about these marble eggs is I don’t think there’s any reason you can’t eat them. The dye is all made from edible ingredients. Here is an unpeeled marble egg (as eaten by my husband).

Egg Dye Recipe

If you want to make some egg dye for yourself it’s really simple. Just take a small cup of hot water, add about 1 teaspoon white vinegar and then some food colouring. I used gel colouring to give a vibrant colour. Just roll your eggs around in the dye until they are the colour you want and then dry.