Pattern Love: Modkid Boutique – Adult Kyoko Dress

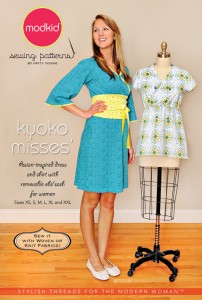
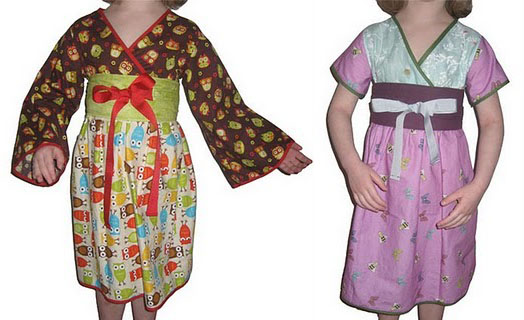
Earlier this year I developed a serious case of Pattern Love! I fell for the beautiful Kyoko Dress pattern from ModKid Boutique and made it in several combinations for my little girl. At the time I could only wish for an adult version. A short while ago that wish came true when ModKid released the eagerly anticipated adult and teen patterns. So armed with a stash of fabric I set to work.
The instructions were very similar to the smaller version which made progress nice and simple. The pattern does suggest that the dress is made of a Stretch Jersey fabric, but it can be made from Woven fabrics with some small alterations. I had some gorgeous woven material that was just itching to be cut out. Here is the final result.
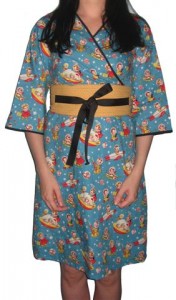
I made the dress with 3/4 length sleeves. Eagle eyed readers will notice that my Obi Belt is slightly thinner than the pattern shows, this was a matter of personal preference on my part and a mini alteration that I chose to make. I love my finished Kyoko dress, it’s lived up to my expectations and more.

But ever keen to experiment I went a little further and changed the neckline to give a deeper plunge and lower back, I also altered the hem length slightly. I love this little variation as much as the original.

Happily enough the belts work quite well on either dress! They are also ridiculously comfortable which means they will be worn often. My fabric choices might not be for everyone, but I can’t resist a bold pattern and a striking colour combo 🙂
 

Freezer Paper Printing Tutorial!

If you’ve ever fancied printing your own designs onto fabric or clothing, then you will love today’s tutorial. Freezer Paper offers a  wonderful world of craft ideas from clothing to quilts. Simply put, you cut it to make a stencil which is then ironed onto fabric in order to print/paint your chosen design. It’s far more common in the US, but here in the UK it can be ordered from many online craft shops. For those unfamiliar with the process I have created a simple and quick tutorial.

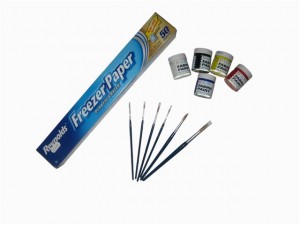
What You’ll Need

  • Reynolds Freezer Paper
  • Pencil
  • Craft knife or Scissors
  • Fabric Paint
  • Brushes
  • Iron

Step 1

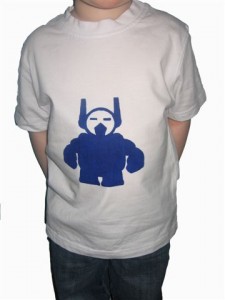
Start by creating your design. Ours is a robot version of Sean Eskimo (affectionately called Sean Eskibot). You can either draw or trace your design onto the freezer paper, or it is possible to cut it and print straight from your computer (print the design onto the matt side of the paper). Cut out using a craft knife or scissors.

Step 2

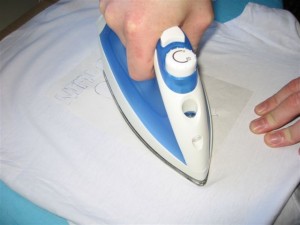
Place your stencil shiny side down onto your tshirt/fabric and iron into place. The Freezer Paper will cling on making it super easy to apply the fabric paint. Using a big brush gently apply the fabric paint onto the stencil. Depending on the brand of paint you may be advised to fix between layers. This is normally achieved by placing a cloth over your stencil and ironing on top (make sure the paint has dried first!).

Step 3

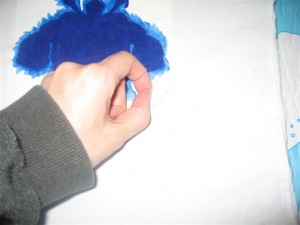
Once you have built up the correct depth of colour let the paint dry and then fix according to the packet instructions. Now the fun part! Slowly start to pull off the Freezer Paper beginning at one corner, your masterpiece is finally being revealed!

Tips

I like to wash the finished designs once before wearing, this returns the fabric to it’s normal softness. It also ensures that the paint has properly adhered, if any comes off just top it up and fix again.

You can create multilayer stencils and build up a design using several layers of colour. Just make sure each layer is dry and fixed before you start the next.


Kindle Case Sewing Tutorial!

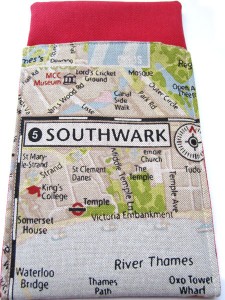
We love books here at Angel Eden, reading (when we have the time) has always been a favoured pastime. But after awhile you exhaust all the space on your bookshelf, discover you can’t hide anymore under the bed and begin to wonder where on earth you’ll keep anymore books. The Kindle offers you the ability to buy and download books on a screen that is surprisingly ‘book-like’. But at the end of the day it’s still a piece of technology, where everyone looks the same. Our solution… make your own Kindle case!

What You’ll Need

Outer Fabric

Lining Fabric

Thin Wadding

2 Buttons

Velcro

Pattern Paper

Thread

Needle

Step 1

We used greaseproof paper to make our pattern. You need to measure and cut out 2 rectangles measuring 17cm X 22cm. Then one smaller rectangle measuring 17cm X 8cm. Pin your pattern to your outer fabric and cut out the three rectangles.

Step 2

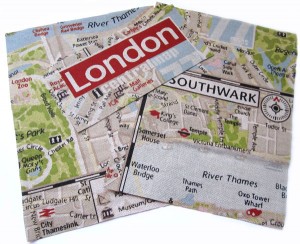
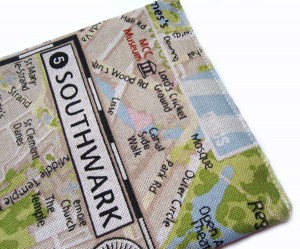
Sew the two larger rectangles together width ways to make a long rectangle. Then sew the smaller rectangle to one end in the same way. The smaller rectangle will become the closing flap of your case, so if using fabric with words or pictures make sure you sew it so it will face the right way up when flapped over. You should now have one long piece.

Step 3

Using your long outer fabric piece as a template, cut out a piece of lining fabric and wadding the same size.

Place your wadding down on a flat surface and cover with the lining fabric facing upwards. Then lay the outer fabric on top face down as in the picture.

Step 4

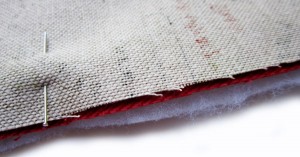
Now we need to stitch the layers together. Begin at the end with the smaller rectangle. Starting about 3cm from one corner sew all around your pieces of fabric until you come back to the side you started on. Only sew in about 3cm from the corner so you have a gap left on the side of the small rectangle to turn your piece the right way out. Trim the corners to allow for easier turning (as in the pic).

Step 6

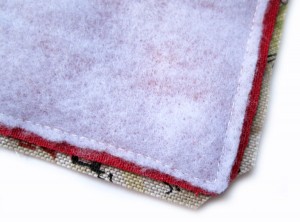
Turn the right way out, easing the corners out as much as possible. Iron the whole piece paying particular attention to your open end. Edgestitch the open end closed.

Step 7

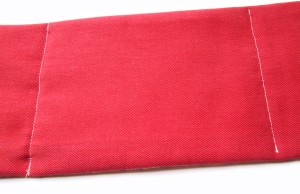
Sew across the two stitch lines in the outer fabric to create bends in the lining and wadding.

Step 8

Fold up the bottom of your case leaving the small rectangle free, this now becomes your flap. Machine stitch the edges together, so you’ve created a pocket.

Step 9

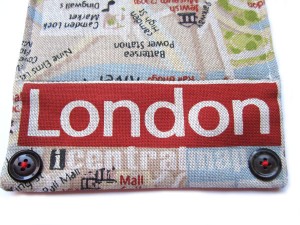
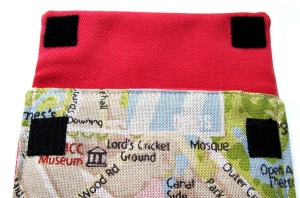
Sew two buttons onto the outside of your flap for decoration. On the inside sew two pieces of velcro to the flap, and the corresponding pieces of velcro to the outside of the pocket to match.

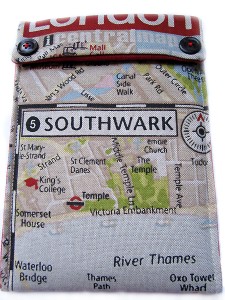
Now sit back and admire your new Kindle Case.