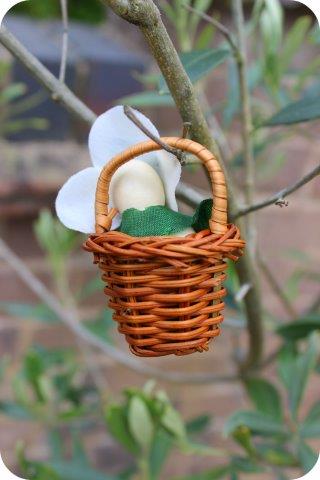
 Where’s summer gone?? If someone hasn’t asked you that question in the past week then you must’ve been been hiding somewhere far from human contact. Everyone wants to know when the sun will return and we can get back out of the house to enjoy reasonably pleasant weather. Apparently things are set to improve soon and when it does what better way to celebrate than getting creative with the kids before embarking on a hunt around the garden. With my tutorial you can make a garden trail with fairies and once again enjoy getting out of the house. This was made using craft supplies provided by Bostik as part of their Craft Ambassador scheme.
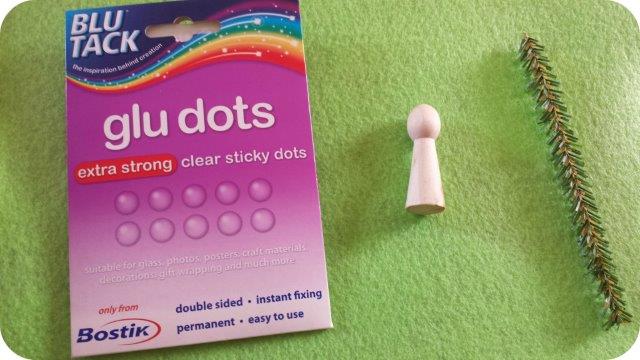
What You’ll Need
Wooden pegs or doll shapes
Fake petals, leaves and foliage garlands
Bostik Glu Dots
Green pipe cleaners
Miniature basket
Patterned tape
Small cardboard boxes (optional)
Larger Fairy
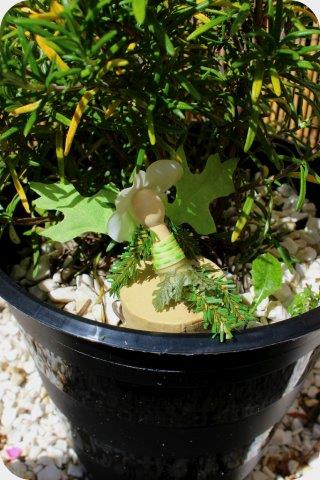
Begin by cutting a pipe cleaner to create legs. These can be stuck to the bottom of the fairy using a Glu Dot. Cut another two short pieces to make arms and fix into place.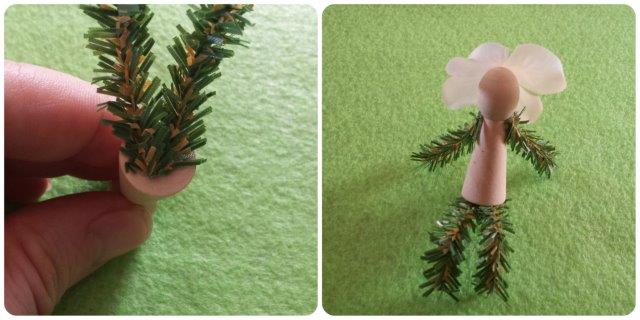
Wrap some fake foliage around the middle of the fairy and secure using patterned tape to make a dress.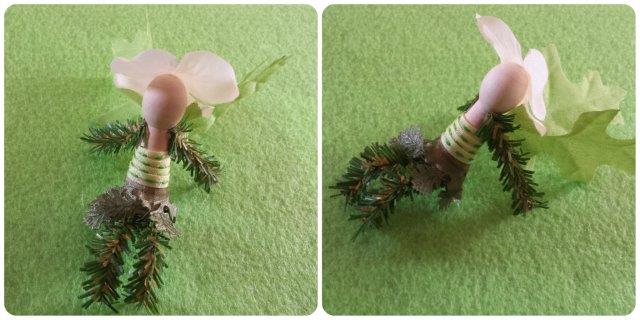
Stick flower petals to the back of the head to create a bonnet. Then finish by sticking two larger leaves onto the back of the fairy to make wings.
Larger fairies work brilliantly if stuck onto a small cardboard box within which you can hide small sweets.
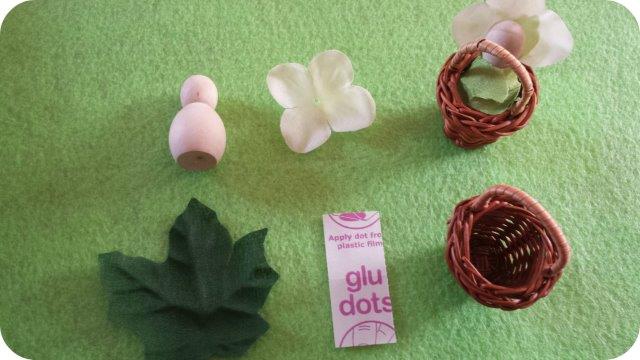
To make the smaller fairy begin by using a glu dot to stick a leaf onto the back of your peg or shape. Wrap the leaf around the fairy as shown in this picture then stick with another glu dot.
Cut off one petal from a fake flower and stick onto the back of the head to make a bonnet.
Place the fairy into a basket.
Hide all the fairies at various points around the garden. As I mentioned above I think it’s a nice touch if at least a couple of the fairies are hiding treats for the kids to find.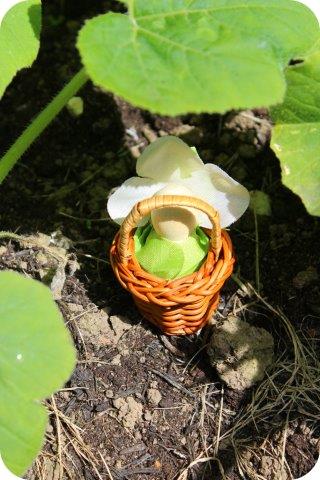
Variations
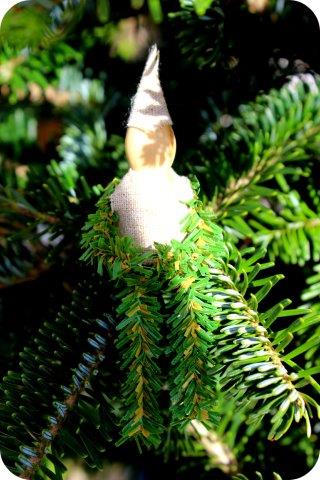
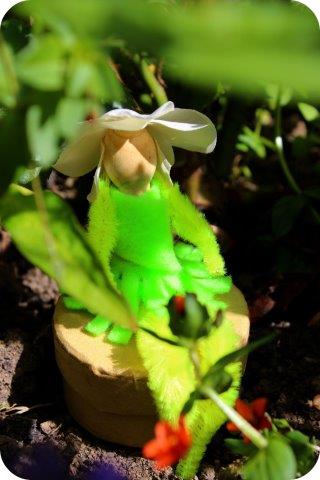 Our fairies are very simplistic in their design but you could of course add faces, googly eyes or anything else that comes to mind! We also made variations with fabric cone hats and tops.


18 Comments (Leave a comment)