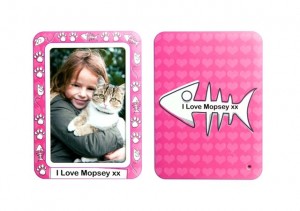
I was recently contacted and asked if I’d like to review a frame from the new iPic website. iPic is a service which allows you to create bes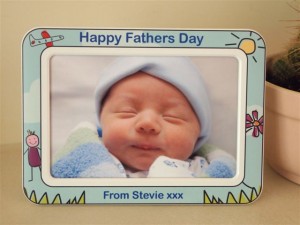 poke photo frames online. You can then personalise them with relevant text which makes them perfect gift idea.
With Father’s Day around the corner this seemed like a fabulous idea to me, so I quickly began trawling my photographs ready to begin creating.
The Creation Process
On visiting iPic’s website I was very excited to see all the designs on offer. The homepage tells you to:
- Choose a Frame or design your own. We have hundreds of frames to choose from for any occasion.
- Upload your photo. Choose your photo from your computer, upload and edit just how you want it.
- Personalise your frame. Add your own message or text which will be printed directly onto the frame.
I really wanted to use a frame in the Mother’s Day category, so I dutifully uploaded my photo and began deciding which text I would like. Unfortunately I hit my first stumbling block as I could not remove the Mother’s Day specific text to make it suitable for a Father. So rather sadly I began to search for another design.
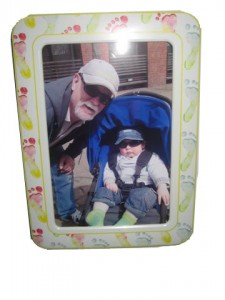
I finally settled on a footprint frame, this was not specific to any event so it seemed perfect. Again I uploaded my photo and began deciding how I would customise this frame. But I found myself thwarted once more, as this frame was apparently uncustomizable. Leaving my text ideas behind me I went on to order.
I’m not sure if this lack of customisation is just an oversight, but I didn’t really feel the frames were living up to the claims made on the homepage. Of course I could have created a frame from scratch, but unless you are very savvy with a mouse or own a graphics tablet, I felt the frame might look like it was created by a child when in fact it wasn’t.There were no shaped brushes etc to help me on my way.
Of course you may well find a design you love that completely fits your needs, plus the site does say it’s constantly adding new designs. So in future I am sure my stumbling blocks will be overcome.
Moving onto the frame itself. It arrived incredibly quick, much faster than the stated delivery time. This is always a big plus in my book. When I opened it, the photo had perfect clarity and the frame was in perfect condition. It comes with a small white plastic stand, but it’s also completely magnetic. I hurried to the kitchen and proudly placed it on the fridge door. I think this is the perfect location for this frame. On a shelf I think it could look a little plasticy, but on the fridge it works!
Unfortunately you cannot change the picture in the frame, due to it being completely sealed during the production process. But as a gift I think the recipient would be very pleased. In fact the Father/Grandfather in question was very happy when he saw the final result.
Would I recommend this product?
Yes, I obviously encountered several issues during ordering but I think these could and probably will be remedied in time. Once the frame is actually in your possession you are unlikely to be disappointed. It’s a fun and creative way to frame your favourite snapshot. It also makes a fabulous gift, I especially liked the magnetic feature.
Could it be improved in anyway?
Yes I think it could. Firstly I would like to see a move to make all the frame designs customisable. I would also like to see the design tool expanded to include shaped brushes, pictures etc.
If I had one further wish, it would be that the picture within the frame could be changed. However I’m not sure if that would actually be possible, so it’s a wish rather than a recommendation.


1 Comment (Leave a comment)