Today I’m going to show you how to make your own Totoro hoodie jumper! In previous posts I’ve mentioned my families enduring love of Studio Ghibli films, but it’s not always easy to source merchandise if you’re looking for a gift for a fan. I’d seen Totoro themed hoodies online but no tutorials, so I set about making my own.
Make Your Own Totoro Hoodie
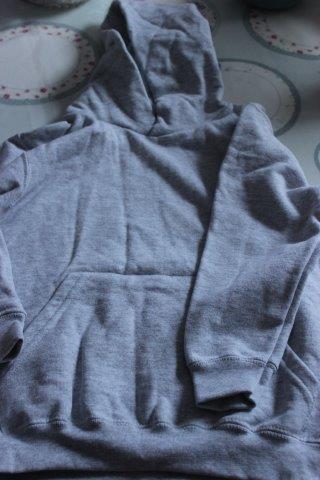
First you need a plain grey jumper.
Then unpick the front pocket and put it aside (you’ll need it later).
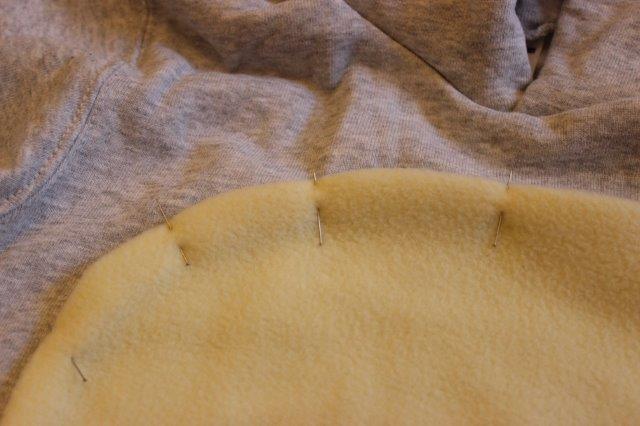
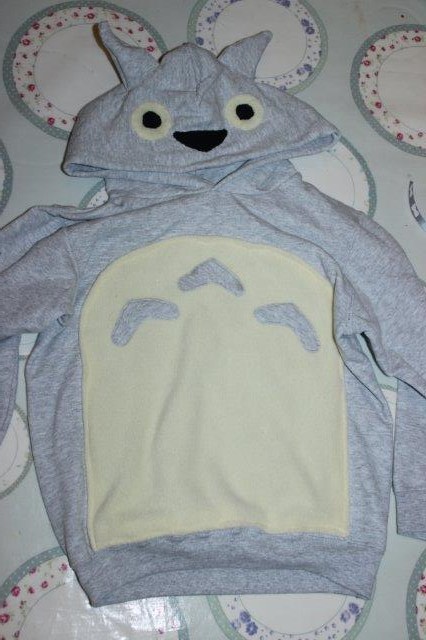
Now the fun begins! I bought some cream coloured fleece fabric and drew a basic template to give the Totoro a big round tummy! Cut out the shape from fleece and carefully pin to the front of your hoodie. I turned the edge of the fleece under as I pinned. Next I stitched closed to the edge of the fleece fabric all the way around to secure.
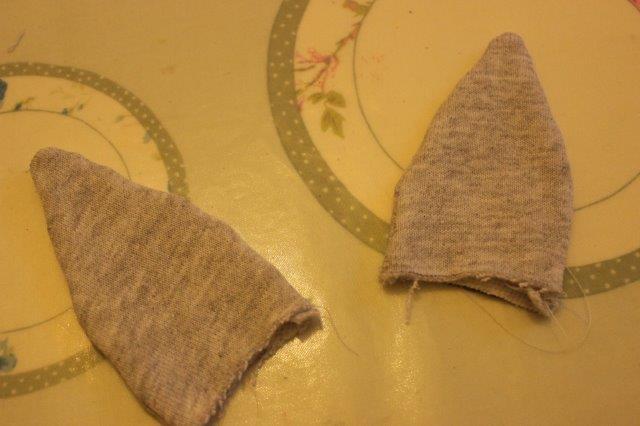
Totoro needs some fabulous ears coming out of the top of the hood. First draw a template on paper and then grab the front pocket you removed earlier and cut out four ear shapes. Place the right sides of the fabric together and sew around the edge of the ears, remembering to leave a gap so you can turn them out the right way. Press with an iron.
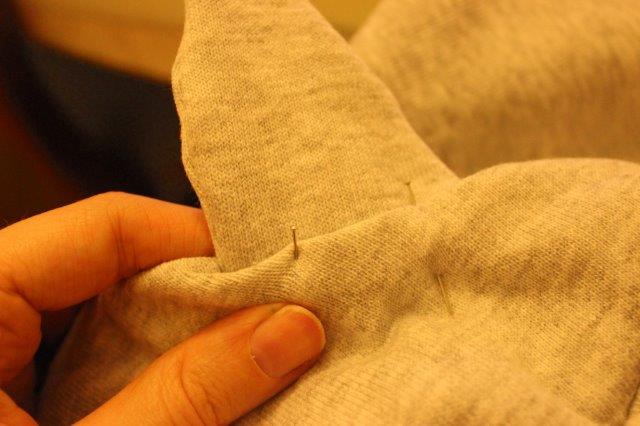
To attach the ears first begin by laying the hood of your jumper down flat and work out where you want the ears to be placed. Mark on the hood using a pencil or tailor’s chalk. Very carefully cut along the mark you just made, push the ears inside the cut and pin into position. I sewed the ears into place by hand rather than using a machine so I could ease the fabric correctly and not create and a deep ridged sewing line.
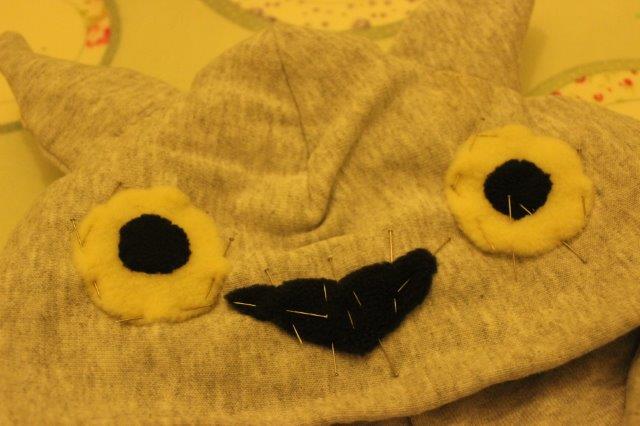
I grabbed some more fleece and sketched out Totoro’s eyes and nose. These were then pinned and sewn to the front of the hood.
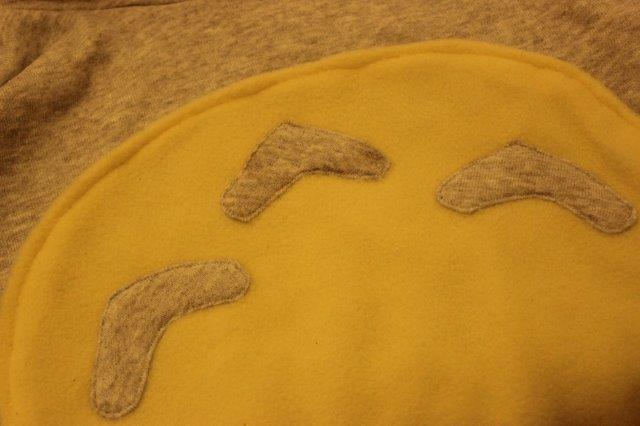
Totoro has a few small shapes on his tummy which I made from the remaining pocket fabric, I tacked them into position and then sewed securely with my sewing machine.
The finished hoodie was a very well received Christmas present!


Comments Off on Make your own Totoro Hoodie Jumper