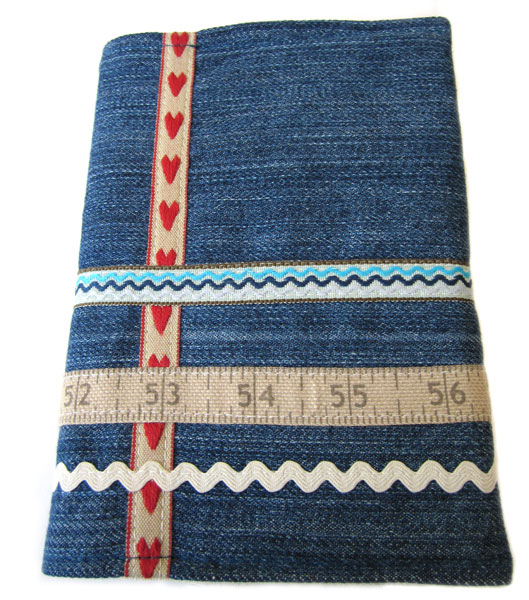
 I orginally wrote this tutorial for the Boden Community, which has now changed into the Boden Blog. If you scour through their archives you can probably still find it, but I thought it would be great to share with all the readers over here, especially with the potential to make Christmas presents!
We’re going to make a covering for a book in this tutorial, I personally made a notebook cover. But this method works equally well to cover photo albums, Sketch-pads or any other kind of book.
An old pair of jeans
Paper
Lining Fabric (I used an old pair of curtains)
Notebook or similar to cover
Measuring Tape
Thread
Sewing Needles
Pins
Ribbon, tape and/or buttons for embellishment
Step 1
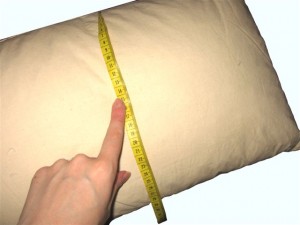
To start you will need to create a paper pattern. With the book closed measure top to bottom and then add on 4cms (this is height of your rectangle). Next lay the book down flat and open. Measure from the inside of the book cover, taking your measuring tape over the back of the cover, across the spine and to the other edge and back inside. Take a couple of cms off the total length (this is the width of your rectangle). Now using these measurements, draw a rectangle onto paper and cut out.
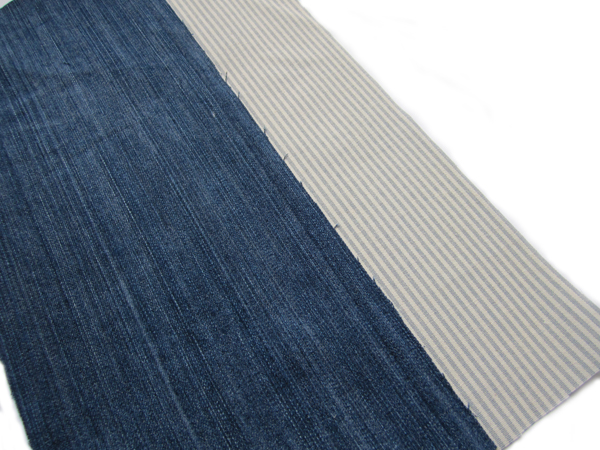
Get ready to cut into your jeans! Lay down and pin your paper pattern to the denim fabric and cut out. Then cut an identical rectangle from a piece of fabric to be used as lining.
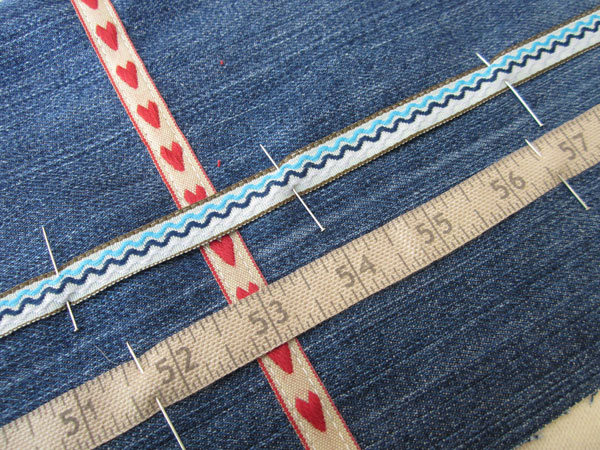
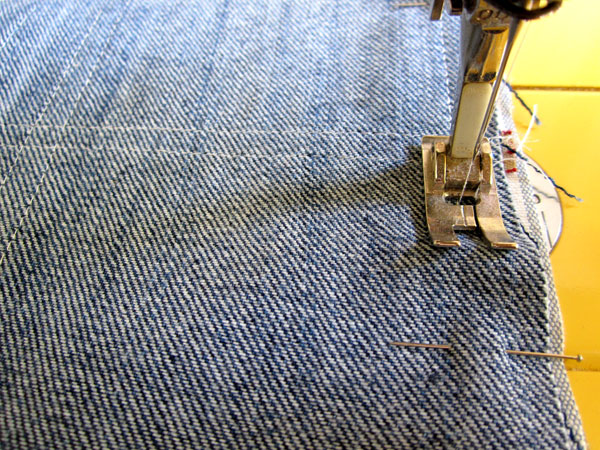
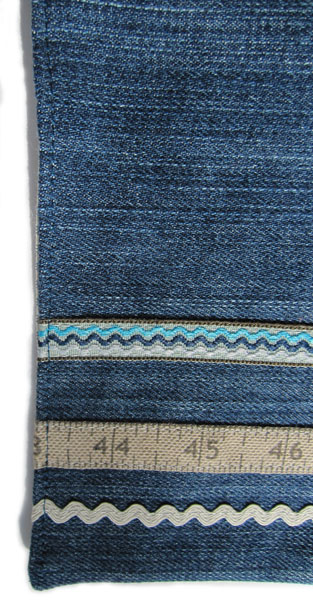
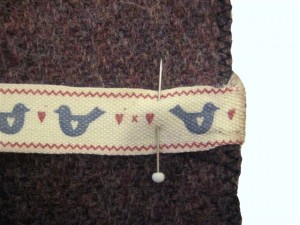
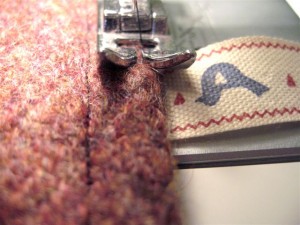
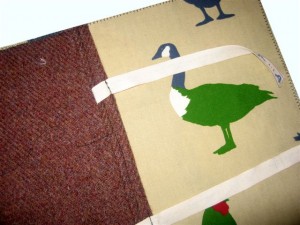
Now it’s time to add the decoration. You can be really creative here, so don’t hold yourself back. In my example I used some ribbon, tape and ric rac, buttons look fab too. Lay the embellishments onto the right side of your cut out piece of denim. I used three long pieces running the entire width of the cover and one shorter piece running top to bottom on the front. Pin down your ribbons etc. and sew into place securely.
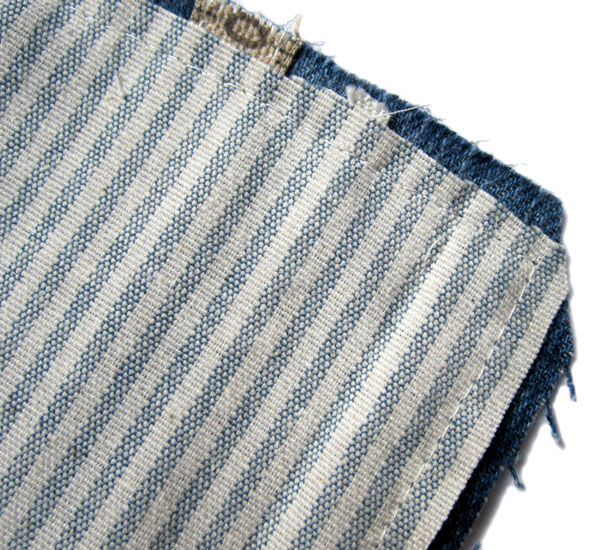
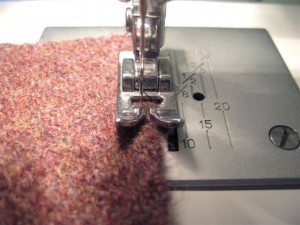
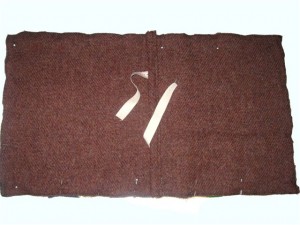
Lay down the lining fabric with the right side facing up. Place the denim fabric down right sides facing and pin together. Machine stitch around the edge, remembering to leave a gap approximately 10cms wide which you’ll use to turn the cover the right way out.
Before turning, cut the corners of the cover diagonally. This will ensure crisp corners once turned (remember not to cut into or too near your stitches).
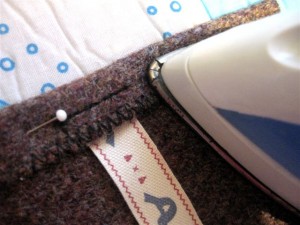
Turn the cover the right way out through the un-sewn gap. Carefully tease out the corners, a knitting needle is useful for this purpose. Fold in the edges around the un-sewn gap in the cover, iron the entire cover, then sew up the gap.
You should now have a very pretty rectangle of fabric. Fold this in half and iron it to find the centre. Then lay the spine of your notebook onto the centre crease. There should be fabric extending past the notebook on both sides. Fold the fabric over the notebook’s cover to the inside and pin (this will create your inside flap). Make sure that your book closes comfortably and the cover is snug enough. Once happy, machine stitch your flaps close to the edge on either side.
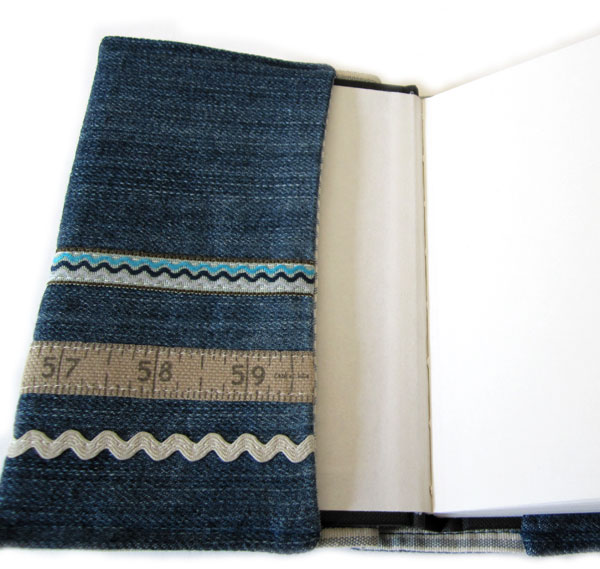
Your cover is now finished! Fold the cover of your notebook back (as in pic.) to slip the cover on. If you can bear to give it away, then this would make a fabulous present. But I’m convinced you’ll love it so much that you’ll never want to part from it.







 So finally I did what I should have done in the first place and made my own cushions. Although I did do my bit for the environment and reused the feather cushion pads. I even have the old covers stashed and will salvedge what I can for another project. If you fancy having a go at these extremely simple covers, here’s how I did it.

Comments Off on Notebook, Photo Album, Sketchpad Cover Tutorial