I recently read an article in the Mollie Makes magazine about a really unique printing ink called Inkodye and I instantly wanted to have a go. Unfortunately there is currently only one company in this country that stocks it www.firstcall-photographic.co.uk and the postage is quite high but I felt really impatient to try it out!
Inkodye comes out of the bottle colourless, you then apply it with a brush and then leave it to the sun to develop, almost like a fabric photograph. In theory it allows you to create beautiful prints using anything that casts a shadow. Of course I bought it in the winter when sunlight is sparse but I have still managed a few goes with it. At present it only comes in three colours: red, orange and blue, but you can mix them so it’s not too restrictive.
 My first attempt was using the red, I placed some old keys onto a small bag which I put outside for about 45 minutes. There wasn’t really enough light so it turned out pink and I don’t think I painted enough dye onto the fabric either.
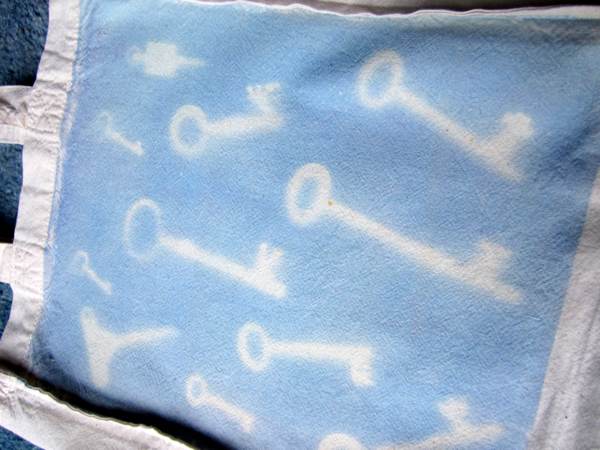
My next attempt was using the blue and the same old keys. This seemed to go a dark colour very quickly, so I panicked and washed the ink out too early and again it was rather pale.
Once your piece has developed the depth of colour you desire you have to wash it really well otherwise it continues to develop! I washed the blue bag by hand (really scrubbing it) and then put it through a machine wash. Despite this after leaving it on my table folded in half for a few days I noticed that it had still continued to develop and one half was darker and some of the keys had started to turn blue
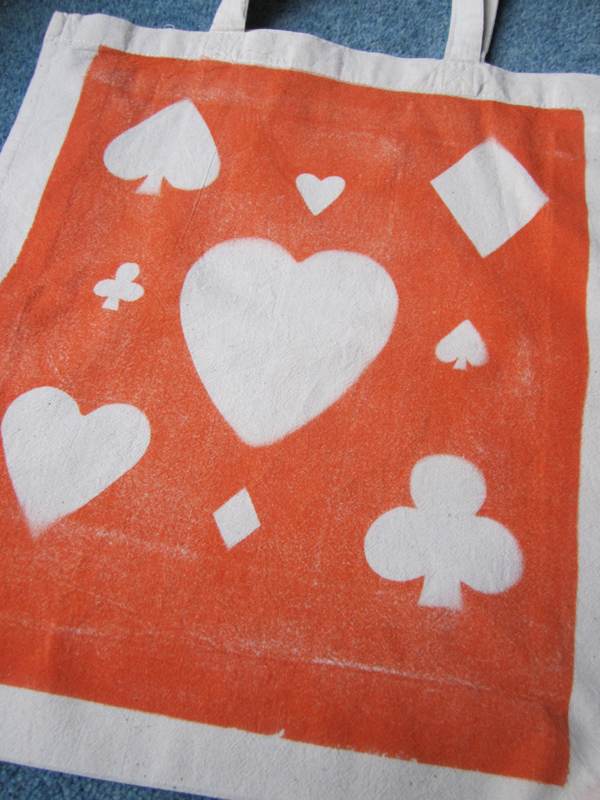
My third attempt was more successful. I cut some shapes out of cereal box and put a sheet of glass over the top to weight it down. I left it outside for one and a half hours but again there was not much light. The mistake I made with this one was washing my brush in my white kitchen sink and finding later in the day that I now have an orange and white sink!!!
Dyed sink aside I’m very pleased with the third piece and how it turned out. I think Inkodye is going to take me a little while to completely perfect but it’s definitely worth a try if you’re interested in trying out a new form of printing. Just remember my top tip…. wash that ink out until you can wash no more! Otherwise be prepared to see further colour development




Comments Off on Inkodye Printing