I am a member of the Collective Bias® Social Fabric® Community. This shop has been compensated as part of a social shopper insights study for Collective Bias and their client.
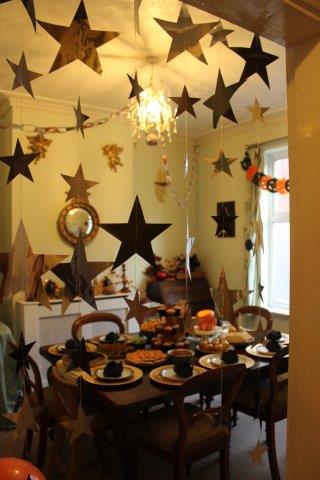 Every year in the UK Halloween seems to be gaining in popularity, but what if you don’t like scares or gore? Perhaps the idea of terrifying your loved ones doesn’t appeal or you feel that celebrating the kind of thing we’d normally avoid seems contradictory. Whatever your reasons if you don’t like Halloween do you have to avoid the season completely? Personally I don’t think so, I think it’s more than possible to have a ‘happy’ Halloween. I’ve never been a big fan myself and all my children are easily scared so I set out on a mission to make Halloween fun for everyone.
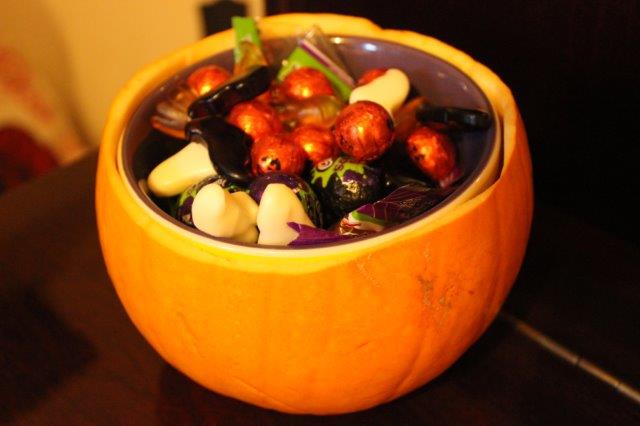
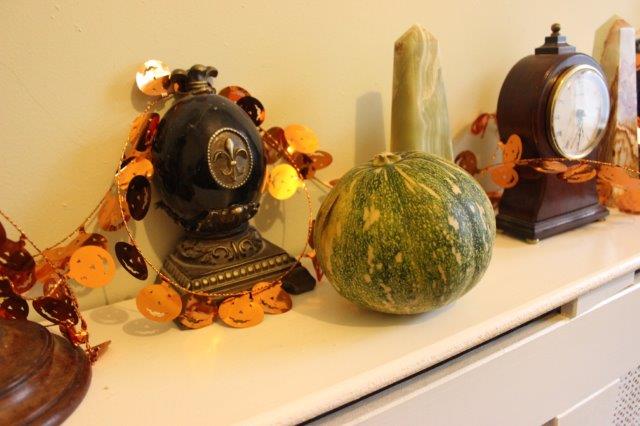 One of the best things about autumn is the readily available supply of pumpkins, carve them, cook them, stick them in a pie and they are down right delicious! We bought three this year, two we carved and one became a bowl to hold sweets. I invited family and friends who are not Halloween fans to our Pumpkin Party and we set to work.
We bought most of our decorations and supplies from Wilkinsons and you can see how we got on with our shop by clicking here.
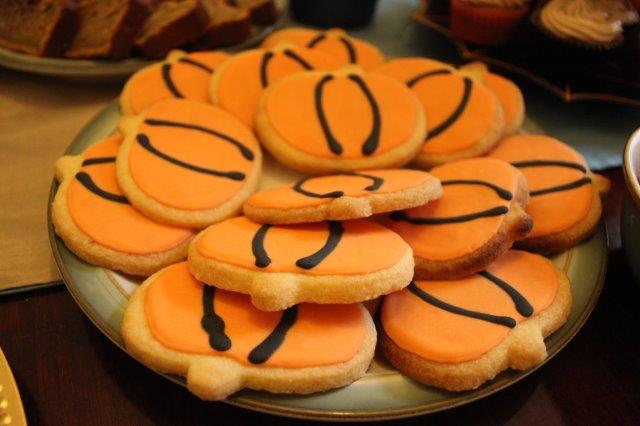
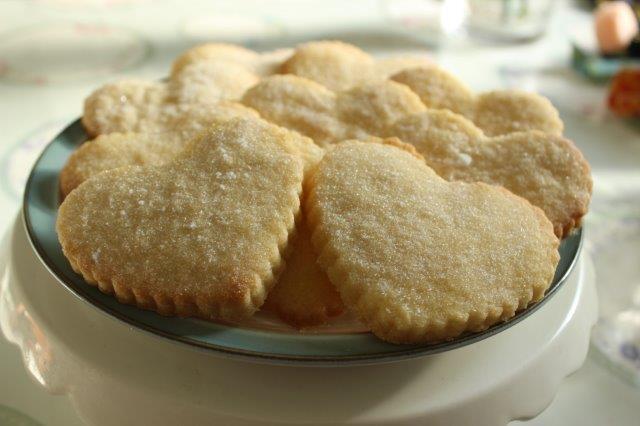
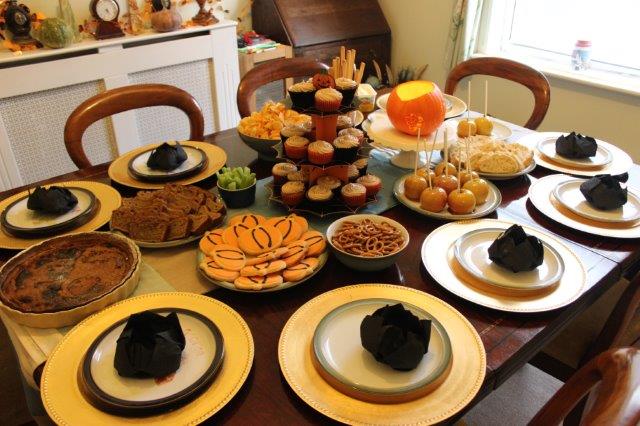 Our Pumpkin Party started with a whimsical meal squidged around a table, it was cosy! We ate Pumpkin Shaped gluten free biscuits (for the recipe see my last blog post).
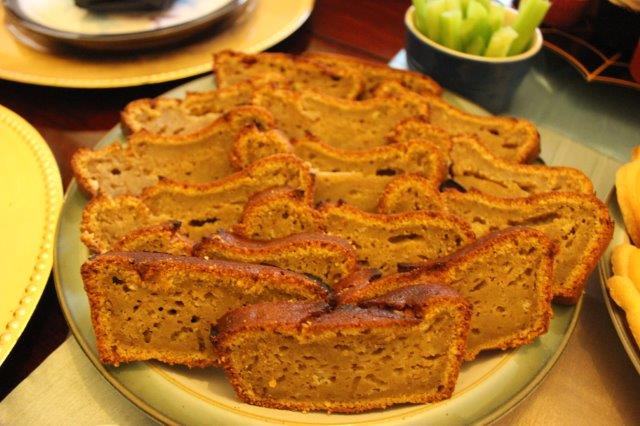
Yummy Spiced Pumpkin teabread and Pumpkin pie, all made with the pumpkin flesh carved from our decorative pumpkins.
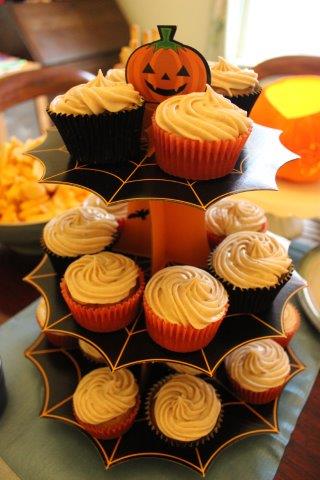
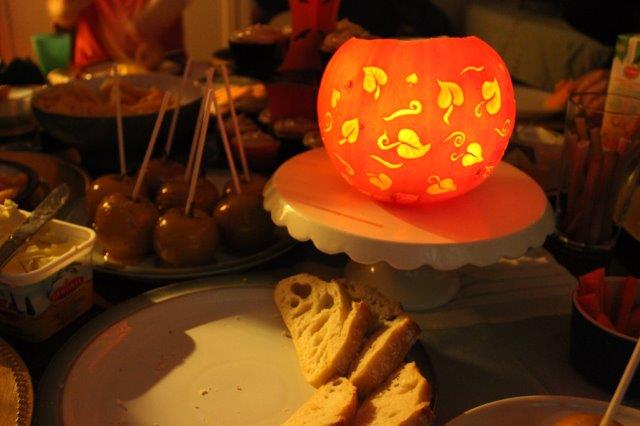
Toffee apples, which I was more than a little proud of. I’ve never got the toffee to stick properly before but apparently the trick is to place all your apples into a bowl and cover with boiling water for a couple of minutes before drying and dipping into the toffee. Spiced Pumpkin Cupcakes with Cinnamon Cream Cheese Icing, again this was made from our fresh pumpkins and they were absolutely delicious!
We all ate until we felt ready to burst and the light had dimmed enough to show our pumpkins (carved by my husband) glowing softly. The fun wasn’t over though, we had party games to play!
Pumpkin Treasure Hunt
Party games can be hard at the best of times, but trying to find vaguely Halloween themed games which aren’t remotely scary or gross is particularly tasking. In the end I settled for a treasure hunt. Clues were hidden about the house written on pumpkin shaped notes and the final clue led to a chocolately prize! This seemed to go down really well and there was lots of giggling from adults and children alike.
Pass the Pumpkin
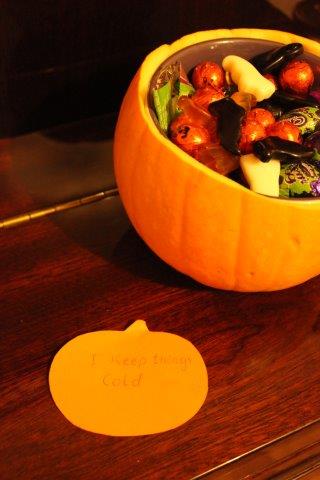
Next we played a twist on pass the parcel. We’d hollowed out one small pumpkin until it could comfortably fit a bowl inside, this was then filled with sweets. The music played and the pumpkin was passed around until the music stopped, the holder of the pumpkin could choose one sweet. The music stopped ten times and whoever was holding the pumpkin on stop number ten won the entire remaining contents!
Finally after much fun and hilarity we waved our guests off but not before they took a favour from our Halloween tree, small cones filled with yummy delights! This is an adaption on an earlier tutorial I wrote.


15 Comments (Leave a comment)