Simple Cushion Cover Tutorial

For awhile now I have had two very pretty cushions sat upon my sofa. Unfortunately their beauty was only skin deep and they quickly died an untimely death. I blame the silk being far too thin, it wore away into threads within months 🙁 So finally I did what I should have done in the first place and made my own cushions. Although I did do my bit for the environment and reused the feather cushion pads. I even have the old covers stashed and will salvedge what I can for another project. If you fancy having a go at these extremely simple covers, here’s how I did it.

What You’ll Need

Cushion Pad

Fabric for the front

Fabric for the back

Ribbon


Step 1

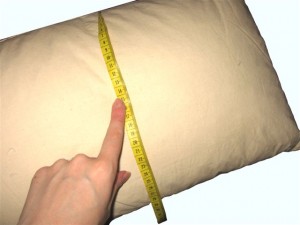
Measure the width and length of your cushion pad. We will make covers which are exactly the same size, this makes them lovely and padded. Take the fabric intended for the front of the cushion and cut it out using these measurements.

Step 2

This cushion has an envelope opening at the back. To make this, devide the length of your cushion pad into 3. Take 1/3 of the measurement and add 7cm, this will make one side of the back. Then take 2/3 of the measurement and add 7cm, this will make the other side. Your width measurement will be the same. Cut out the two pieces from the back fabric. If you lay them down and overlap them by 7cm you will see that the back will match the front.

Step 3

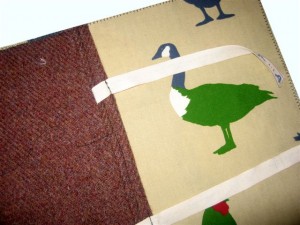
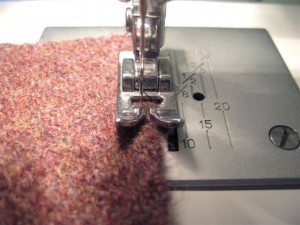
Next use a zig zag stitch around each of the 3 pieces of fabric to stop them fraying. Now lay down the larger back piece, cut out two pieces of ribbon (approx 28cm long) and pin and sew them at equal points onto one of the shorter sides.
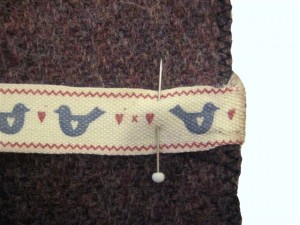
On the side with the ribbon attached, turn over approx 2cm of fabric and iron. Then fold over another 2cm and iron flat. Stitch close to the edge to secure these folds. Bring the ribbon to the front and stitch to keep in place.
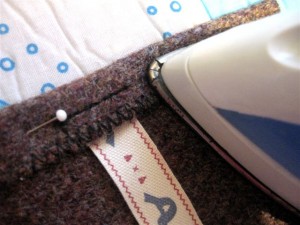
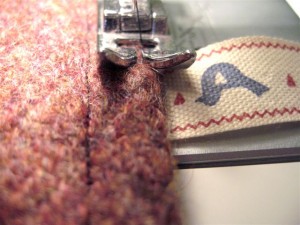
Repeat the folding/sewing process with the shorter back piece, but don’t attach any ribbon.

Step 4

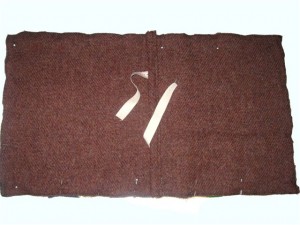
Lay down the front piece print side up. Then lay the larger back piece on top, matching up the edges. Next lay over the shorter back piece, overlapping the longer back piece but matching the edges of the front. Pin and Sew all the way around the cover’s edge.
Step 5

Turn the cover the right way out and place the cushion pad inside. Cut two more pieces of ribbon (approx 21cm long) and hand sew them onto the shorter back piece opposite the other ribbon. Tie them up and you’re done!
 

15 Minute Make! Embellishing a make-up bag tutorial

Sometimes you only have enough time to tackle a small project. You don’t really feel like painstakingly tracing and cutting out a pattern or taking up the table with a sewing machine and pins. But that doesn’t mean you can’t be creative and crafty. Today I’m going to show you one of our 15 minute makes, little projects/tutorials designed to be completed by hand while sat in front of the TV or taken on holiday etc it’s up to you.  So for today we’ll be embellishing a make-up bag. Incidentally this can be adapted to any small purse.

What You’ll Need

Purse

Needle

Thread

Bits & Bobs (whatever you have lying around, ribbons, buttons, trims etc).


Step 1 (the only step!)

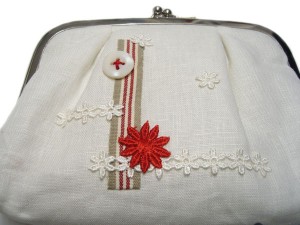
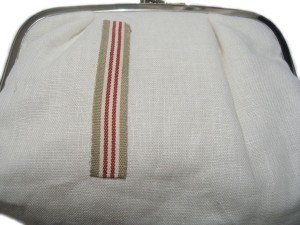
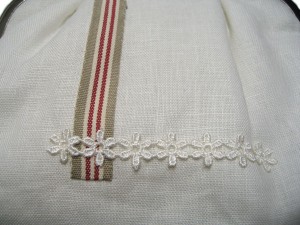
We bought this small make-up bag as our base. It’s a lovely shape, but it is frankly slightly dull. So by hand we sewed on a piece of ribbon, some trim (cut to different lengths to add interest). Then finally a pretty button and a larger piece of contrasting trim. Ta-da you have an individual and very pretty make-up bag in no time at all!

Suffolk Puff Brooch Tutorial

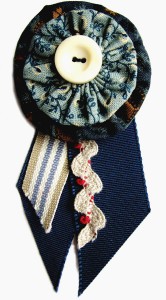
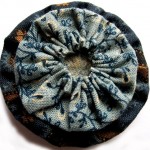
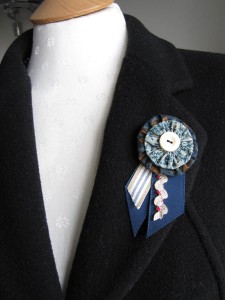
Suffolk Puffs seem to be turning up everywhere these days and they are such a simple and fun thing to make. Of course there are many many ways in which you can use them, you can embellish some clothing or add to a bag, but today I thought I’d show you how to make our Suffolk Puff Brooch. We have used dark fabric but of course the type and colour of fabric would dramatically vary the final look of your badge.

You Will Need

2 Pieces of Fabric

Needle

Thread

Ribbon

Felt or non fraying wool fabric

Trimmings (thinner ribbon, ric rac etc)


Step 1

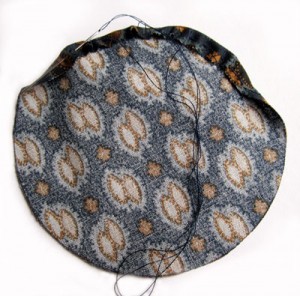
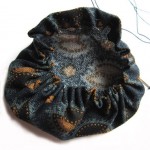
First we need to cut two circles out of your chosen fabrics. Our circles measured approx 10cm and 8.5cm across. To make the puff shape place your fabric down with the wrong side facing up. Then turn over a small hem and stitch a long running stitch through your hem all the way round. When you reach the beginning gently pull your stitches to gather them.  Repeat with your other piece of fabric.


Step 2

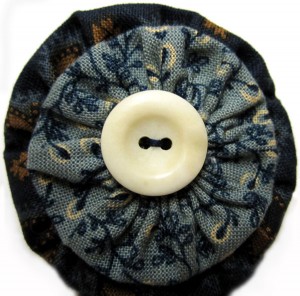
Now lay your smaller puff on top of the larger and sew through the middle to attach together.  Now cut a piece of felt approx 4cm across. Sew your two puffs to the felt circle, again sewing through the middle.


Step 3

Next we used a blanket stitch to firm up the edges of the felt, but this is not absolutely necessary. To the middle of our puffs we attached a lovely old vintage button from Prague.


Step 4

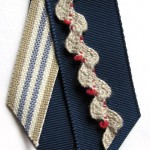
Now cut a piece of ribbon approx 16cm long, cutting diagonally along the edges.  Then fold your ribbon in half and attach any trimmings you might like, sewing across at the top to keep in place.

Step 5

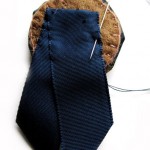
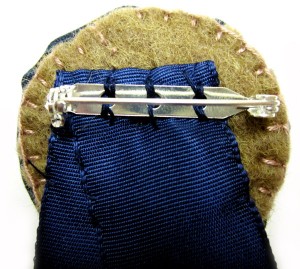
Stitch the felt circle to the ribbon and then sew a badge back or safety pin to the back.


Ta-Da you have made a beautiful Suffolk Puff Brooch!