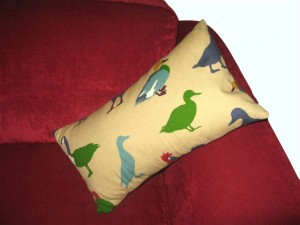
Simple Cushion Cover Tutorial

For awhile now I have had two very pretty cushions sat upon my sofa. Unfortunately their beauty was only skin deep and they quickly died an untimely death. I blame the silk being far too thin, it wore away into threads within months 🙁 So finally I did what I should have done in the first place and made my own cushions. Although I did do my bit for the environment and reused the feather cushion pads. I even have the old covers stashed and will salvedge what I can for another project. If you fancy having a go at these extremely simple covers, here’s how I did it.

What You’ll Need

Cushion Pad

Fabric for the front

Fabric for the back

Ribbon


Step 1

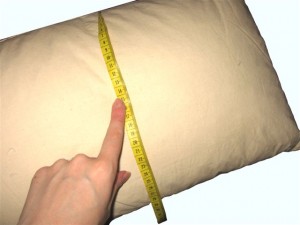
Measure the width and length of your cushion pad. We will make covers which are exactly the same size, this makes them lovely and padded. Take the fabric intended for the front of the cushion and cut it out using these measurements.

Step 2

This cushion has an envelope opening at the back. To make this, devide the length of your cushion pad into 3. Take 1/3 of the measurement and add 7cm, this will make one side of the back. Then take 2/3 of the measurement and add 7cm, this will make the other side. Your width measurement will be the same. Cut out the two pieces from the back fabric. If you lay them down and overlap them by 7cm you will see that the back will match the front.

Step 3

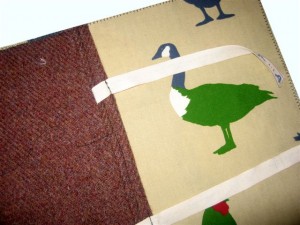
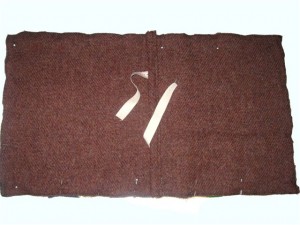
Next use a zig zag stitch around each of the 3 pieces of fabric to stop them fraying. Now lay down the larger back piece, cut out two pieces of ribbon (approx 28cm long) and pin and sew them at equal points onto one of the shorter sides.
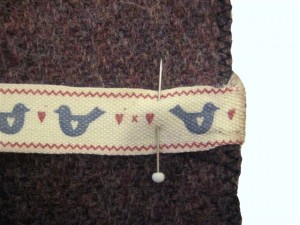
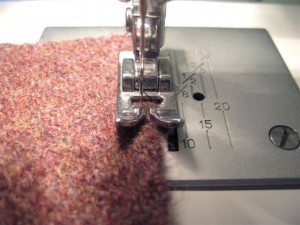
On the side with the ribbon attached, turn over approx 2cm of fabric and iron. Then fold over another 2cm and iron flat. Stitch close to the edge to secure these folds. Bring the ribbon to the front and stitch to keep in place.
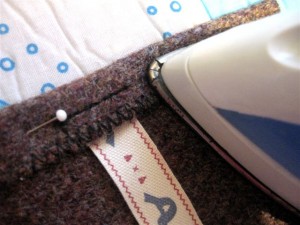
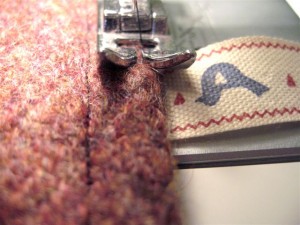
Repeat the folding/sewing process with the shorter back piece, but don’t attach any ribbon.

Step 4

Lay down the front piece print side up. Then lay the larger back piece on top, matching up the edges. Next lay over the shorter back piece, overlapping the longer back piece but matching the edges of the front. Pin and Sew all the way around the cover’s edge.
Step 5

Turn the cover the right way out and place the cushion pad inside. Cut two more pieces of ribbon (approx 21cm long) and hand sew them onto the shorter back piece opposite the other ribbon. Tie them up and you’re done!
 

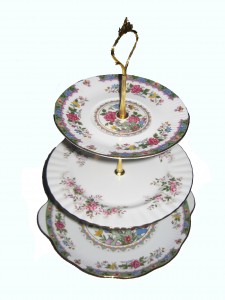
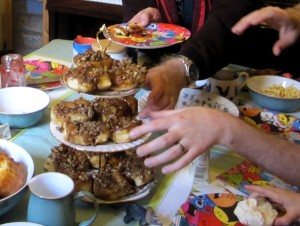
Vintage Plate Cake Stand Tutorial!

Cake stands are incredibly popular at the moment. They range from the very modest to the exceedingly grand and you can spend anything from a few pounds to a few hundred on one. If you are like me however, you may often find yourself admiring vintage plates but think you have no use for them. Today I’ll sure you how to turn those odds plates into the most fantastic Cake Stand in no time at all!

What You’ll Need

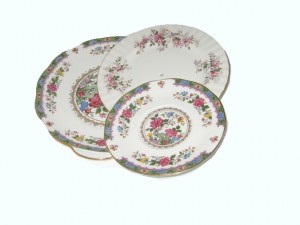
2 or 3 plates of your choosing (mine have came from a variety of charity shops and antique centres)

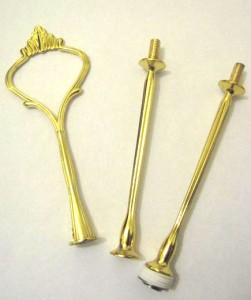
Cake Stand Fittings (these can be bought very cheaply online, Ebay is a brilliant source)

Drill

Ceramic Drill Bit


Step 1

First things first you will need to mark the centre of each plate at the back as a guide for drilling. Some cake stand fittings come with guides to help you. Mark with a non permanent marker.

Step 2

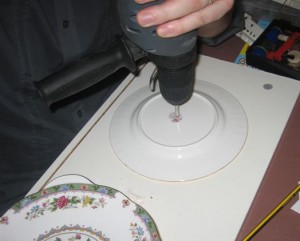
Place your plate upside down onto a worktable or protective piece of wood and using a ceramic appropriate drill bit, slowly begin to make a hole where the mark is. Repeat with all plates.

Step 3

Give the plates a wash to remove dust, then attach the cake stand fittings. That is all that’s required to make a bespoke, individual and enviable cake stand. They also make fabulous and inexpensive presents.

Tip.

I now have more drilled plates than stand fittings, I just swap and change as the mood strikes me 🙂

A New Lease Of Life For Old Furniture

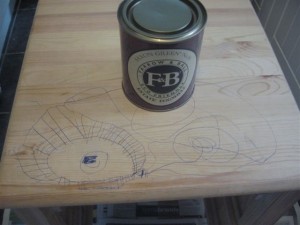
My children are quite artistic little people, so creative in fact that just occasionally they decorate something I’d rather they left alone. A couple of months ago they took a pen to two small chest of drawers. My reaction was one less of artistic delight and more of ‘what on earth am I going to do with these chests now?’

Shabby Chic makeovers for old furniture seem to be gaining in popularity at the moment. Some of them are absolutely adorable, but some are definitely verging on the shabby side rather than chic. Thankfully I was able to consult one of the masters of Shabby Chic ‘Ruby & Betty’s Attic‘, who gave me some wonderful tips on which paint brands to use and which to avoid. So armed with a rather lovely shade of Farrow & Ball paint we started about the transformation.

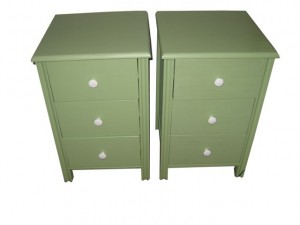
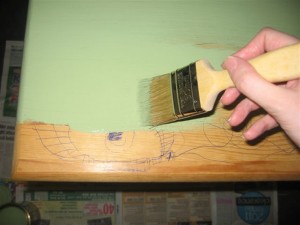
The paint went on very smoothly and soon the artwork started to disappear. We’d also lost most of the drawer handles, so they were replaced with something a bit more stylish.

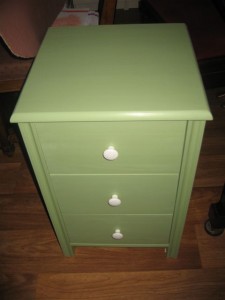
I love the finished chest, admittedly there wasn’t a lot of stylish shabby-ing going on but paint effects are still a new area for us. The handles are a wonderful cracked porcelain design.

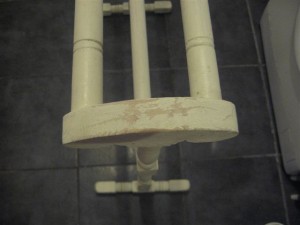
With a lot of leftover paint I started looking around for our next project. On a recent trip to an Antiques Centre I came across an Edwardian towel rail. It had definitely seen better days and looked a little unloved. In the photos it appears quite Shabby Chic already, but in reality the paint was peeling and rough, which made the rail unusable. After some haggling on price, we took it home. A foot fell off in the car, but luckily we found it and survived further dramas. We treated the towel rail to a good sanding and priming, before painting to match the bedside drawers.

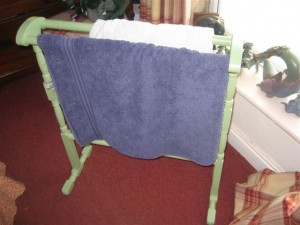
Here is the finished result. Now it’s painted I think it looks ever so cute! One of the lower bars is missing a chunk where a knot has fallen out, but even this has a quirky charm. The rail has taken up residence upstairs and is improving the look of towels that were previously draped over a radiator. I quite fancy picking up another one of these for the bathroom.

The only problem now is, the rather addictive nature of painting furniture. I better invest in some new colours before my whole house turns green!