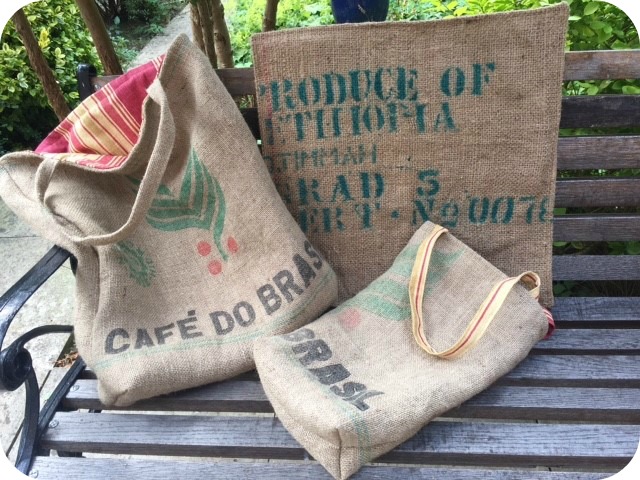
How to Reuse Coffee Sacks and make a coffee sack bag

coffee sack bagIt’s been quite a while since I last posted a tutorial and with the summer holidays in full swing that (hopefully) means extra time on your hands for getting crafty. In this tutorial I’ll show you how to reuse coffee sacks and make a coffee sack bag!

I love old coffee sacks with their rustic charm but finding a use for them can be harder than you think. They’re made for strength which means the material can be quite rough with a largish weave. They’d make great looking cushions but you might not enjoy leaning against them but their hardwearing nature makes them perfect for a shopping bag tote!

What You’ll Need

1 Coffee Sack

Colourful/patterned fabric to use as lining

Fabric to make bag handles (needs to be reasonably strong, not a lightweight cotton)
coffeesack1Step 1

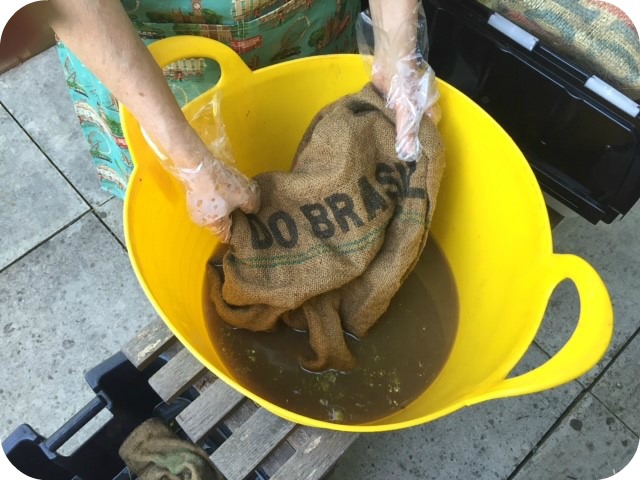
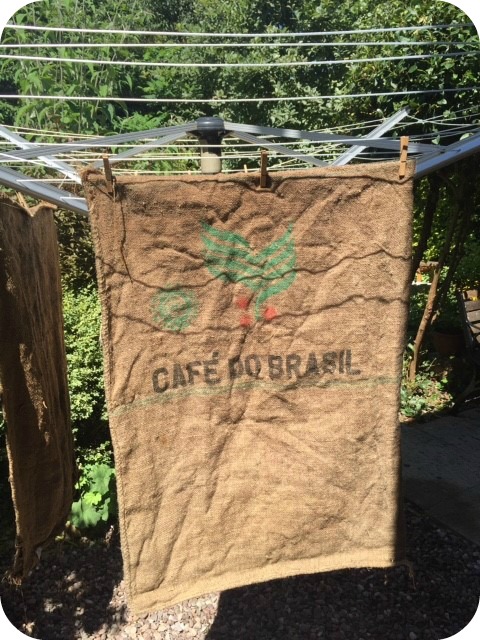
Give the sacks a good wash, it’s easiest to do this in a rubber tub outside if you can, then peg up on a washing line to drip dry.
coffeesack2Step 2

Once dry cut out two large rectangles from the sack, both the same size as each other. The actual size you cut will depend on the design printed on your sack and how large a bag you want to make. As long as both rectangles are the same size it doesn’t really matter.

Step 3

Using your lining fabric cut another two rectangles the same size as those made from the coffee sack.
coffeesack3Step 4

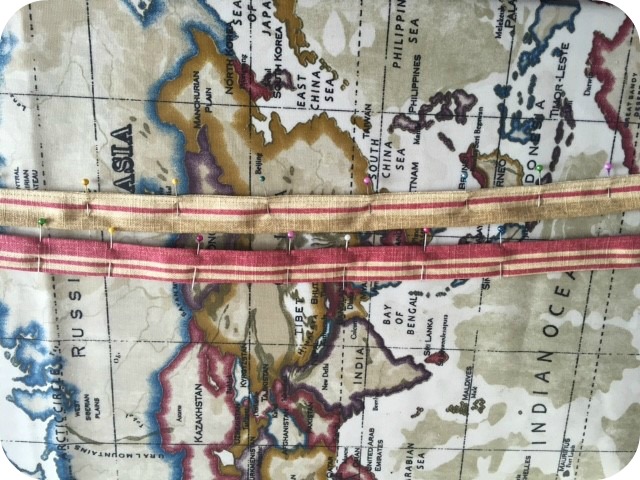
Now take the fabric you have chosen for the bag handles and cut two identical long rectangles of fabric (length is dependent on how long you want you handles). Fold each long rectangle in half and iron to make a centre crease. Unfold the rectangle, fold each of the cut edges into the centre meeting the ironed crease, iron into place and then refold in half. This should enclose the cut edges. Sew along the open side.
coffeesack4Step 5

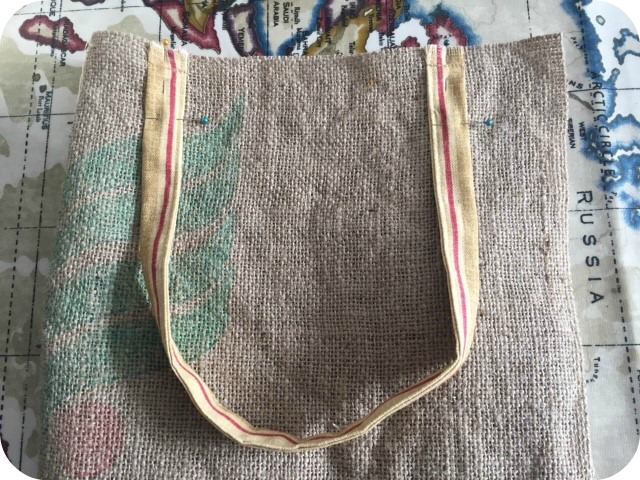
The handles can now be sewn onto the right side of each coffee sack rectangle along the top short edge.
coffeesack5Step 6

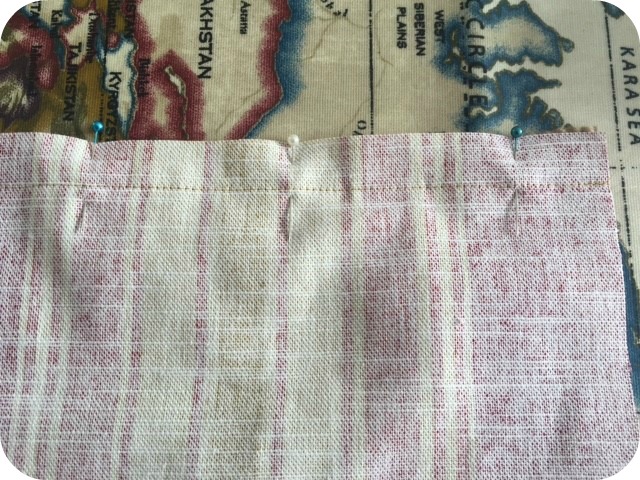
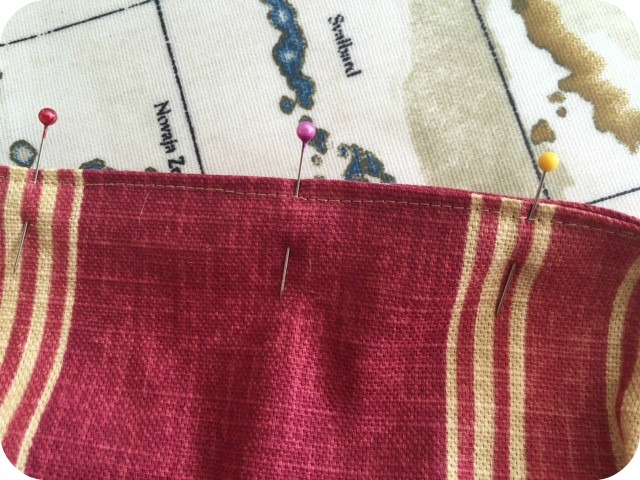
Next sew the top edges of the lining fabric rectangles to the top edges of the coffee sack rectangles (right sides together). The handles will hang between these two layers.
coffeesack6Step 7

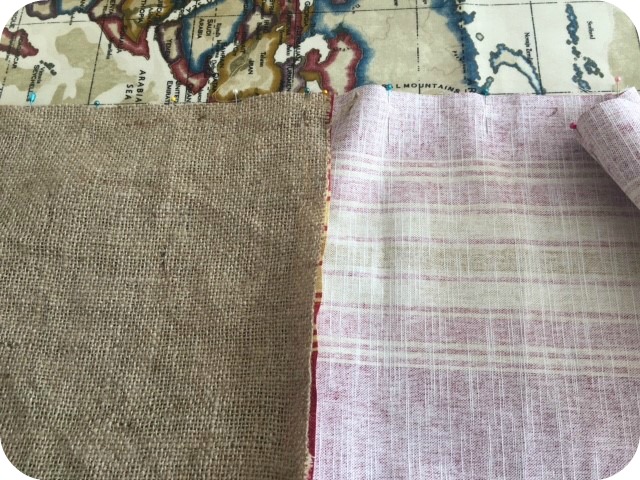
You can now sew the whole bag together. Unfold the lining and coffee sack piece that you sewed together in the last step. Lay with the right side up onto a table, then lay the other coffee sack/lining piece on top so that the right sides of the fabric are together. It will make one large rectangle which you sew all the way around leaving a gap at the bottom of the lining.
coffeesack7Step 8

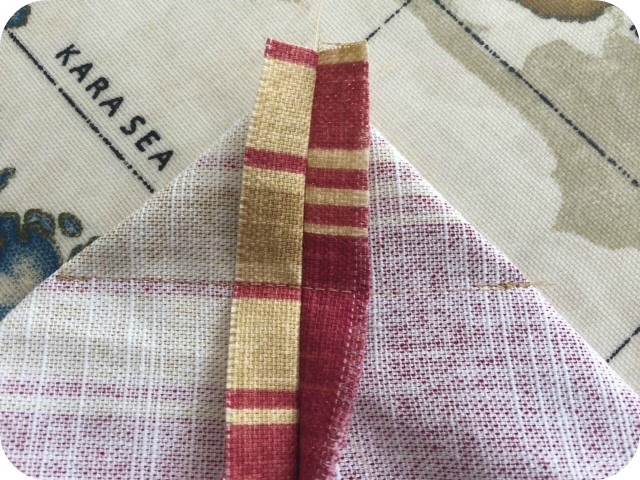
Before turning the right way we’re going to give the base of the bag some structure. To do this you need to squash each of the four corners to make a triangle and then sew straight across (see pic), do this to each of the corners. If you’re unfamiliar with this technique then check out this tutorial on the sewing directory.  Trim off the excess fabric.
coffeesack8Now turn the entire piece the right way out through the gap left in the lining. Sew closed the gap in the lining and push inside the bag.

Optional Step: Once the bag is complete you can top stitch around the top edge of the bag to give a good finish and extra rigidity.

Simple Upcycling Tutorial

It’s that time of year now when we all unpack our hats and scarves. But sometimes you just don’t like them as much as you did last year. Maybe you have a new coat or hairstyle, maybe you just fancy something new. Whatever the reason you shouldn’t just bin last years wares, instead you should up/recycle them into something stylish and new. Here I’m bringing you one really simple and quick way to turn a plain hat and scarf into a gorgeous new item.

What You’ll Need

Hat

Scarf

Buttons

Sewing Needle & Thread

Step 1

To be truly economical you should raid your button stash. If you don’t have any buttons then take a look through your clothes, are there any you were planning to get rid of and could borrow the buttons from? How about making your own (see my previous tutorial here for instructions) or buy some.

Personally I like the buttons to be different sizes, styles and shapes. From a design point of view odd numbers always look better so keep that in mind.

Step 2

Arrange your buttons on the hat until your pleased with the effect, then sew them on. I sewed mine slightly to one side.

Step 3

Repeat the previous step on your scarf.

Step 4

Enjoy your brand new creations!! It really is as quick, simple and cheap as that!

The Itch to (Re)Create!

I often wonder if I am the only person who wakes up on a morning, looks about the house and despite vowing to spend the day relaxing actually ends up running about like a nut trying to make some sense from the chaos. I don’t feel relaxed if something is niggling at me and the last few days that niggle came in the form of our dining room chairs. I should probably start by saying I have never really liked these chairs, they’re large, they have the most grusome colour of stained dralon adorning their seats and the children like to spill things on them at regular intervals and they were passed to us by a family member whose tastes has never really meshed with mine.

Suffice to say I have often wished to change them (ah hem… tip them!). They are based on an antique design, but they are decidely mordern (80s). Motivation finally came in the form of my husband who thought he would use one of the chairs instead of a step ladder. Several seconds and a nasty crash later and the seat was no more. It’s hard to see the carnage on this pic, but trust me you would not want to rest any weight on here.

Tip 1

Taking apart and reupholstering fairly modern chairs is usually quite easy. This chair merely had 4 screws in the underside of the seat.

We used a screwdriver to unpick the staples holding the fabric and piping on and hey presto an uncovered chair.

The inside just consisted of a board base and a sponge pad for the seat.

To replace the cracked base piece my husband jigsawed a copy out of a shelf from an old computer table (more recycling and economising). The sponge padding was in good condition so I reused that. I then unpicked the piping to reuse the rubber to make new piping.

Tip 2 – Recovering

Recovering this chair was really easy. In my cupboard I had loads of an old Laura Ashley fabric, it had already served as a sofa throw, table cloth and now would revive my dining chairs.

Next all that was required was a good quality staple gun. These are not expensive, usually around the £5-7 mark. All I had to do was stretch the fabric over the sponge pad and staple to the underside of the seat board. For the corners a quick fold is all that’s needed.

Tip 3 – Finishing touches

To really add a bit of elegance some finishing touches are usually required. I had already sewn new piping out of matching fabric. I could have spent hours painstakngly sewing this onto the seat, but instead I lined it up and stapled away. The end result is very convincing and quick and easy.

Tip 4 – If you have children

If like me you have little peeps running about armed with felt tips, drinks, sticky fingers covered in plastercine, food or the remnemts from their lunchbox then you will understand the need to protect your new upholstery. This couldn’t be more easy, just nip to your local fabric shop and buy some clear pvc fabric, I bought mine from Dunelm Mill. Cut a piece big enough to stretch over your seat, fold the edges and staple the whole lot over the top. You are left with a completely covered and protected seat, but you can still enjoy the look of your new chairs without the worry.


I am so pleased with the final result, I toyed with the idea of painting the chairs, but I’m glad I didn’t now as I think it looks quite grand without it. So the chairs and I have at last made friends. All 6 were completed in a couple of days, so if you have any chairs you’ve fallen out of love with give reupholstering a go, it’s really not as hard as it looks.