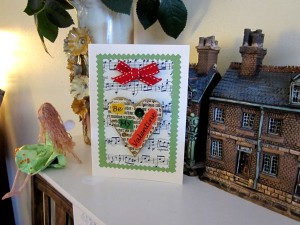
If you hadn’t already guessed by the abundance of red and pink in the shops, (not to mention a copious amount of stuffed bears holding hearts) Valentine’s Day is nearly upon us. Personally I shy away from shop bought offerings, instead preferring to spend a bit of time making a handmade gift or card. It’s also a fabulous way to involve my children in the day. They really enjoy making presents and cards for their friends or each other.
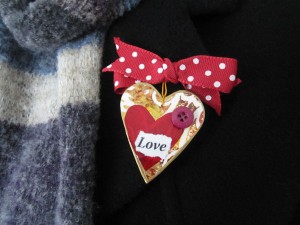
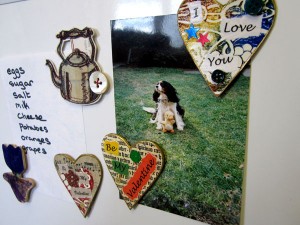
Today’s tutorial is also quite versatile as the hearts can be made into either fridge magnets or badges, both of which can be attached to the front of a handmade card.
You Will Need
Thin Cardboard
Old Newspapers
PVA glue
Acrylic Paint
Decorative Paper or Fabric
Embellishments – sequins, fabric, buttons etc.
Quick Drying Gloss Varnish
Badge backs or Magnets
Strong All Purpose Glue
Step 1
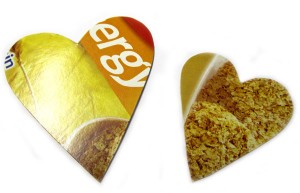
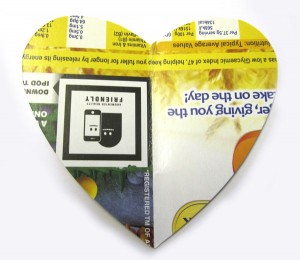
Start by cutting out small heart shapes from the thin cardboard (old cereal boxes work perfectly). If you want to make sure the hearts are even, fold the cardboard in half then draw half a heart against the fold before unfolding and cutting out. It’s even quicker if you save the first heart and use it as a template to cut out several more.
Step 2
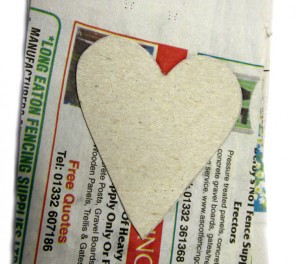
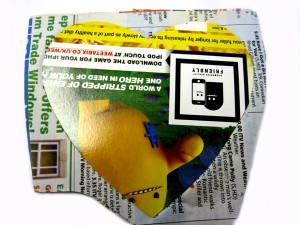
Cut out some small pieces of newspaper (just larger than your heart). Using PVA glue, stick nine layers of newspaper to one side of the heart and leave to dry. Once dry, cut the excess newspaper away to leave the heart shape, then repeat the process on the opposite side. If the heart curls slightly while drying, place it under some books to flatten out. If it has badly curled use a hot dry iron (I put brown paper between the iron and the shape), but be careful not to burn it.
Step 3
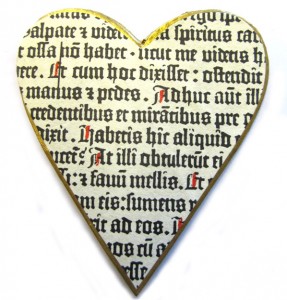
Once all the hearts are completely dry, paint both sides with acrylic paint (I used a gold colour).
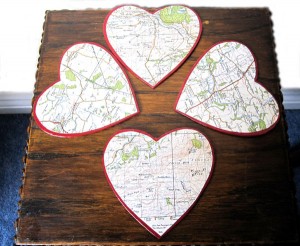
Next using either decorative paper or fabric cut out a heart just slightly smaller than your original shape. Stick to the front; as it’s slightly smaller you should see a little of the painted edge all the way around.
Step 4
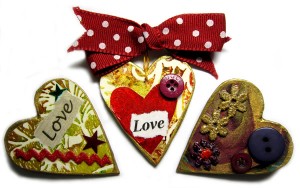
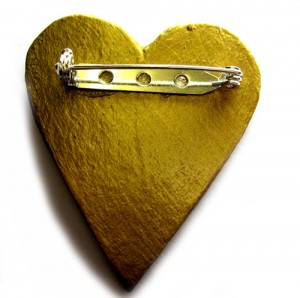
Now comes the fun part, decoration! I used sequins, fabric, buttons and words torn from paper. Stick them to the front of the heart using the all purpose glue. When you are happy with your design and the glue has dried, apply a couple of layers of varnish. Don’t forget to varnish the back of the heart once the front is dry. Finally attach a badge back or magnet to the back of the heart using a strong all purpose glue.
If you want to mount the hearts onto cards they can be attached with small sticky pads or cut a couple of holes to attach the badge back through.
 Just a quick post to wish you all a very happy Valentine’s Day!
 I’m not sure about love but frost has certainly been in the air of late and if that isn’t a good enough reason to snuggle up to someone then I don’t know what is!
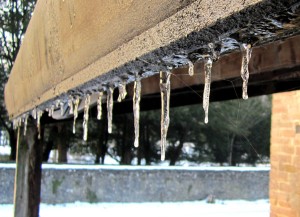 Out and about the other day we took quite a few frosty pics near a canal. It was so cold that there wasn’t much time for hanging about to compose the perfect shot, but I think they are pretty none the less. It’s also a great opportunity to remind yourself that cold weather may be inconvenient at times, but it can also be very beautiful.
 As ever I am looking forward to spring and all the wonderful fairs and events on the calendar. On that note, there’s still a couple of days left to win tickets to the Country Living spring fair, so make sure you’ve left a comment on the competition post to enter. I shall pick the winners later on this week.



Comments Off on Happy Valentine’s Day!